Your cart is currently empty!
A Beginner’s Guide to Installing a SATA Drive
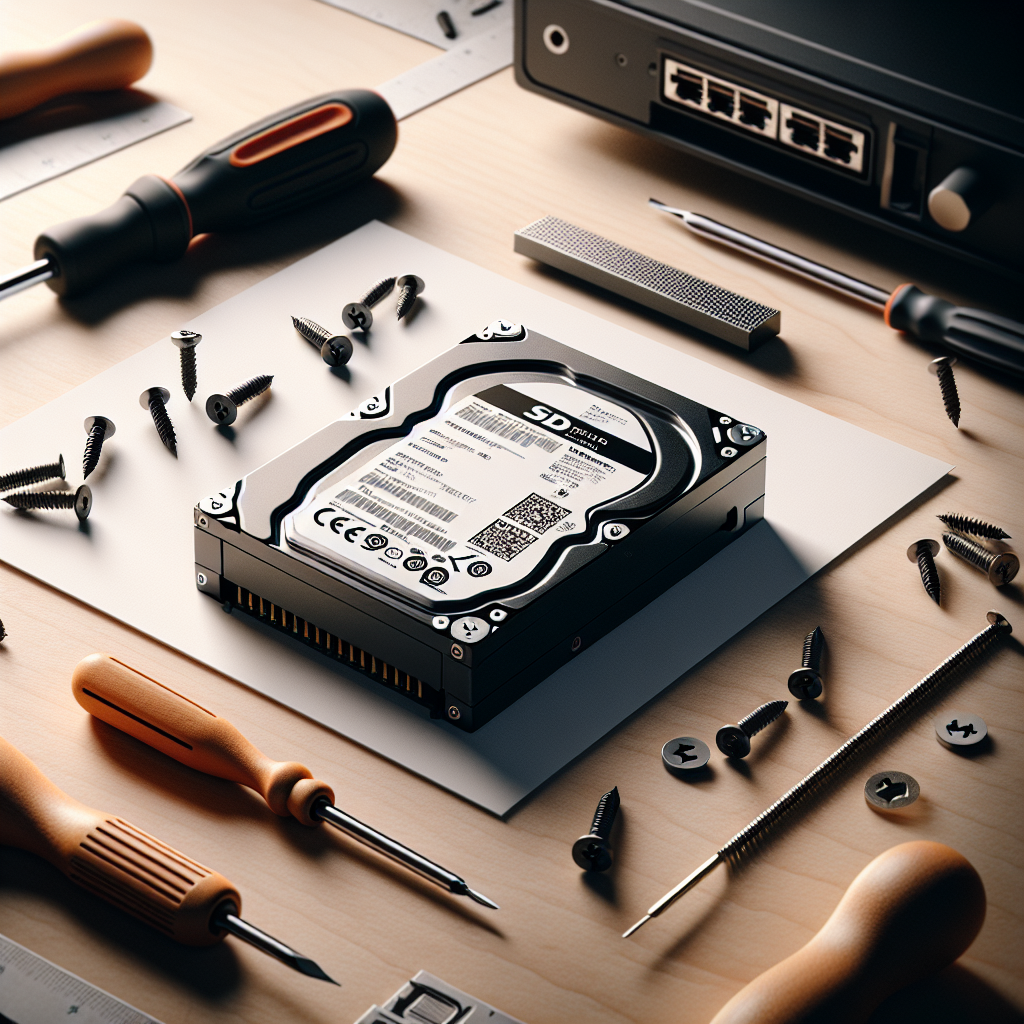
If you’re looking to upgrade your computer’s storage capacity, installing a SATA drive is a great option. SATA drives are the most common type of hard drive used in modern computers and offer fast data transfer speeds and ample storage space. If you’re a beginner and are unsure of how to install a SATA drive, don’t worry – we’ve got you covered with this step-by-step guide.
Step 1: Gather your tools and materials
Before you begin, make sure you have all the necessary tools and materials on hand. You’ll need a SATA drive, a SATA cable, a power cable, a screwdriver, and possibly some screws to secure the drive in place.
Step 2: Prepare your computer
Before you start installing the SATA drive, make sure to shut down your computer and unplug it from the power source. It’s also a good idea to ground yourself by touching a metal object to prevent any static electricity from damaging your computer’s components.
Step 3: Open your computer’s case
Depending on the type of computer you have, you may need to remove the side panel to access the internal components. Use a screwdriver to remove any screws holding the panel in place and carefully slide it off.
Step 4: Locate the SATA ports
Once you have access to the inside of your computer, locate the SATA ports on the motherboard. These are typically long, thin connectors with a small L-shaped notch at one end. You’ll need to connect the SATA drive to one of these ports.
Step 5: Install the SATA drive
Carefully slide the SATA drive into an available drive bay in your computer’s case. Make sure the SATA ports on the drive line up with the ports on the motherboard. Secure the drive in place using screws if necessary.
Step 6: Connect the cables
Next, connect the SATA cable to the SATA port on the drive and the motherboard. You’ll also need to connect the power cable to the drive to provide it with power. Make sure the cables are securely connected and not loose.
Step 7: Close up your computer
Once the SATA drive is installed and the cables are connected, replace the side panel on your computer’s case and secure it with the screws. Plug your computer back in and power it on.
Step 8: Initialize the drive
Once your computer is powered on, you’ll need to initialize the new SATA drive in your operating system. This process will vary depending on your operating system, but you can typically find instructions online or in your computer’s user manual.
And that’s it – you’ve successfully installed a SATA drive in your computer! With your new drive installed, you’ll have plenty of extra storage space for all your files and programs. Happy computing!
Actuator Beginners Capacity Data storage Data transfer rate Disk drive Drive Form factor Guide Hard disk drive Hard drive HDD Installing Interface Latency Magnetic storage NAND flash Non-volatile memory NVMe PCIE Platter Read-write head SAS SATA Seek time Semiconductor Solid-state drive Spindle motor SSD Storage device

Leave a Reply