Your cart is currently empty!
DIY Reciprocating Linear Actuator Motor Adjustable Stroke 1.2inch-6.3inch 120rpm
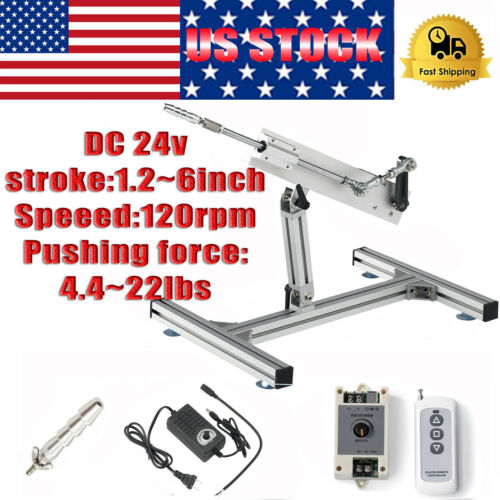

DIY Reciprocating Linear Actuator Motor Adjustable Stroke 1.2inch-6.3inch 120rpm
Price : 156.99
Ends on : N/A
View on eBay
Are you looking for a way to create your own adjustable stroke linear actuator motor? Look no further! In this DIY tutorial, we will show you how to make a reciprocating linear actuator motor with an adjustable stroke ranging from 1.2 inches to 6.3 inches and a speed of 120rpm.
Materials needed:
– DC motor
– Linear actuator mechanism
– PVC pipe
– Threaded rod
– Nuts and bolts
– Drill
– Saw
Instructions:
1. Start by attaching the DC motor to the linear actuator mechanism. This will serve as the driving force for the linear actuator.
2. Cut the PVC pipe to the desired length of the stroke. This will be the outer casing for the linear actuator.
3. Drill holes in the PVC pipe at both ends to attach the linear actuator mechanism.
4. Insert the threaded rod through the linear actuator mechanism and secure it with nuts and bolts.
5. Attach the other end of the threaded rod to the DC motor, making sure it is securely fastened.
6. Test the motor to ensure that the linear actuator moves smoothly and adjust the stroke as needed by changing the position of the linear actuator mechanism on the PVC pipe.
7. Once you have achieved the desired stroke length and speed, your DIY reciprocating linear actuator motor is ready to use!
This DIY project is a great way to create a custom linear actuator motor with adjustable stroke for your specific needs. Whether you need precise movement control or just want to experiment with different stroke lengths, this project is sure to be a fun and rewarding experience. Give it a try and see what you can create!
#DIY #Reciprocating #Linear #Actuator #Motor #Adjustable #Stroke #1.2inch6.3inch #120rpm, Actuator

Leave a Reply