Your cart is currently empty!
Getting Started with Autodesk Maya 2025: A Step-by-Step Basics Guide
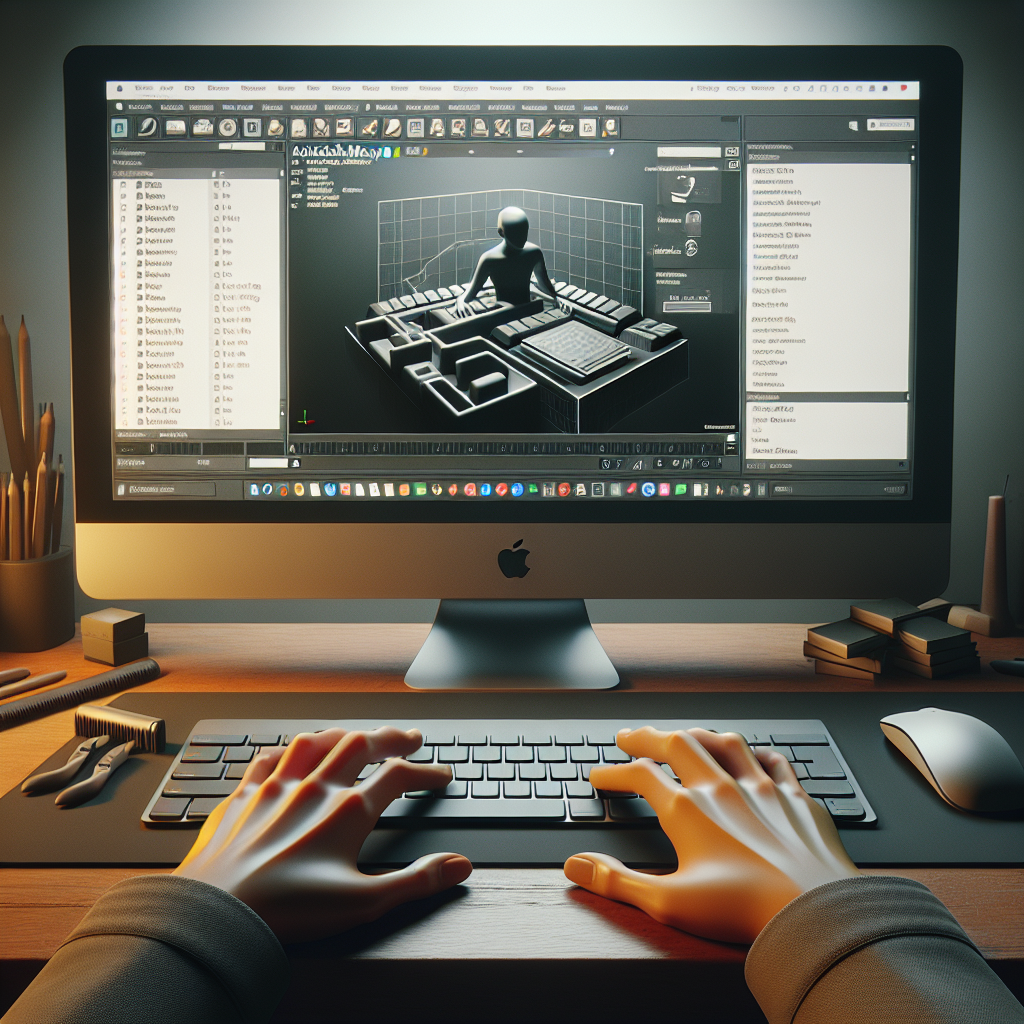
Autodesk Maya is a powerful software used in the field of 3D animation, modeling, simulation, and rendering. It is widely used by professionals in the film, television, gaming, and design industries to create stunning visual effects and animations. If you are new to Autodesk Maya and are looking to get started with this software, this step-by-step basics guide will help you get familiar with the interface and basic tools.
Step 1: Download and Install Autodesk Maya 2025
The first step in getting started with Autodesk Maya is to download and install the software on your computer. You can purchase a license for Maya from the Autodesk website or opt for a free trial version. Once you have downloaded the software, follow the installation instructions provided by Autodesk.
Step 2: Launch Autodesk Maya and Familiarize Yourself with the Interface
After installing Autodesk Maya, launch the software to start exploring the interface. The Maya interface consists of various panels, menus, and toolbars that allow you to navigate through the software and access different tools and features. Take some time to familiarize yourself with the interface and understand the different components such as the viewports, timeline, and attribute editor.
Step 3: Create a New Project and Scene
Before you start working on your project, it is essential to create a new project and scene in Autodesk Maya. A project in Maya is a folder that contains all the files related to your project, such as scenes, textures, and scripts. To create a new project, go to File > Project Window and follow the instructions to set up a new project. Once you have created a project, you can start creating a new scene by going to File > New Scene.
Step 4: Navigate and Manipulate Objects in the Viewports
In Autodesk Maya, you can work with 3D objects in the viewports, which are windows that display your scene from different perspectives. You can navigate through the viewports using the navigation tools such as pan, zoom, and rotate. To manipulate objects in the viewports, you can use the transform tools such as move, rotate, and scale to position and resize objects in your scene.
Step 5: Create Basic 3D Objects and Apply Materials
To start creating 3D objects in Autodesk Maya, you can use the modeling tools such as create polygon primitives, extrude, and bevel. These tools allow you to create simple shapes and objects that you can further manipulate and refine. Once you have created a 3D object, you can apply materials and textures to give it a realistic appearance. You can access the material editor by going to Window > Rendering Editors > Hypershade.
Step 6: Animate Objects and Set Keyframes
One of the key features of Autodesk Maya is its animation capabilities. You can animate objects in Maya by setting keyframes to define the object’s position, rotation, and scale over time. To animate an object, select the object in the viewport, set keyframes at different frames, and then play back the animation to see the object in motion. You can also use the graph editor to fine-tune the animation curves and create smooth motion.
In conclusion, getting started with Autodesk Maya 2025 may seem intimidating at first, but with practice and patience, you can master the basics of this powerful 3D software. By following this step-by-step guide, you will be able to navigate through the interface, create 3D objects, apply materials, animate objects, and bring your creative ideas to life in Autodesk Maya. So, roll up your sleeves and start exploring the world of 3D animation with Autodesk Maya!

Leave a Reply