Your cart is currently empty!
How to Install a Solid-State Drive in Your Computer

Solid-state drives (SSDs) have become increasingly popular in recent years due to their faster speeds and improved durability compared to traditional hard disk drives (HDDs). If you’re looking to upgrade your computer with a new SSD, the installation process is relatively straightforward. In this article, we’ll guide you through the steps on how to install a solid-state drive in your computer.
Step 1: Gather Your Tools and Materials
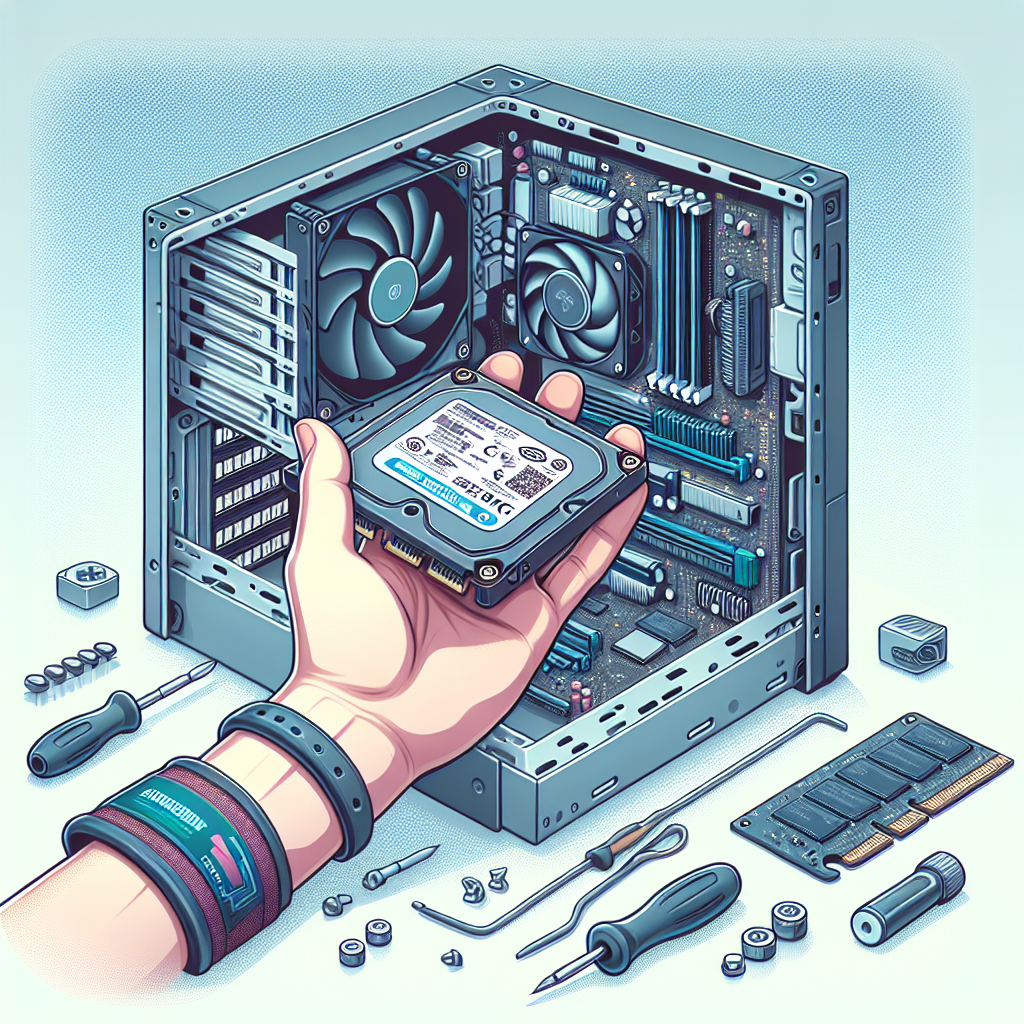
Before you begin the installation process, make sure you have all the necessary tools and materials on hand. You will need:
– A solid-state drive
– Screwdriver
– SATA data cable
– SATA power cable
– Mounting bracket (if needed)
– Anti-static wrist strap (optional)
Step 2: Prepare Your Computer
Before you start opening up your computer, it’s important to power it down and unplug all cables. Once the computer is off and unplugged, remove the side panel of your computer case to access the internal components.
Step 3: Locate the Hard Drive Bay
Locate the hard drive bay in your computer where the current hard drive is installed. If you are replacing the existing hard drive with an SSD, you will need to disconnect the SATA data and power cables from the old hard drive.
Step 4: Install the SSD
Carefully remove the SSD from its packaging and place it into the hard drive bay. If your computer does not have a mounting bracket for the SSD, you can use screws to secure it in place. Connect the SATA data cable to the SSD and the motherboard, and then connect the SATA power cable to the SSD.
Step 5: Secure the SSD
Once the SSD is properly connected, secure it in place using the mounting bracket or screws. Make sure the SSD is securely fastened to prevent any movement or damage.
Step 6: Close Up Your Computer
After you have installed the SSD and secured it in place, replace the side panel of your computer case and plug in all cables. Power on your computer and check to see if the SSD is recognized in the BIOS.
Step 7: Transfer Data (Optional)
If you are replacing your existing hard drive with the SSD, you will need to transfer your data from the old hard drive to the new SSD. You can do this by cloning the old hard drive or reinstalling your operating system and programs onto the SSD.
By following these steps, you can easily install a solid-state drive in your computer and enjoy the benefits of improved speed and performance. Whether you’re upgrading from a traditional hard drive or adding an additional SSD to your system, the installation process is simple and can be done by anyone with basic computer knowledge.

Leave a Reply