SATA drives are commonly used in modern computers due to their high data transfer rates and ease of installation. If you’re looking to upgrade your computer’s storage or add additional drives, installing and configuring SATA drives is a straightforward process that can be done by nearly anyone with a basic understanding of computer hardware. In this article, we will guide you through the steps to install and configure SATA drives in your computer.
Step 1: Gather the necessary tools and materials
Before you begin, make sure you have the following tools and materials on hand:
– SATA drive(s)
– SATA data cables
– SATA power cables
– Screwdriver
– Anti-static wrist strap (optional but recommended)
Step 2: Prepare your computer
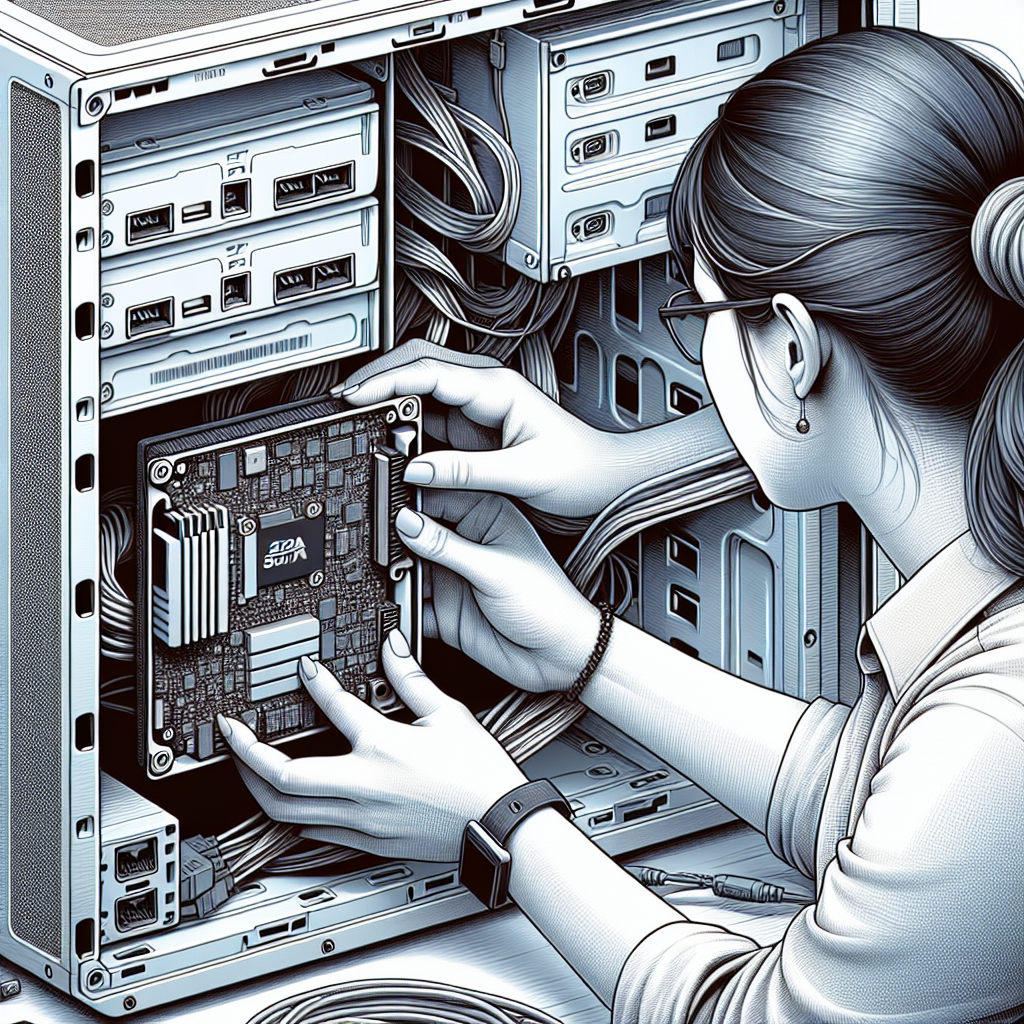
Before installing the SATA drive, make sure your computer is powered off and unplugged from the power source. Open up the computer case by removing the screws on the side panel and gently sliding it off.
Step 3: Locate the SATA ports on your motherboard
Inside your computer, you will find the SATA ports on the motherboard. These ports are typically located near the bottom of the motherboard and are labeled SATA0, SATA1, SATA2, etc. Take note of which ports are currently in use and which ones are available for the new drive.
Step 4: Install the SATA drive
Carefully slide the SATA drive into an available drive bay in your computer case. Secure the drive in place using the screws provided with the case. Next, connect one end of the SATA data cable to the SATA port on the drive and the other end to an available SATA port on the motherboard.
Step 5: Connect the power cables
Once the SATA data cable is connected, you will need to connect the SATA power cable to the drive. Most modern power supplies come with SATA power cables that can be easily connected to the drive.
Step 6: Configure the drive in the BIOS
After physically installing the SATA drive, you will need to configure it in the BIOS. To do this, restart your computer and enter the BIOS settings by pressing the designated key (usually Del, F2, or F10) during the boot-up process. Once in the BIOS, navigate to the storage or boot options and ensure that the SATA drive is recognized by the system.
Step 7: Format and partition the drive
Once the drive is recognized by the system, you will need to format and partition it before you can use it. To do this, open the Disk Management tool in Windows (accessible by right-clicking on the Start button and selecting Disk Management) and follow the on-screen instructions to format and partition the drive.
With these steps, you should now have successfully installed and configured your SATA drive in your computer. Enjoy the increased storage capacity and faster data transfer speeds that come with adding a SATA drive to your system.

Leave a Reply