Your cart is currently empty!
How to Install and Optimize 64GB DDR5 RAM for Peak Performance
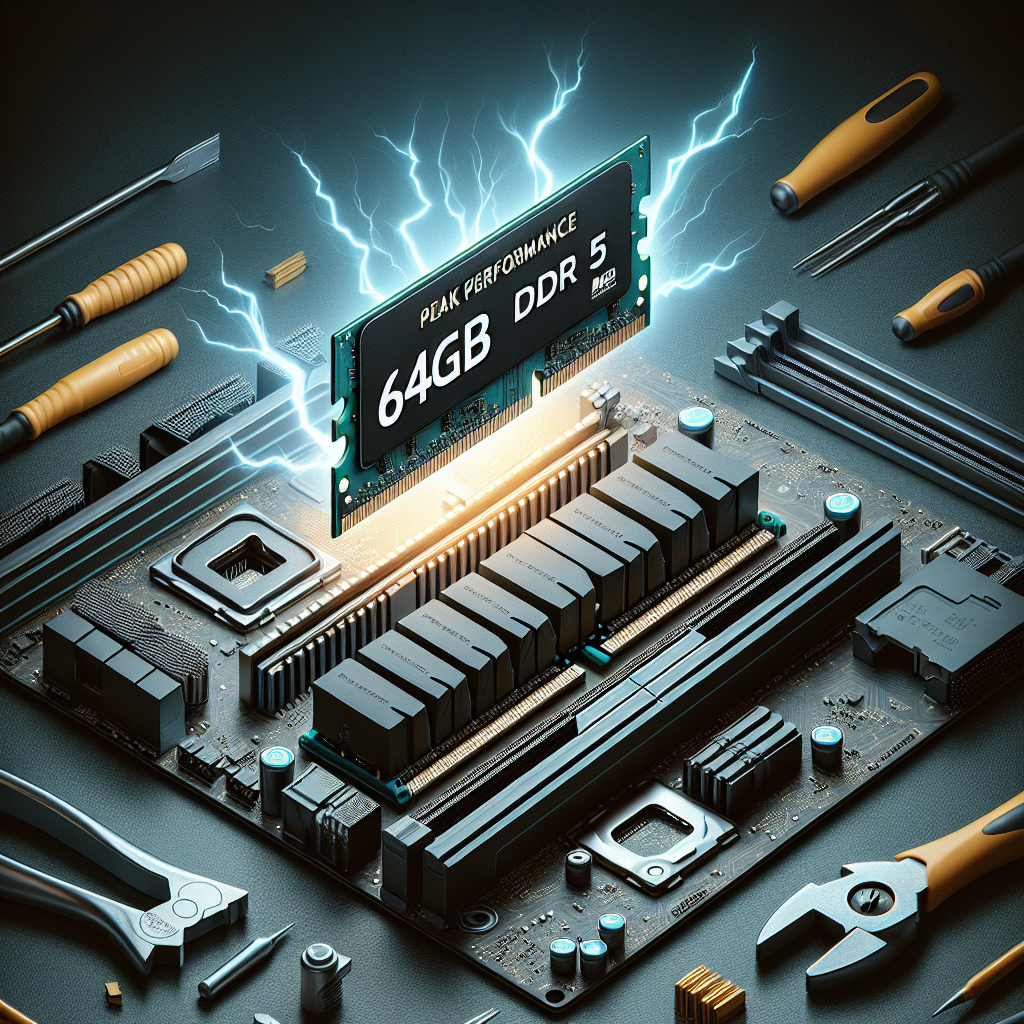
In the world of technology, having enough RAM is crucial for ensuring your computer runs smoothly and efficiently. With the release of DDR5 RAM, users now have access to even faster and more powerful memory options. If you have recently upgraded to a 64GB DDR5 RAM kit, you may be wondering how to install and optimize it for peak performance. In this article, we will walk you through the steps to get the most out of your new memory upgrade.
Step 1: Install the RAM
The first step in optimizing your 64GB DDR5 RAM for peak performance is to install it correctly in your computer. To do this, follow these steps:
1. Turn off your computer and unplug all cables.
2. Open your computer case and locate the RAM slots on your motherboard.
3. Align the notches on the RAM stick with the slot on the motherboard.
4. Gently press down on the RAM stick until it clicks into place.
5. Repeat this process for all of the RAM sticks in your kit.
6. Close your computer case and plug in all cables.
Step 2: Verify the Installation
Once you have installed your 64GB DDR5 RAM, it is important to verify that it has been recognized by your computer. To do this, follow these steps:
1. Turn on your computer and access the BIOS menu by pressing the designated key (usually Del or F2) during startup.
2. Navigate to the Memory or RAM section of the BIOS menu.
3. Check to see if your computer is recognizing the full 64GB of RAM.
4. If the RAM is not being detected, double-check the installation and make sure the RAM sticks are fully seated in the slots.
Step 3: Update Your BIOS
To ensure that your computer is running optimally with your new 64GB DDR5 RAM, it is recommended to update your BIOS to the latest version. This can help improve compatibility and performance with the new memory. To update your BIOS, you will need to visit the website of your motherboard manufacturer and download the latest BIOS update for your specific model.
Step 4: Enable XMP Profile
Most DDR5 RAM kits come with an XMP (Extreme Memory Profile) that allows you to easily overclock your memory for increased performance. To enable the XMP profile, follow these steps:
1. Access the BIOS menu by pressing the designated key during startup.
2. Navigate to the RAM or Memory section of the BIOS menu.
3. Look for an option to enable XMP or enable the XMP profile.
4. Select the XMP profile that corresponds to the speed and timings of your RAM kit.
5. Save changes and exit the BIOS menu.
Step 5: Test for Stability
After enabling the XMP profile, it is important to test the stability of your system to ensure that it can handle the overclocked memory. You can use software like Prime95 or MemTest86 to stress test your system and check for any stability issues. If you encounter any crashes or errors, you may need to adjust the XMP profile or revert back to the default settings.
By following these steps, you can install and optimize your 64GB DDR5 RAM for peak performance. With faster speeds and increased memory capacity, you can enjoy a smoother and more efficient computing experience.

Leave a Reply