Solid State Drives (SSDs) have become the go-to storage solution for many PC users due to their faster read and write speeds compared to traditional Hard Disk Drives (HDDs). With the introduction of PCIe Gen4 technology, SSDs have become even faster, making them an ideal choice for those looking to upgrade their storage solution.
One of the most popular options in the market is the 1TB PCIe Gen4 SSD, offering ample storage space and lightning-fast speeds. If you’re considering installing and optimizing a 1TB PCIe Gen4 SSD in your PC, here’s a step-by-step guide to help you get started.
Step 1: Check Compatibility
Before purchasing a 1TB PCIe Gen4 SSD, make sure that your motherboard supports PCIe Gen4 technology. You can check your motherboard’s specifications on the manufacturer’s website or consult the user manual. If your motherboard does not support PCIe Gen4, you may need to upgrade to a compatible motherboard.
Step 2: Gather Necessary Tools
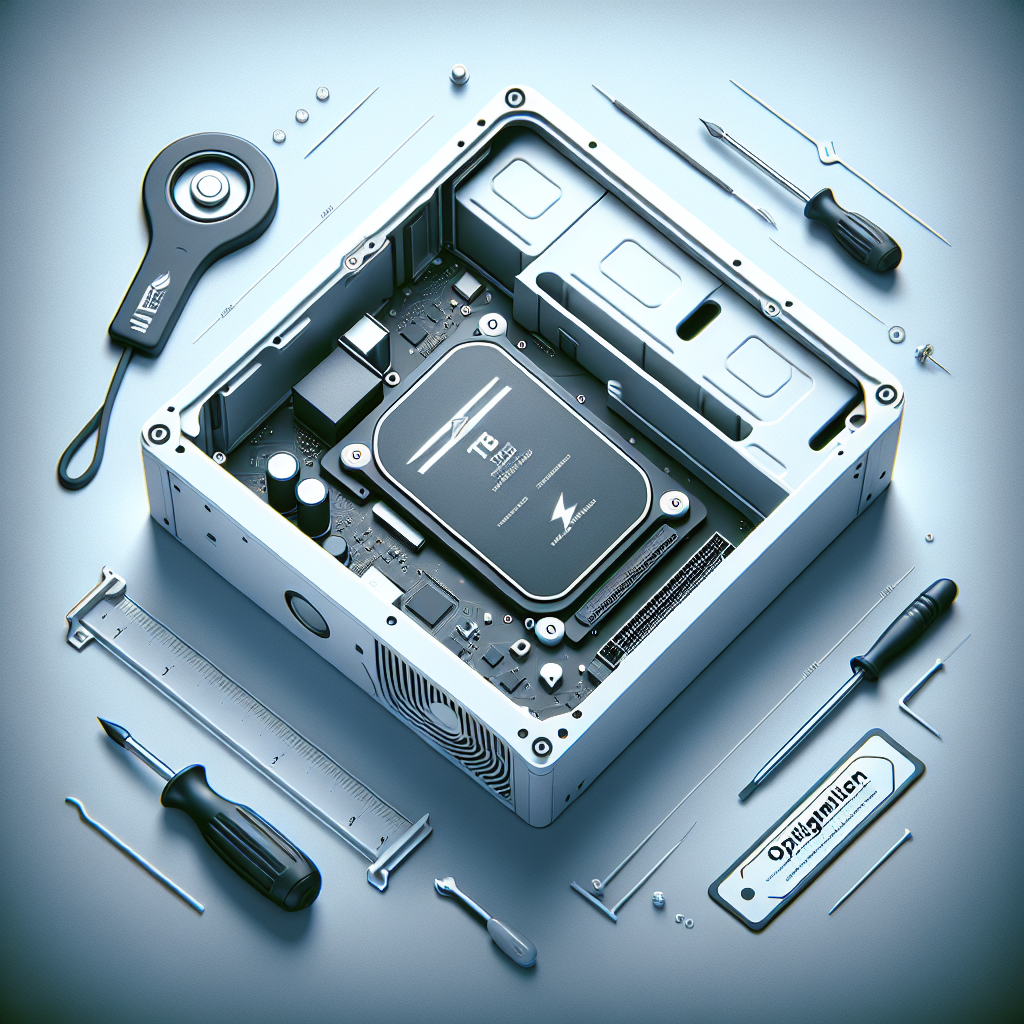
To install a 1TB PCIe Gen4 SSD in your PC, you’ll need a screwdriver, an anti-static wrist strap (optional but recommended), and the SSD itself. Make sure to handle the SSD with care to prevent any damage.
Step 3: Install the SSD
Shut down your PC and disconnect all cables. Open your PC case and locate an available M.2 slot on your motherboard. Insert the SSD into the slot at a 30-degree angle and gently push it down until it clicks into place. Secure the SSD using the screw provided with your motherboard.
Step 4: Boot Up Your PC
Close your PC case, reconnect all cables, and power on your PC. Enter the BIOS settings by pressing the designated key (usually Del or F2) during startup. Check if the SSD is detected in the BIOS. If not, double-check the installation and make sure it is properly inserted.
Step 5: Optimize the SSD
Once the SSD is detected, you can optimize it for better performance. In Windows, open Disk Management by right-clicking on the Start menu and selecting “Disk Management.” Locate the new SSD and initialize it, create a new partition, and format it using the NTFS file system. You can also enable TRIM support for the SSD to improve its longevity and performance.
Step 6: Transfer Data
Now that your 1TB PCIe Gen4 SSD is installed and optimized, you can start transferring your data from your old storage drive. You can use cloning software or manually transfer your files to the new SSD. Make sure to update your system drivers and firmware to ensure compatibility and stability.
By following these steps, you can easily install and optimize a 1TB PCIe Gen4 SSD in your PC, enjoying faster read and write speeds and ample storage space for your files and applications. Upgrade your storage solution today and experience the benefits of PCIe Gen4 technology.

Leave a Reply