Your cart is currently empty!
How to Install and Optimize a 2TB NVMe SSD in Your Computer
If you’re looking to upgrade your computer’s storage capacity and speed, installing a 2TB NVMe SSD is a great option. NVMe (Non-Volatile Memory Express) SSDs are the latest and fastest type of solid-state drives available, offering significantly faster read and write speeds compared to traditional SATA SSDs. In this article, we’ll guide you through the process of installing and optimizing a 2TB NVMe SSD in your computer.
Step 1: Check Compatibility
Before purchasing a 2TB NVMe SSD, make sure that your computer’s motherboard supports NVMe drives. Most modern motherboards have an M.2 slot for NVMe SSDs, but it’s always a good idea to double-check the specifications of your motherboard to ensure compatibility.
Step 2: Gather the Necessary Tools
To install a 2TB NVMe SSD, you’ll need a few tools including a small screwdriver, an anti-static wrist strap (optional but recommended), and your new NVMe SSD.
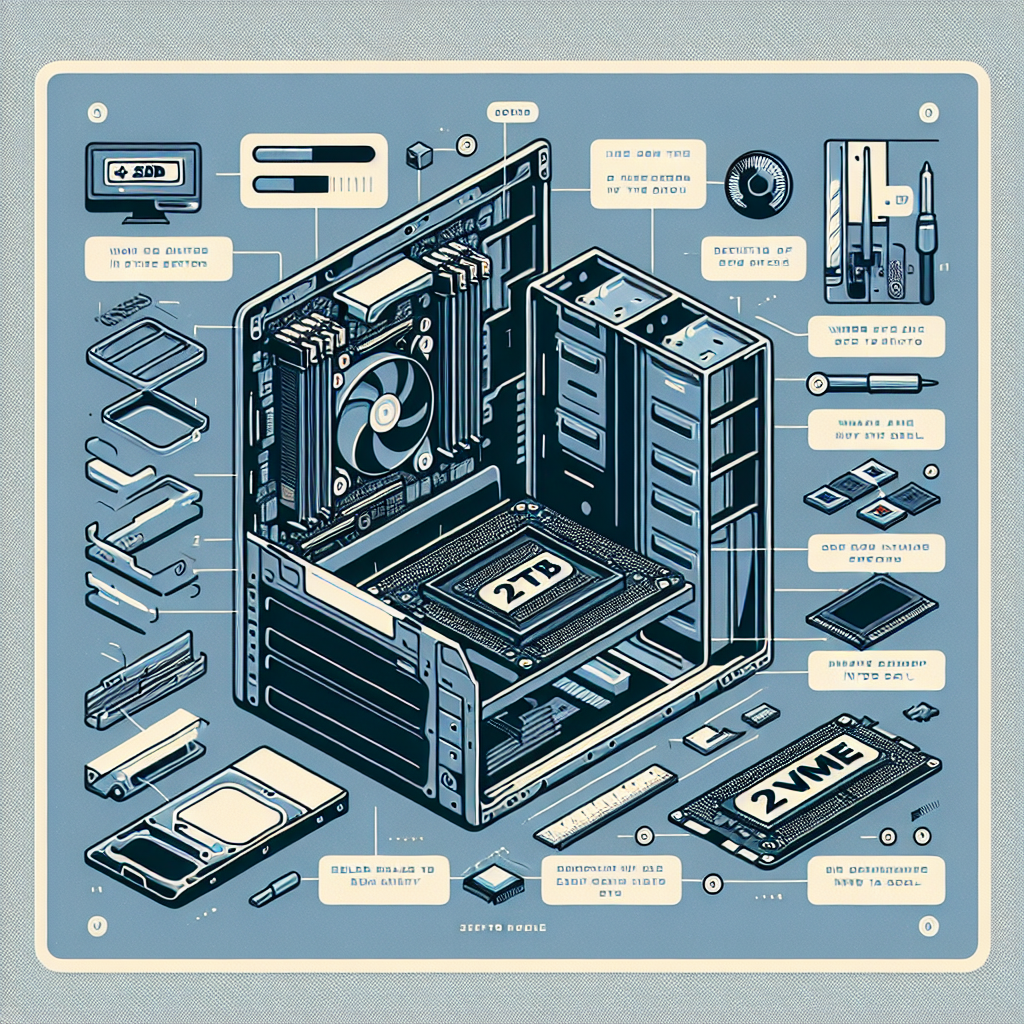
Step 3: Install the NVMe SSD
1. Shut down your computer and unplug all cables.
2. Open the computer case and locate the M.2 slot on your motherboard. It’s usually located near the CPU socket.
3. Carefully insert the NVMe SSD into the M.2 slot at a 30-degree angle and gently push it down.
4. Secure the SSD in place by tightening the screw that holds it down.
Step 4: Optimize the NVMe SSD
After installing the 2TB NVMe SSD, you’ll want to optimize it for maximum performance. Here are a few tips to get the most out of your new drive:
1. Update the firmware: Check the manufacturer’s website for any firmware updates for your NVMe SSD. Updating the firmware can improve performance and compatibility.
2. Enable AHCI mode: In your computer’s BIOS settings, make sure that the SATA mode is set to AHCI for optimal performance.
3. Enable TRIM: TRIM is a feature that helps maintain the performance of your SSD by clearing unused data blocks. To enable TRIM, open the Command Prompt and type “fsutil behavior set disabledeletenotify 0” (without quotes) and press Enter.
4. Enable XMP: If your motherboard supports XMP (Extreme Memory Profile), enable it in the BIOS settings to optimize memory performance for your NVMe SSD.
5. Install the latest drivers: Make sure to install the latest drivers for your NVMe SSD from the manufacturer’s website to ensure compatibility and optimal performance.
By following these steps, you can successfully install and optimize a 2TB NVMe SSD in your computer. Enjoy the increased storage capacity and lightning-fast speeds that NVMe SSDs have to offer!

Leave a Reply