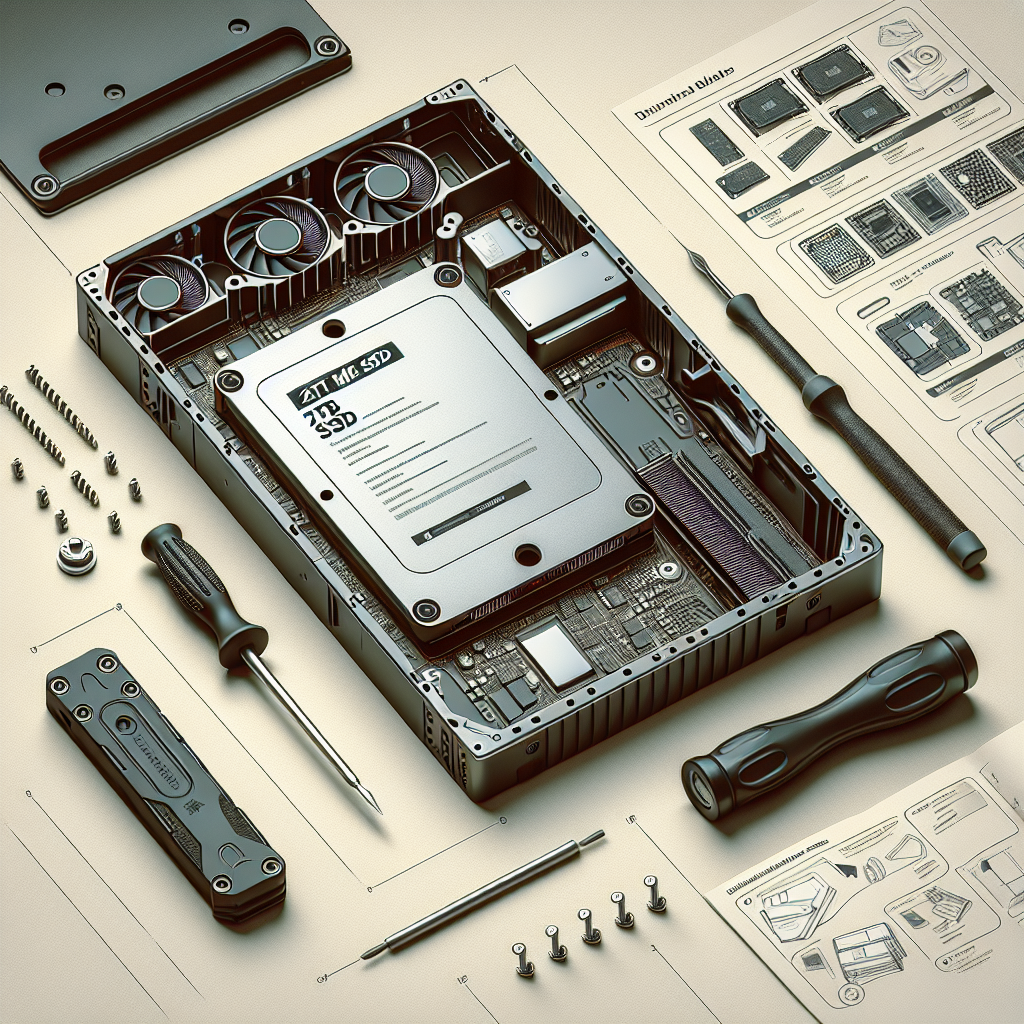
If you’re looking to upgrade your computer’s storage capacity and speed, installing a 2TB NVMe SSD is a great option. NVMe SSDs are much faster than traditional hard drives, making them perfect for tasks like gaming, video editing, and large file transfers. In this step-by-step guide, we’ll walk you through the process of installing and setting up your new 2TB NVMe SSD.
Step 1: Gather Your Supplies
Before you begin, make sure you have all the necessary supplies on hand. You will need your new 2TB NVMe SSD, a screwdriver, and any necessary cables or adapters.
Step 2: Prepare Your Computer
Before you can install your new NVMe SSD, you’ll need to open up your computer’s case. Make sure to shut down your computer and unplug it from the power source before you begin. Once the computer is off and unplugged, remove the side panel of your computer case to access the motherboard.
Step 3: Locate the M.2 Slot
Most modern motherboards have an M.2 slot for installing NVMe SSDs. Locate the M.2 slot on your motherboard – it will typically be located near the CPU socket. The M.2 slot will have a small screw holding down a cover, which you will need to remove before installing your SSD.
Step 4: Install the SSD
Carefully insert your new 2TB NVMe SSD into the M.2 slot on your motherboard. Make sure the SSD is properly aligned with the slot before gently pushing it into place. Once the SSD is in the slot, secure it with the screw that you removed in the previous step.
Step 5: Connect Any Necessary Cables
Depending on your motherboard, you may need to connect a cable to the SSD to provide power and data transfer capabilities. Consult your motherboard’s manual to determine if any additional cables are needed, and connect them accordingly.
Step 6: Close Up Your Computer
Once your new NVMe SSD is installed and connected, replace the side panel of your computer case and plug your computer back in. Power on your computer to make sure the SSD is recognized by your system.
Step 7: Set Up Your SSD
After your computer boots up, you may need to format and partition your new NVMe SSD before you can start using it. To do this, open your computer’s disk management tool and follow the on-screen prompts to format and partition the SSD.
Congratulations! You have successfully installed and set up your new 2TB NVMe SSD. Enjoy the increased storage capacity and speed that comes with upgrading to an NVMe SSD.

Leave a Reply
You must be logged in to post a comment.