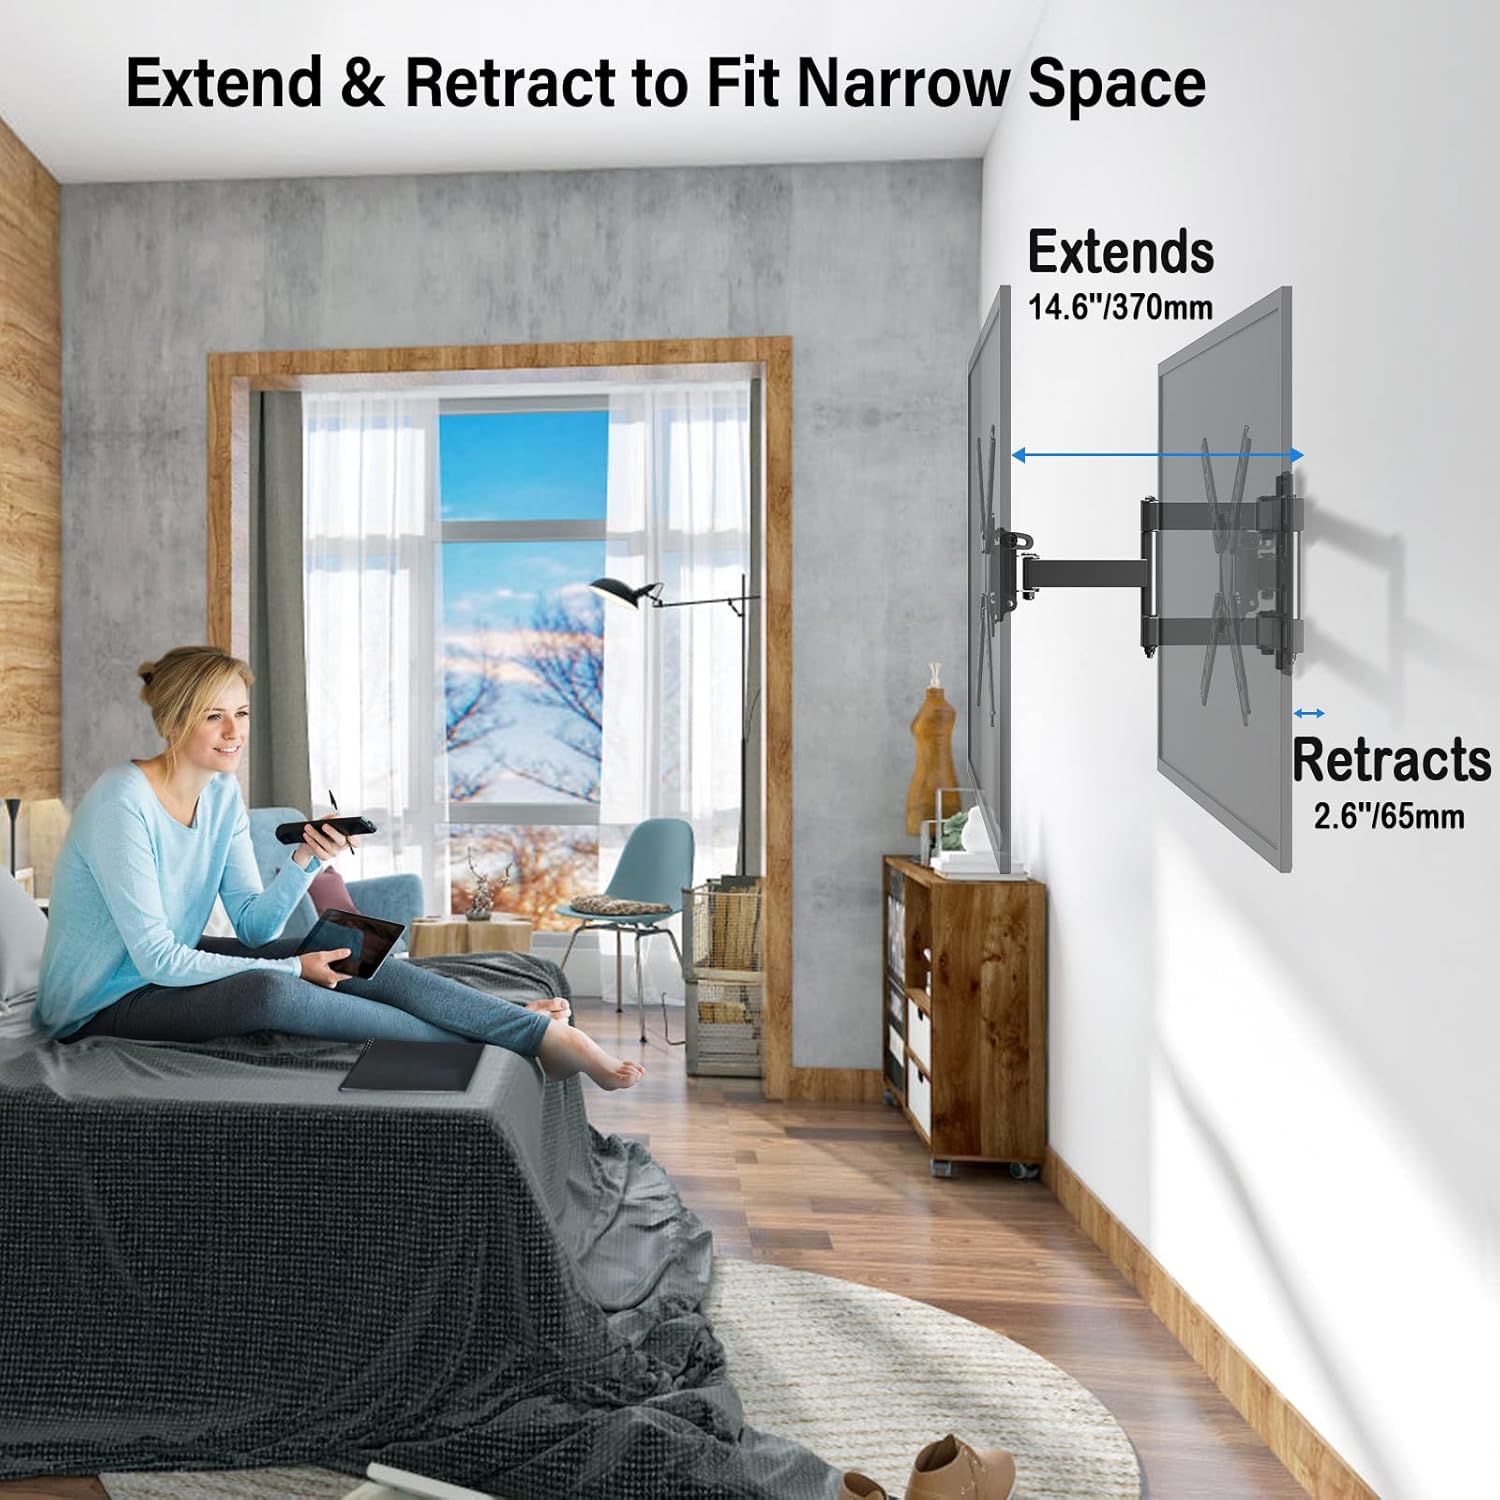
I purchased the Mountup TV mount for my home gym in an unfinished basement. The TV I hung is a relatively lightweight 43-inch flat panel, so I didn't need anything heavy-duty. Having hung many TVs in my life, I would say that this mount isn't the easiest, nor the hardest; however, there are a couple of things to watch out for. After you unpack everything, you need to attached the VESA mount arms according to your TVs specifications, mine was 200mm. When assembling the arms to the center plate and attaching them to the TV, don't crank the bolts tight right away; leave everything kind of loose, and then once it's all attached to the TV, tighten them up. Also, pay attention to the bolts that attach to the TV, you may need to add spacers if they bottom out. Luckily, the kit comes with plenty of spacer options. Next, mount the bracket to the wall. In the directions, they said to leave the arm on and predrill the holes. I didn't do this. I removed the arm, predrilled and screwed in the top lag bolt, made sure everything was level, then predrilled the bottom and screwed in that lag bolt. I left the middle one out since it was kind of overkill for my application. Next, I hung the TV. Reattach the arm if you remove it. Remove the two screws in the VESA mount, per the directions. You may want someone to help you line up the notch on the VESA mount to the wall mount arm. Once placed, screw the two bolts back in. Finally, perform a final alignment, per the directions. I would recommend having a 10mm socket, 10mm driver and electric drill, adjustable wrench, and ratchet for the socket for this mount. Drilling in the lag bolts by hand will get old fast. The mount itself isn't the most stable and is kind of wobbly after fully assembled. As long as you don't plan to move it a lot, this is fine, but if you have a larger or heavier TV, I'd recommend spending more to get a mount that's a little more solid.


Leave a Reply