Your cart is currently empty!
Setting Up and Configuring Network Attached Storage (NAS) for Beginners
Setting Up and Configuring Network Attached Storage (NAS) for Beginners
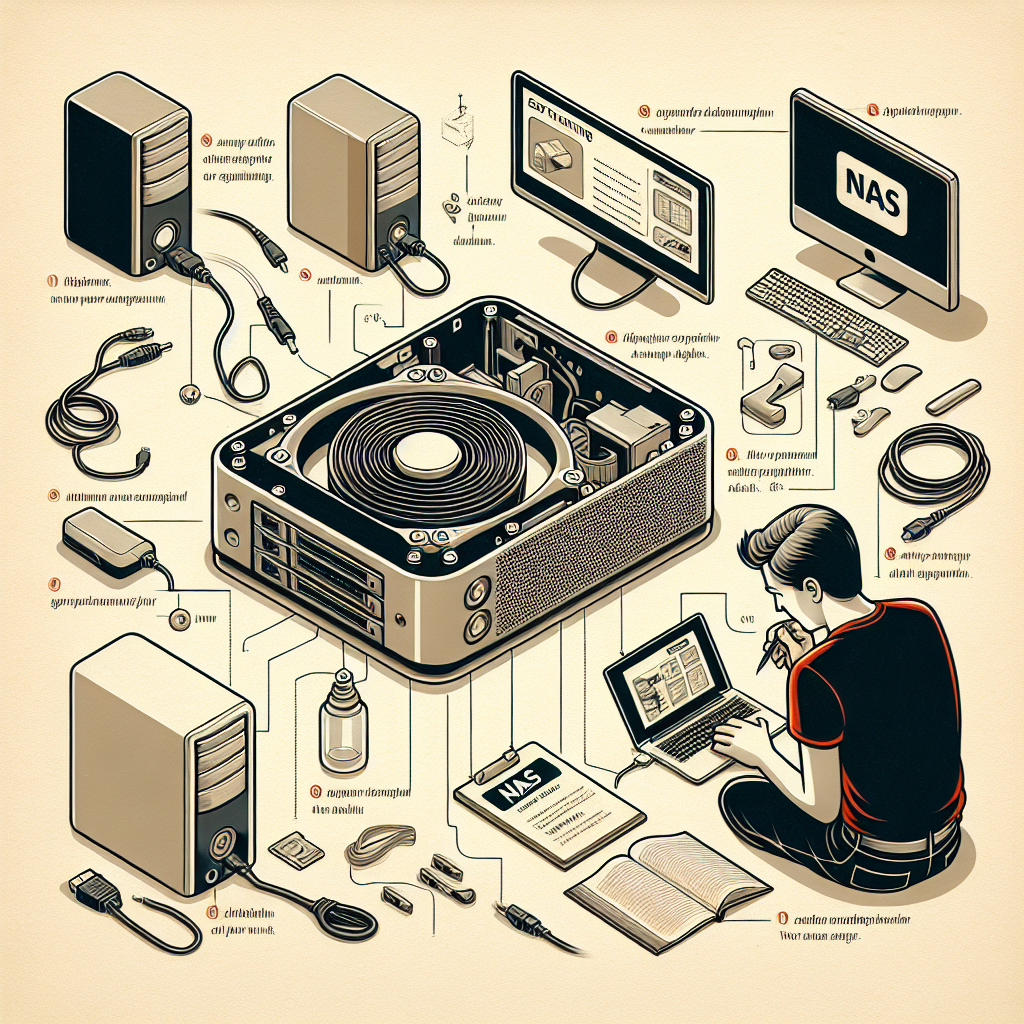
Network Attached Storage (NAS) is a convenient and secure way to store and access your files over a network. Whether you are a small business owner, a home user, or a student, setting up a NAS can greatly enhance your data storage capabilities and make file sharing easier. In this article, we will guide you through the process of setting up and configuring a NAS for beginners.
Choose the right NAS device
The first step in setting up a NAS is choosing the right device for your needs. There are many different NAS devices available on the market, ranging from simple single-drive units to more complex multi-drive systems. Consider factors such as storage capacity, data redundancy options, network connectivity, and budget when selecting a NAS device.
Connect the NAS to your network
Once you have chosen a NAS device, the next step is to connect it to your network. Most NAS devices can be connected to your network using an Ethernet cable. Simply plug one end of the cable into the NAS device and the other end into your router or switch. Make sure to power on the NAS device and follow the manufacturer’s instructions for setting up the network connection.
Access the NAS web interface
After connecting the NAS device to your network, you can access the web interface to configure the device settings. Open a web browser on a computer connected to the same network as the NAS and enter the IP address of the NAS in the address bar. You may need to enter a username and password to access the web interface, which is typically provided in the device’s user manual.
Configure the NAS settings
Once you have accessed the NAS web interface, you can start configuring the device settings. This may include setting up user accounts, creating shared folders, configuring security settings, and setting up data backups. Some NAS devices also offer additional features such as media streaming, remote access, and cloud backup integration, which you can configure based on your needs.
Set up file sharing
One of the main benefits of a NAS is the ability to share files with other users on the network. You can create shared folders on the NAS and assign permissions to specific users or groups to control who can access and modify the files. You can also set up remote access to the NAS to access your files from anywhere with an internet connection.
Backup your data
Data backup is a critical aspect of NAS setup, as it protects your files from loss or corruption. Most NAS devices offer built-in backup features that allow you to schedule regular backups of your data to an external drive or cloud storage service. Make sure to set up a backup plan to ensure that your files are safe and secure.
In conclusion, setting up and configuring a NAS for beginners is a straightforward process that can greatly enhance your data storage and file sharing capabilities. By choosing the right NAS device, connecting it to your network, configuring the settings, setting up file sharing, and backing up your data, you can enjoy the benefits of a secure and convenient storage solution.
All-Flash Storage Amazon FSx for NetApp ONTAP Attached Beginners Cloud Storage CloudOps Configuring Data Fabric Data Management Data storage Hybrid Cloud Intelligent data infrastructure NAS Netapp Network Network Attached Storage (NAS) ONTAP ONTAP data management software setting Storage Storage Area Network (SAN) Unified Storage

Leave a Reply