Your cart is currently empty!
Step-by-Step Guide: Building and Programming Real Robots with C++ on Raspberry Pi
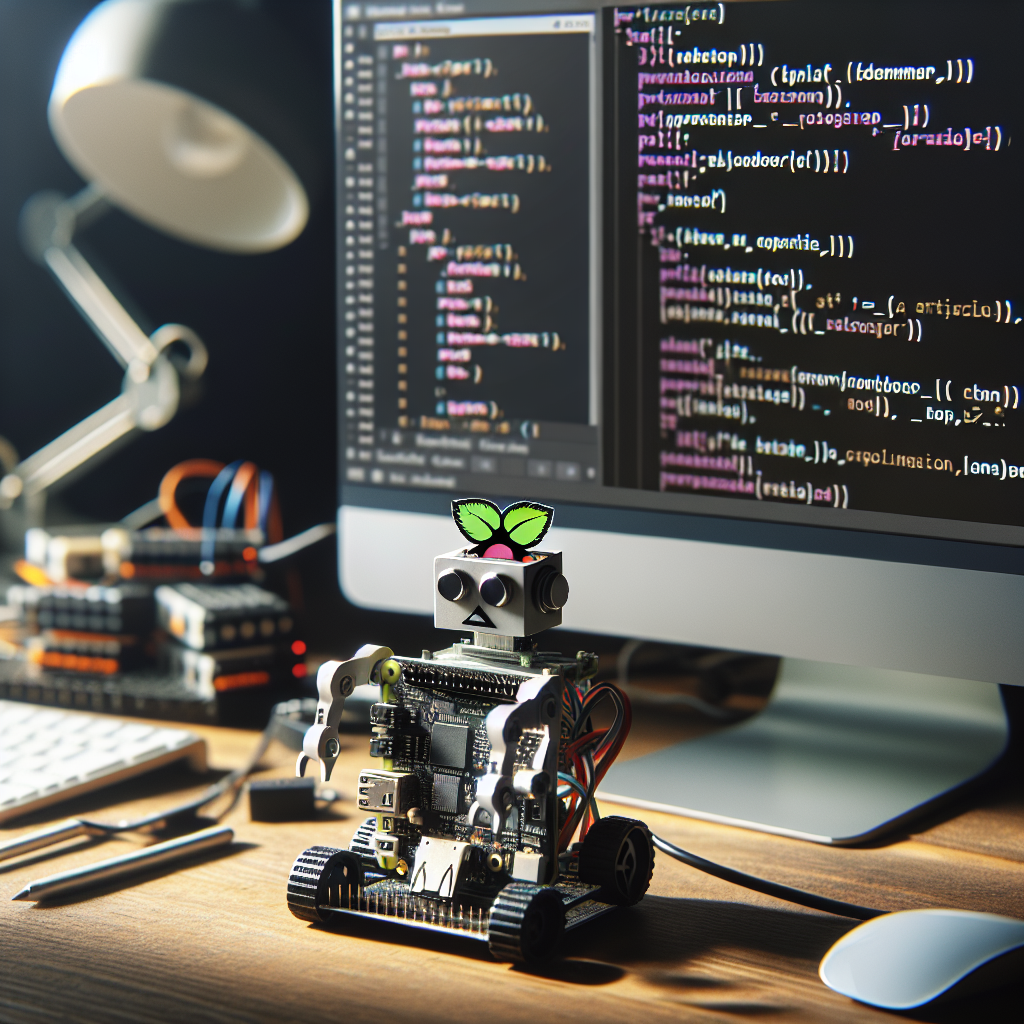
If you’re interested in building and programming real robots using C++ on a Raspberry Pi, you’ve come to the right place. In this step-by-step guide, we’ll walk you through the process of creating your very own robotic creation.
Step 1: Gather Your Materials
Before you can start building your robot, you’ll need to gather all the necessary materials. Here’s a list of what you’ll need:
– Raspberry Pi (any model will do, but the Raspberry Pi 4 is recommended for its speed and performance)
– Robot chassis kit
– Motor controller board
– Motors and wheels
– Sensors (such as ultrasonic sensors, infrared sensors, or cameras)
– Battery pack
– Jumper wires
– Breadboard
– C++ programming software (such as Visual Studio Code or Eclipse)
Step 2: Assemble Your Robot
Once you have all your materials, it’s time to assemble your robot. Follow the instructions included with your robot chassis kit to put together the frame of your robot. Then, attach the motors and wheels to the chassis, making sure they are securely fastened.
Next, connect the motor controller board to your Raspberry Pi using jumper wires. Make sure to follow the wiring diagram provided with your motor controller board to ensure everything is connected correctly.
Step 3: Add Sensors
Depending on the type of robot you want to build, you may want to add sensors to your creation. Sensors can help your robot navigate its environment, avoid obstacles, or interact with objects. Connect the sensors to your Raspberry Pi using jumper wires and a breadboard.
Step 4: Program Your Robot
Now it’s time to program your robot using C++. Open your programming software and create a new project for your robot. Write code to control the motors, read sensor data, and make decisions based on that data.
You can find plenty of resources online for learning how to program robots with C++. There are tutorials, forums, and communities dedicated to helping you get started with robotics programming.
Step 5: Test Your Robot
Once you’ve written the code for your robot, it’s time to test it out. Upload the code to your Raspberry Pi and power up your robot. Watch as it moves, reacts to its environment, and performs the tasks you’ve programmed it to do.
If your robot isn’t behaving as expected, don’t worry. Debugging is a normal part of the programming process. Go back to your code, check for errors, and make any necessary corrections.
Building and programming real robots with C++ on a Raspberry Pi is a fun and rewarding experience. With the right materials, knowledge, and determination, you can create your very own robotic creation. So roll up your sleeves, get to work, and let your imagination run wild with possibilities.
#StepbyStep #Guide #Building #Programming #Real #Robots #Raspberry,practical robotics in c++: build and program real autonomous robots using
raspberry pi

Leave a Reply