Price: $2.99
(as of Jan 23,2025 04:51:06 UTC – Details)

From the Publisher
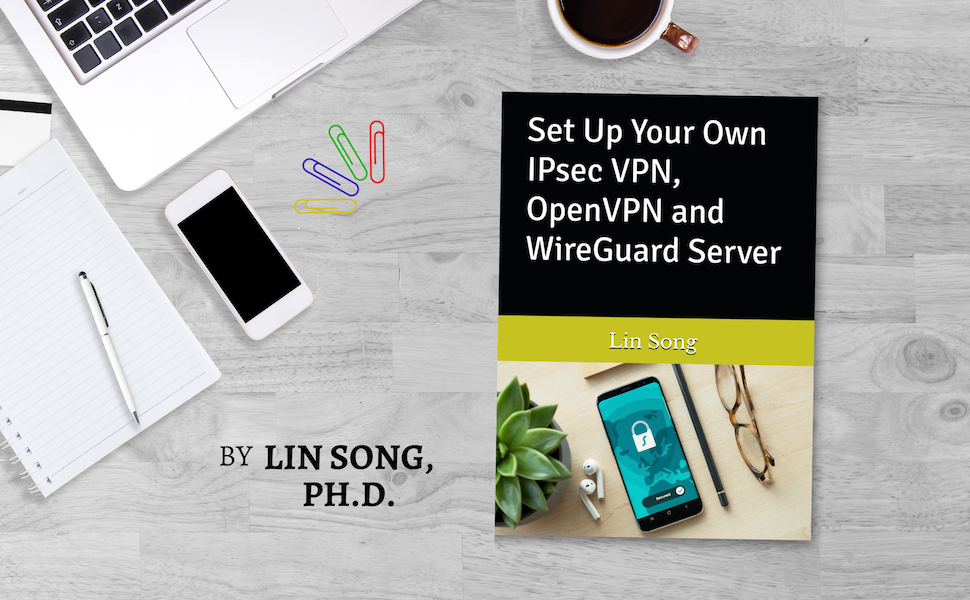
Learn how to build your own VPN server in the cloud or on a Raspberry Pi
Based on 10 years of open source work with millions of users, this book covers everything you need to know to build your own VPN.
By reading this book you will learn how to:
Create a cloud server and connect using SSHSet up IPsec VPN with IKEv2, OpenVPN and WireGuardCustomize VPN options, advanced usage and troubleshootingRun IPsec VPN with IKEv2 on Docker and advanced usageConfigure VPN clients on Windows, macOS, iOS, Android, Chrome OS and LinuxManage WireGuard, OpenVPN, IPsec VPN and IKEv2 clients
ASIN : B0BP955T3M
Publication date : December 6, 2022
Language : English
File size : 1553 KB
Simultaneous device usage : Unlimited
Text-to-Speech : Enabled
Screen Reader : Supported
Enhanced typesetting : Enabled
X-Ray : Not Enabled
Word Wise : Not Enabled
Print length : 192 pages
In today’s age of increasing online surveillance and privacy concerns, setting up your own VPN server can provide you with added security and peace of mind when browsing the internet. In this post, we will guide you through the process of setting up your own IPsec VPN, OpenVPN, and WireGuard server.
1. Choose a server provider:
The first step in setting up your own VPN server is to choose a server provider. You can use popular cloud providers such as Amazon Web Services (AWS), Google Cloud Platform, or DigitalOcean to host your server.
2. Set up your server:
Once you have chosen a server provider, you will need to set up a virtual machine or server instance. Make sure to choose a secure password and enable firewall rules to protect your server from potential attacks.
3. Install the VPN software:
Next, you will need to install the VPN software of your choice. For IPsec VPN, you can use strongSwan or LibreSwan. For OpenVPN, you can use OpenVPN Access Server or OpenVPN Community Edition. For WireGuard, you can use the official WireGuard software.
4. Configure the VPN server:
After installing the VPN software, you will need to configure the server settings such as IP addresses, encryption protocols, and authentication methods. Each VPN software has its own configuration files and documentation that you can refer to for guidance.
5. Generate client profiles:
To connect to your VPN server, you will need to generate client profiles or configuration files. These files contain the necessary settings and credentials for your devices to connect securely to the VPN server.
6. Connect to your VPN server:
Once you have generated the client profiles, you can now connect to your VPN server using the VPN client software on your devices. Make sure to test the connection and ensure that your data is encrypted and secure.
By following these steps, you can set up your own IPsec VPN, OpenVPN, and WireGuard server to protect your online privacy and security. Building your own VPN server gives you full control over your data and allows you to browse the internet anonymously without relying on third-party VPN providers. Start building your own VPN server today and take control of your online privacy.
#Set #IPsec #VPN #OpenVPN #WireGuard #Server #Build #VPN,acer aspire 5 15 slim laptop | 15.6ʼʼ fhd 1920×1080 ips touch | intel core
i5-13420h | intel uhd graphics | 16gb lpddr5 | 512gb gen 4 ssd | wi-fi 6 |
backlit kb | protective sleeve| a515-58pt-50uj


You must be logged in to post a comment.