Tag: Optimize

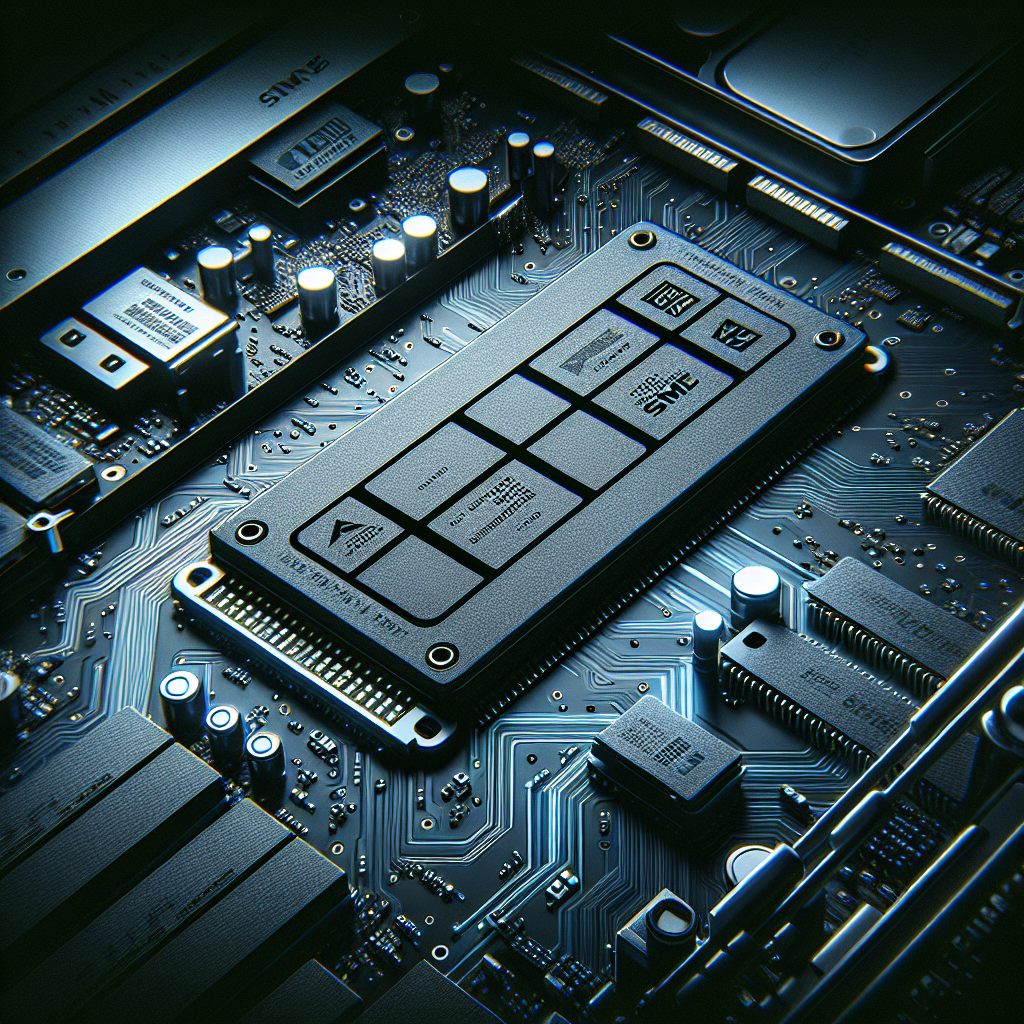
  • How to Optimize Performance in a Storage Area Network (SAN)

    How to Optimize Performance in a Storage Area Network (SAN)


    Storage Area Networks (SAN) are essential for businesses looking to efficiently store and manage large amounts of data. However, simply setting up a SAN is not enough to ensure optimal performance. To get the most out of your SAN investment, it is important to optimize its performance. Here are some tips on how to do just that.

    1. Properly configure your SAN

    One of the first steps in optimizing SAN performance is to ensure that it is properly configured. This includes setting up the correct RAID levels, configuring LUNs (Logical Unit Numbers) and using the appropriate zoning and masking techniques. Proper configuration will help ensure that data is stored and accessed efficiently.

    2. Use high-performance hardware

    Investing in high-performance hardware such as solid-state drives (SSDs) and high-speed network interfaces can greatly improve SAN performance. SSDs are much faster than traditional spinning hard drives and can significantly reduce latency. High-speed network interfaces, such as 10GbE or 40GbE, can also help improve data transfer speeds.

    3. Implement storage tiering

    Storage tiering involves placing data on different types of storage media based on its importance and frequency of access. By using a combination of SSDs, high-speed hard drives, and slower, high-capacity drives, you can ensure that frequently accessed data is stored on the fastest media, while less frequently accessed data is stored on slower, less expensive media.

    4. Monitor and analyze performance

    Regularly monitoring and analyzing SAN performance is crucial for identifying bottlenecks and optimizing performance. Tools such as performance monitoring software can help you track metrics such as IOPS (Input/Output Operations Per Second), latency, and throughput. By analyzing this data, you can identify areas of improvement and make necessary adjustments.

    5. Implement data deduplication and compression

    Data deduplication and compression technologies can help reduce the amount of data stored on your SAN, leading to improved performance. Deduplication eliminates redundant data by storing only unique data blocks, while compression reduces the size of data by encoding it in a more efficient way. By implementing these technologies, you can free up storage space and improve data access times.

    6. Optimize network infrastructure

    The performance of a SAN is not only dependent on storage hardware but also on the underlying network infrastructure. To optimize SAN performance, ensure that your network switches, routers, and cables are capable of handling the data traffic generated by your SAN. Additionally, consider implementing network optimizations such as jumbo frames and VLANs to reduce latency and improve data transfer speeds.

    By following these tips, you can optimize the performance of your Storage Area Network and ensure that your data is stored and accessed efficiently. Investing time and resources into optimizing your SAN will pay off in the long run, leading to improved productivity and reduced downtime for your business.

  • Unleashing the Power: How to Optimize Data Center Performance for Success

    Unleashing the Power: How to Optimize Data Center Performance for Success


    In today’s digital age, data centers are the backbone of businesses, providing the infrastructure necessary to store, manage, and process vast amounts of information. With the increasing demand for data storage and processing power, optimizing data center performance has become essential for success in the competitive business landscape.

    Unleashing the power of a data center involves implementing strategies and technologies that enhance efficiency, reliability, and scalability. By optimizing data center performance, businesses can ensure faster processing speeds, improved data security, and increased agility to adapt to changing market demands.

    One key aspect of optimizing data center performance is ensuring efficient cooling and power management. Data centers consume a significant amount of energy to power servers and cooling systems, and inefficient cooling can lead to overheating and system failures. By implementing advanced cooling technologies, such as liquid cooling or hot aisle/cold aisle containment, businesses can reduce energy consumption and improve overall performance.

    Another important factor in data center optimization is virtualization. Virtualization technology allows businesses to consolidate multiple servers onto a single physical server, reducing hardware costs and improving resource utilization. By virtualizing servers, businesses can dynamically allocate resources to meet changing workload demands, leading to increased efficiency and flexibility.

    In addition to cooling and virtualization, businesses can optimize data center performance by implementing automation and monitoring tools. Automation software can streamline routine tasks, such as provisioning and maintenance, reducing human error and improving efficiency. Monitoring tools provide real-time insights into data center performance, allowing businesses to identify and address issues before they impact operations.

    Furthermore, businesses can enhance data center performance by investing in high-performance storage solutions, such as solid-state drives (SSDs) or storage area networks (SANs). These technologies offer faster data access speeds and improved reliability, ensuring seamless operations and data availability.

    Ultimately, unleashing the power of a data center requires a comprehensive approach that addresses efficiency, scalability, and reliability. By implementing advanced cooling technologies, virtualization, automation, and monitoring tools, businesses can optimize data center performance for success in the digital age. With a well-optimized data center, businesses can stay ahead of the competition, drive innovation, and achieve their strategic goals.

  • How to Install and Optimize a 2TB NVMe SSD for Improved Computer Performance

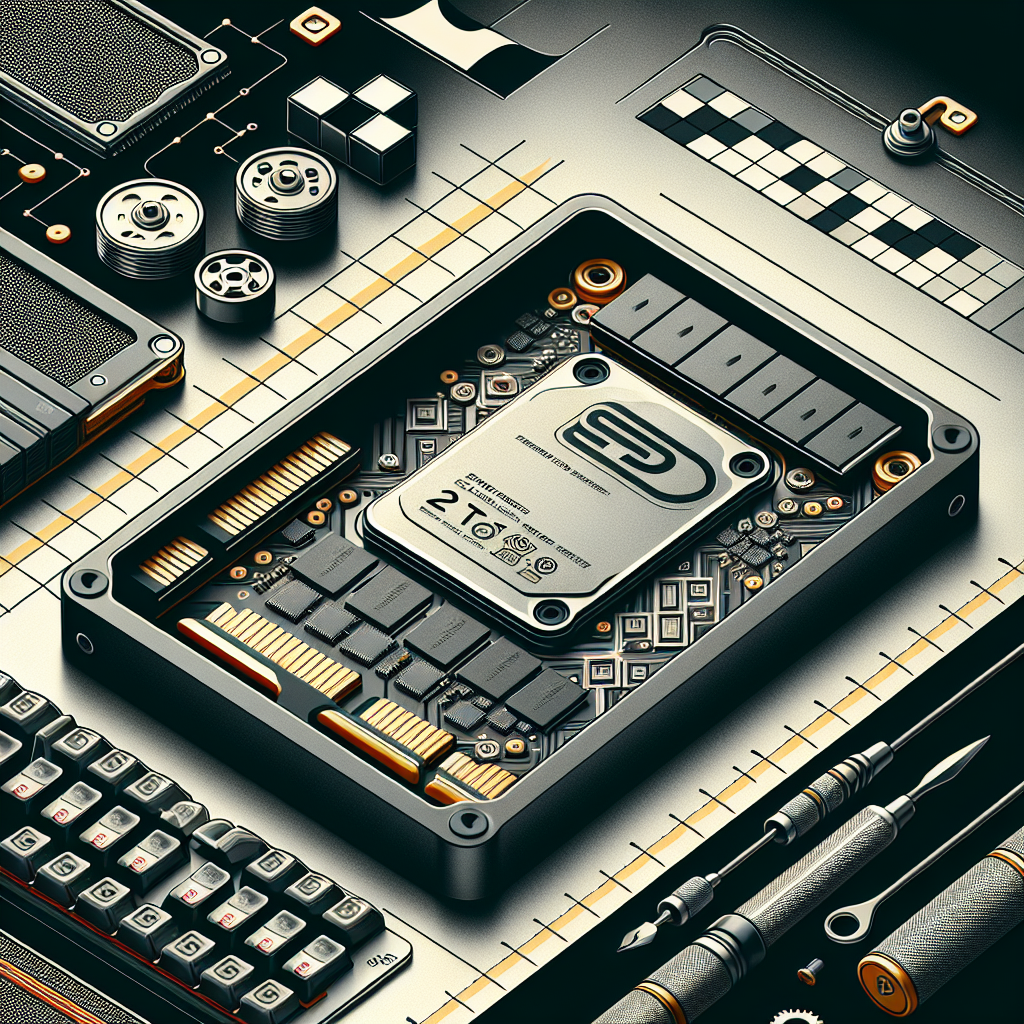
    How to Install and Optimize a 2TB NVMe SSD for Improved Computer Performance


    In today’s fast-paced digital world, having a high-performance computer is essential for productivity and efficiency. One way to boost your computer’s speed and performance is by installing a 2TB NVMe SSD (Solid State Drive). NVMe SSDs are known for their lightning-fast read and write speeds, making them an ideal choice for users who require fast data transfer and storage capabilities.

    If you’re looking to upgrade your computer with a 2TB NVMe SSD, here are some steps on how to install and optimize it for improved performance:

    1. Backup Your Data: Before you begin the installation process, it’s important to back up all your important data on an external drive or cloud storage. This will ensure that you don’t lose any valuable information in case something goes wrong during the installation process.

    2. Shut Down Your Computer: Make sure to shut down your computer completely before opening the case and installing the NVMe SSD. Unplug all cables and peripherals to avoid any electrical interference.

    3. Locate the M.2 Slot: Most modern motherboards come with an M.2 slot specifically designed for NVMe SSDs. Locate the M.2 slot on your motherboard and remove the screw that secures the slot cover.

    4. Insert the NVMe SSD: Carefully insert the NVMe SSD into the M.2 slot at a 30-degree angle. Gently push down on the SSD until it is fully seated in the slot. Secure the SSD with the screw that you removed earlier.

    5. Close the Case: Once the NVMe SSD is securely installed, close the computer case and reconnect all cables and peripherals. Power on your computer and enter the BIOS settings to ensure that the SSD is detected by the system.

    6. Install Operating System and Drivers: If you’re installing the NVMe SSD as a new boot drive, you’ll need to install the operating system on it. You can use a bootable USB drive with the OS installation files to do this. Make sure to also install the necessary drivers for the SSD to work properly.

    7. Enable NVMe SSD Optimization: To optimize the performance of your 2TB NVMe SSD, you can enable features like TRIM support, AHCI mode, and Secure Erase. These settings can be accessed in the BIOS or through the operating system’s device manager.

    8. Update Firmware and Drivers: It’s important to keep your NVMe SSD’s firmware and drivers up to date to ensure optimal performance and compatibility with the rest of your system. Check the manufacturer’s website regularly for updates and install them as needed.

    By following these steps, you can install and optimize a 2TB NVMe SSD for improved computer performance. With faster data transfer speeds and increased storage capacity, you’ll experience a significant boost in productivity and efficiency when using your computer. Upgrade your system today and enjoy a faster and more responsive computing experience.

  • How to Optimize Your System with the AMD Ryzen 7 Processor

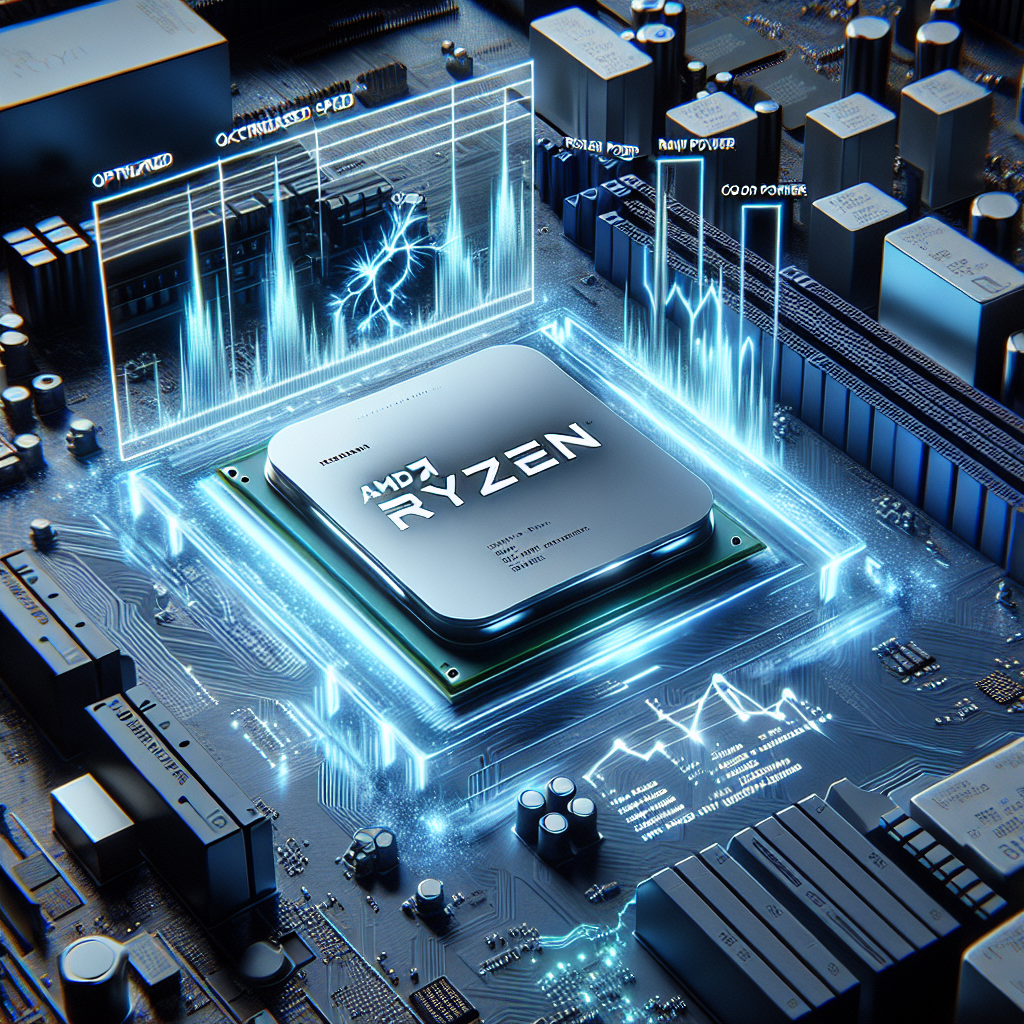
    How to Optimize Your System with the AMD Ryzen 7 Processor


    If you’re looking to upgrade your computer system for better performance, the AMD Ryzen 7 processor is a great choice. This powerful processor offers high-speed computing and multitasking capabilities, making it ideal for gaming, content creation, and everyday tasks. To fully optimize your system with the AMD Ryzen 7 processor, here are some tips to get the most out of your hardware.

    1. Update your BIOS:

    Before installing the AMD Ryzen 7 processor, make sure to update your motherboard’s BIOS to the latest version. This will ensure compatibility with the new processor and help to maximize its performance. Check your motherboard manufacturer’s website for instructions on how to update the BIOS.

    2. Install the latest drivers:

    After installing the AMD Ryzen 7 processor, make sure to install the latest drivers for your graphics card, chipset, and other components. This will help to ensure that your system is running smoothly and efficiently with the new processor.

    3. Overclocking:

    If you’re looking to push your system to its limits, consider overclocking your AMD Ryzen 7 processor. This can help to increase performance and speed, but be sure to do so cautiously and within safe limits to avoid damaging your hardware.

    4. Optimize power settings:

    To get the most out of your AMD Ryzen 7 processor, make sure to optimize your power settings in Windows. Set your computer to high performance mode to ensure that the processor is running at its maximum speed and efficiency.

    5. Monitor temperatures:

    To prevent overheating and maintain optimal performance, monitor the temperatures of your AMD Ryzen 7 processor using software like HWMonitor or Ryzen Master. Keep an eye on temperatures and adjust your cooling system if necessary.

    6. Upgrade your RAM:

    To fully optimize your system with the AMD Ryzen 7 processor, consider upgrading your RAM to faster speeds and higher capacities. This will help to improve multitasking capabilities and overall system performance.

    7. Utilize AMD Ryzen Master:

    AMD Ryzen Master is a powerful tool that allows you to customize and optimize your AMD Ryzen processor for maximum performance. Use this tool to adjust clock speeds, voltages, and other settings to fine-tune your system for your specific needs.

    By following these tips, you can optimize your system with the AMD Ryzen 7 processor for improved performance and speed. Whether you’re a gamer, content creator, or everyday user, the AMD Ryzen 7 processor is a great choice for upgrading your computer system.

  • Smart Solutions: Using Predictive Maintenance to Optimize Data Center Efficiency

    Smart Solutions: Using Predictive Maintenance to Optimize Data Center Efficiency


    Data centers are the backbone of today’s digital world, powering everything from online shopping and social media to cloud computing and streaming services. As the demand for data continues to grow, data centers are facing increasing pressure to operate efficiently and reliably. One way to meet these challenges is through the use of predictive maintenance.

    Predictive maintenance is a proactive approach to maintenance that uses data and analytics to predict when equipment is likely to fail so that maintenance can be performed before a breakdown occurs. By monitoring the condition of equipment in real-time and analyzing historical data, data center operators can identify potential issues before they cause downtime or performance degradation.

    One of the key benefits of predictive maintenance is its ability to optimize data center efficiency. By identifying and addressing potential issues before they escalate, data center operators can avoid costly downtime and unnecessary maintenance. This not only saves money but also helps to maximize the performance and lifespan of equipment, ultimately improving the overall efficiency of the data center.

    In addition to improving efficiency, predictive maintenance can also help data center operators to better plan and schedule maintenance activities. By knowing when equipment is likely to fail, operators can plan maintenance activities around peak usage times to minimize disruptions and downtime. This can help to ensure that critical services remain available to customers and that SLAs are met.

    Another advantage of predictive maintenance is its ability to reduce the risk of catastrophic failures. By monitoring equipment in real-time and identifying potential issues early on, operators can take proactive steps to prevent failures before they occur. This can help to avoid costly repairs, downtime, and data loss, ultimately improving the reliability and resilience of the data center.

    In conclusion, predictive maintenance is a smart solution for optimizing data center efficiency. By using data and analytics to predict when equipment is likely to fail, operators can proactively address issues before they escalate, ultimately improving the performance, reliability, and resilience of the data center. As the demand for data continues to grow, predictive maintenance will play an increasingly important role in helping data centers to operate efficiently and reliably in the digital age.

  • How to Install and Optimize a 2TB NVMe SSD for Maximum Performance

    How to Install and Optimize a 2TB NVMe SSD for Maximum Performance


    Solid State Drives (SSDs) have become increasingly popular over the years due to their faster read and write speeds compared to traditional hard drives. NVMe SSDs, in particular, are the fastest type of SSDs available on the market, offering lightning-fast performance for tasks such as gaming, video editing, and data management. If you’ve recently purchased a 2TB NVMe SSD and are looking to optimize it for maximum performance, here are some steps you can take to ensure you’re getting the most out of your new storage device.

    Step 1: Install the NVMe SSD

    The first step in optimizing your 2TB NVMe SSD is to properly install it in your computer. This process will vary depending on your system, but generally involves opening up your computer case, locating an available M.2 slot on your motherboard, and inserting the NVMe SSD into the slot. Be sure to secure the SSD with the appropriate screws to prevent it from moving around inside your case.

    Step 2: Update Firmware and Drivers

    Once your NVMe SSD is installed, it’s important to ensure that you have the latest firmware and drivers installed to maximize performance. Check the manufacturer’s website for any available updates and follow the instructions provided to install them on your system.

    Step 3: Enable TRIM Support

    TRIM is a feature that helps optimize the performance of SSDs by allowing the operating system to inform the drive which data blocks are no longer in use and can be wiped clean. To enable TRIM support on your NVMe SSD, open the Command Prompt as an administrator and type in the following command: fsutil behavior set DisableDeleteNotify 0. Press Enter to execute the command and restart your computer to apply the changes.

    Step 4: Enable AHCI Mode

    AHCI (Advanced Host Controller Interface) is a mode that allows the operating system to communicate with the storage controller in a more efficient manner, improving overall performance. To enable AHCI mode for your NVMe SSD, go into your computer’s BIOS settings and look for the SATA configuration option. Change the mode from IDE to AHCI and save the changes before exiting the BIOS.

    Step 5: Optimize Windows Settings

    To further enhance the performance of your 2TB NVMe SSD, you can make some adjustments to your Windows settings. Disable Superfetch and Prefetch by typing services.msc into the Windows search bar, locating the Superfetch and Prefetch services, and setting their startup type to Disabled. You can also disable indexing for your SSD by right-clicking on the drive in File Explorer, selecting Properties, and unchecking the box next to “Allow files on this drive to have contents indexed in addition to file properties.”

    By following these steps, you can optimize your 2TB NVMe SSD for maximum performance and enjoy faster read and write speeds for all your storage needs. With the right settings in place, your NVMe SSD will provide you with a seamless and efficient storage solution for years to come.

  • How to Install and Optimize 64GB DDR5 RAM for Peak Performance

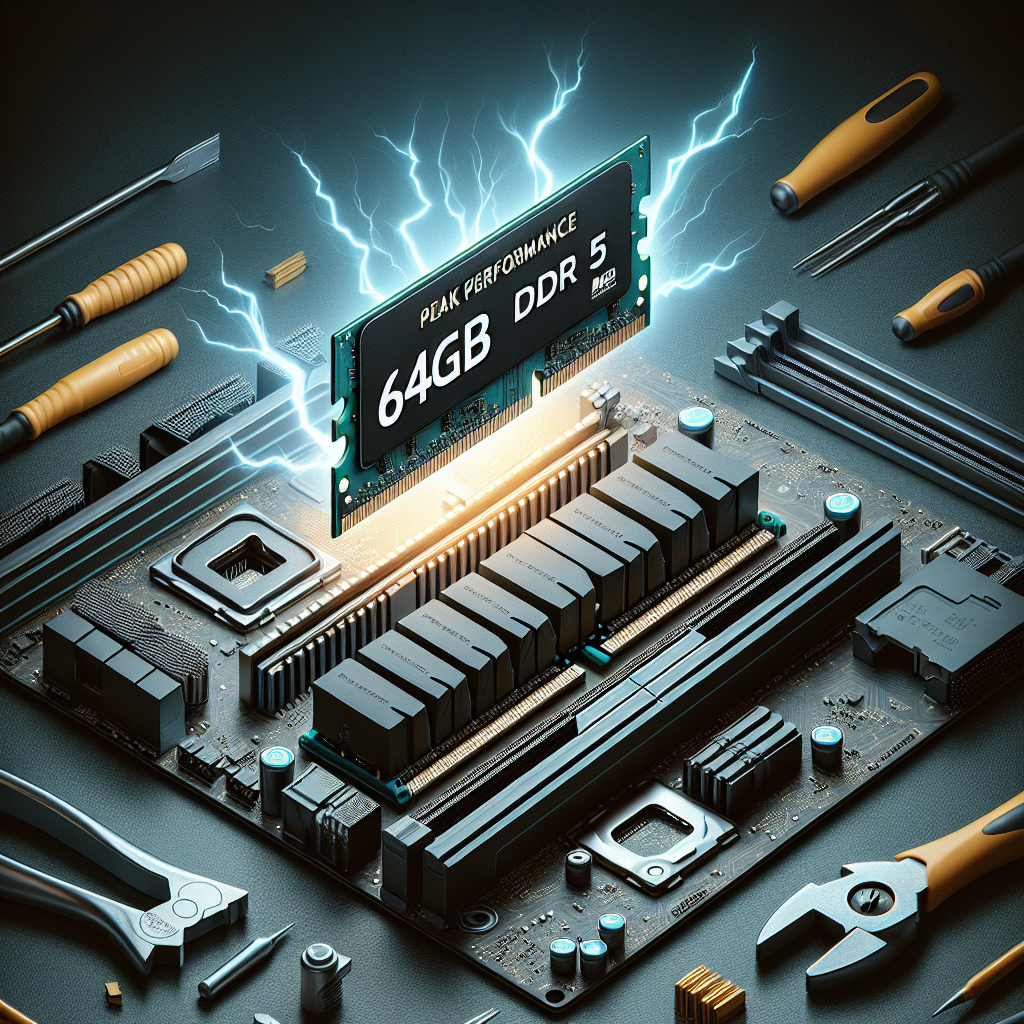
    How to Install and Optimize 64GB DDR5 RAM for Peak Performance


    In the world of technology, having enough RAM is crucial for ensuring your computer runs smoothly and efficiently. With the release of DDR5 RAM, users now have access to even faster and more powerful memory options. If you have recently upgraded to a 64GB DDR5 RAM kit, you may be wondering how to install and optimize it for peak performance. In this article, we will walk you through the steps to get the most out of your new memory upgrade.

    Step 1: Install the RAM

    The first step in optimizing your 64GB DDR5 RAM for peak performance is to install it correctly in your computer. To do this, follow these steps:

    1. Turn off your computer and unplug all cables.

    2. Open your computer case and locate the RAM slots on your motherboard.

    3. Align the notches on the RAM stick with the slot on the motherboard.

    4. Gently press down on the RAM stick until it clicks into place.

    5. Repeat this process for all of the RAM sticks in your kit.

    6. Close your computer case and plug in all cables.

    Step 2: Verify the Installation

    Once you have installed your 64GB DDR5 RAM, it is important to verify that it has been recognized by your computer. To do this, follow these steps:

    1. Turn on your computer and access the BIOS menu by pressing the designated key (usually Del or F2) during startup.

    2. Navigate to the Memory or RAM section of the BIOS menu.

    3. Check to see if your computer is recognizing the full 64GB of RAM.

    4. If the RAM is not being detected, double-check the installation and make sure the RAM sticks are fully seated in the slots.

    Step 3: Update Your BIOS

    To ensure that your computer is running optimally with your new 64GB DDR5 RAM, it is recommended to update your BIOS to the latest version. This can help improve compatibility and performance with the new memory. To update your BIOS, you will need to visit the website of your motherboard manufacturer and download the latest BIOS update for your specific model.

    Step 4: Enable XMP Profile

    Most DDR5 RAM kits come with an XMP (Extreme Memory Profile) that allows you to easily overclock your memory for increased performance. To enable the XMP profile, follow these steps:

    1. Access the BIOS menu by pressing the designated key during startup.

    2. Navigate to the RAM or Memory section of the BIOS menu.

    3. Look for an option to enable XMP or enable the XMP profile.

    4. Select the XMP profile that corresponds to the speed and timings of your RAM kit.

    5. Save changes and exit the BIOS menu.

    Step 5: Test for Stability

    After enabling the XMP profile, it is important to test the stability of your system to ensure that it can handle the overclocked memory. You can use software like Prime95 or MemTest86 to stress test your system and check for any stability issues. If you encounter any crashes or errors, you may need to adjust the XMP profile or revert back to the default settings.

    By following these steps, you can install and optimize your 64GB DDR5 RAM for peak performance. With faster speeds and increased memory capacity, you can enjoy a smoother and more efficient computing experience.

  • How to Optimize Your Gaming PC for Peak Performance

    How to Optimize Your Gaming PC for Peak Performance


    Gaming on a PC is a popular pastime for many people, and having a high-performance gaming rig can make all the difference when it comes to enjoying your favorite games. However, even the most powerful gaming PCs can benefit from some optimization to ensure they are running at peak performance. Here are some tips on how to optimize your gaming PC for the best gaming experience possible.

    1. Keep Your Drivers Up to Date

    One of the simplest ways to optimize your gaming PC is to make sure that all of your drivers are up to date. This includes your graphics card drivers, sound card drivers, and any other hardware drivers that are essential for gaming. Manufacturers often release updates that improve performance and fix bugs, so keeping your drivers updated can make a big difference in how your games run.

    2. Adjust Your Graphics Settings

    Many games come with graphics settings that can be adjusted to suit your PC’s capabilities. If you’re experiencing lag or stuttering while playing a game, try lowering the graphics settings to see if that helps improve performance. You can also try tweaking individual settings like anti-aliasing, texture quality, and shadow quality to find the right balance between performance and visual quality.

    3. Close Unnecessary Programs

    Running too many programs in the background can eat up valuable system resources and slow down your gaming PC. Before starting a gaming session, make sure to close any unnecessary programs and background processes that you don’t need. This can free up resources for your game and help it run more smoothly.

    4. Clean Your PC

    Dust and debris can accumulate inside your PC over time, clogging up fans and causing your components to overheat. Regularly cleaning your PC can help prevent overheating and improve performance. Use compressed air to blow out dust from fans and vents, and consider investing in a cooling pad or additional fans to help keep your system running cool.

    5. Upgrade Your Hardware

    If you find that your gaming PC is still struggling to keep up with the latest games, it may be time to consider upgrading your hardware. Upgrading components like your graphics card, CPU, or RAM can significantly improve performance and allow you to play games at higher settings. Just make sure to do your research and make sure that your new hardware is compatible with your existing setup.

    By following these tips, you can optimize your gaming PC for peak performance and enjoy a smoother and more enjoyable gaming experience. Whether you’re a casual gamer or a hardcore enthusiast, taking the time to optimize your PC can make a big difference in how your games run. So, dust off your rig, update your drivers, and get ready to game like never before.

  • Unleashing the Power of Data Centers: How to Optimize Performance

    Unleashing the Power of Data Centers: How to Optimize Performance


    Data centers are the backbone of modern technology, serving as the hub for storing, processing, and distributing vast amounts of data. As businesses increasingly rely on data to drive decision-making and improve efficiency, the performance of data centers has become more critical than ever. To maximize the capabilities of these facilities, it is essential to unleash their full potential and optimize performance.

    One of the key factors in optimizing data center performance is ensuring efficient cooling and power management. Data centers generate a significant amount of heat due to the high-powered servers and networking equipment they house. Proper cooling systems are essential to prevent overheating and ensure the smooth operation of the equipment. By implementing advanced cooling technologies, such as hot aisle/cold aisle containment and liquid cooling systems, data center operators can improve energy efficiency and reduce operating costs.

    In addition to cooling, power management is another crucial aspect of data center optimization. Power consumption is a major expense for data centers, with electricity costs accounting for a significant portion of operational expenses. By implementing energy-efficient hardware, such as servers and storage devices with low power consumption, data center operators can reduce their electricity bills and minimize their environmental impact.

    Another key factor in optimizing data center performance is ensuring reliable and secure connectivity. Data centers must have robust network infrastructure in place to handle the high volume of data traffic and ensure seamless connectivity for users. By investing in high-speed networking equipment and implementing redundant connectivity options, data center operators can minimize downtime and ensure consistent performance for their customers.

    Furthermore, data center operators can leverage advanced monitoring and analytics tools to optimize performance. By collecting and analyzing data on key performance metrics, such as server utilization, network traffic, and power consumption, operators can identify areas for improvement and make informed decisions to enhance efficiency and reliability. Real-time monitoring tools can also help detect and address potential issues before they escalate, minimizing the risk of downtime and disruptions.

    In conclusion, data centers play a crucial role in supporting the digital economy, and optimizing their performance is essential for businesses to stay competitive in today’s fast-paced world. By focusing on efficient cooling and power management, reliable connectivity, and advanced monitoring and analytics, data center operators can unleash the full potential of their facilities and ensure peak performance. By investing in the right technologies and strategies, businesses can maximize the benefits of their data centers and drive innovation and growth in the digital age.

  • How to Install and Optimize a 1TB PCIe Gen4 SSD in Your PC

    How to Install and Optimize a 1TB PCIe Gen4 SSD in Your PC


    Solid State Drives (SSDs) have become the go-to storage solution for many PC users due to their faster read and write speeds compared to traditional Hard Disk Drives (HDDs). With the introduction of PCIe Gen4 technology, SSDs have become even faster, making them an ideal choice for those looking to upgrade their storage solution.

    One of the most popular options in the market is the 1TB PCIe Gen4 SSD, offering ample storage space and lightning-fast speeds. If you’re considering installing and optimizing a 1TB PCIe Gen4 SSD in your PC, here’s a step-by-step guide to help you get started.

    Step 1: Check Compatibility

    Before purchasing a 1TB PCIe Gen4 SSD, make sure that your motherboard supports PCIe Gen4 technology. You can check your motherboard’s specifications on the manufacturer’s website or consult the user manual. If your motherboard does not support PCIe Gen4, you may need to upgrade to a compatible motherboard.

    Step 2: Gather Necessary Tools

    To install a 1TB PCIe Gen4 SSD in your PC, you’ll need a screwdriver, an anti-static wrist strap (optional but recommended), and the SSD itself. Make sure to handle the SSD with care to prevent any damage.

    Step 3: Install the SSD

    Shut down your PC and disconnect all cables. Open your PC case and locate an available M.2 slot on your motherboard. Insert the SSD into the slot at a 30-degree angle and gently push it down until it clicks into place. Secure the SSD using the screw provided with your motherboard.

    Step 4: Boot Up Your PC

    Close your PC case, reconnect all cables, and power on your PC. Enter the BIOS settings by pressing the designated key (usually Del or F2) during startup. Check if the SSD is detected in the BIOS. If not, double-check the installation and make sure it is properly inserted.

    Step 5: Optimize the SSD

    Once the SSD is detected, you can optimize it for better performance. In Windows, open Disk Management by right-clicking on the Start menu and selecting “Disk Management.” Locate the new SSD and initialize it, create a new partition, and format it using the NTFS file system. You can also enable TRIM support for the SSD to improve its longevity and performance.

    Step 6: Transfer Data

    Now that your 1TB PCIe Gen4 SSD is installed and optimized, you can start transferring your data from your old storage drive. You can use cloning software or manually transfer your files to the new SSD. Make sure to update your system drivers and firmware to ensure compatibility and stability.

    By following these steps, you can easily install and optimize a 1TB PCIe Gen4 SSD in your PC, enjoying faster read and write speeds and ample storage space for your files and applications. Upgrade your storage solution today and experience the benefits of PCIe Gen4 technology.

Chat Icon