Tag: Properly

  • How to Properly Install and Maintain the SIEMENS W0816ML1125CU 125 Amp Panel

    How to Properly Install and Maintain the SIEMENS W0816ML1125CU 125 Amp Panel


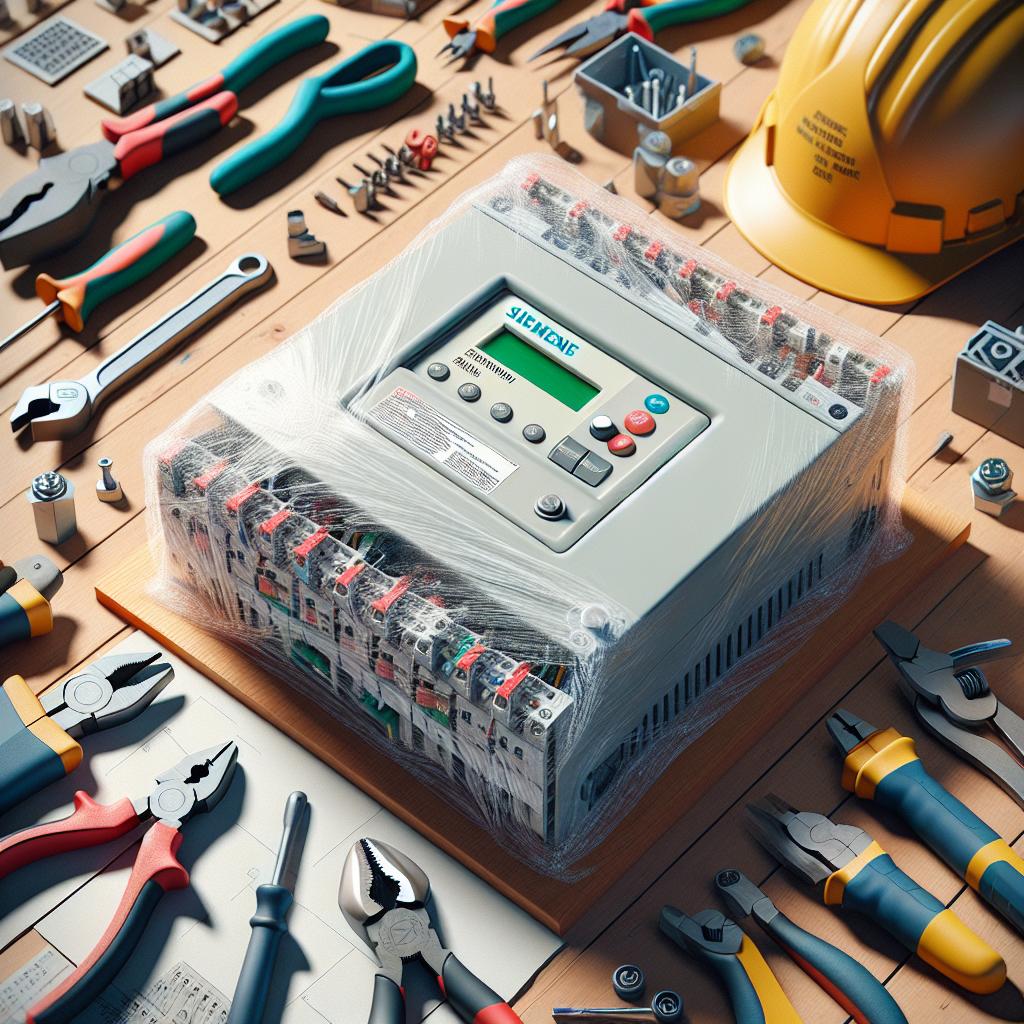
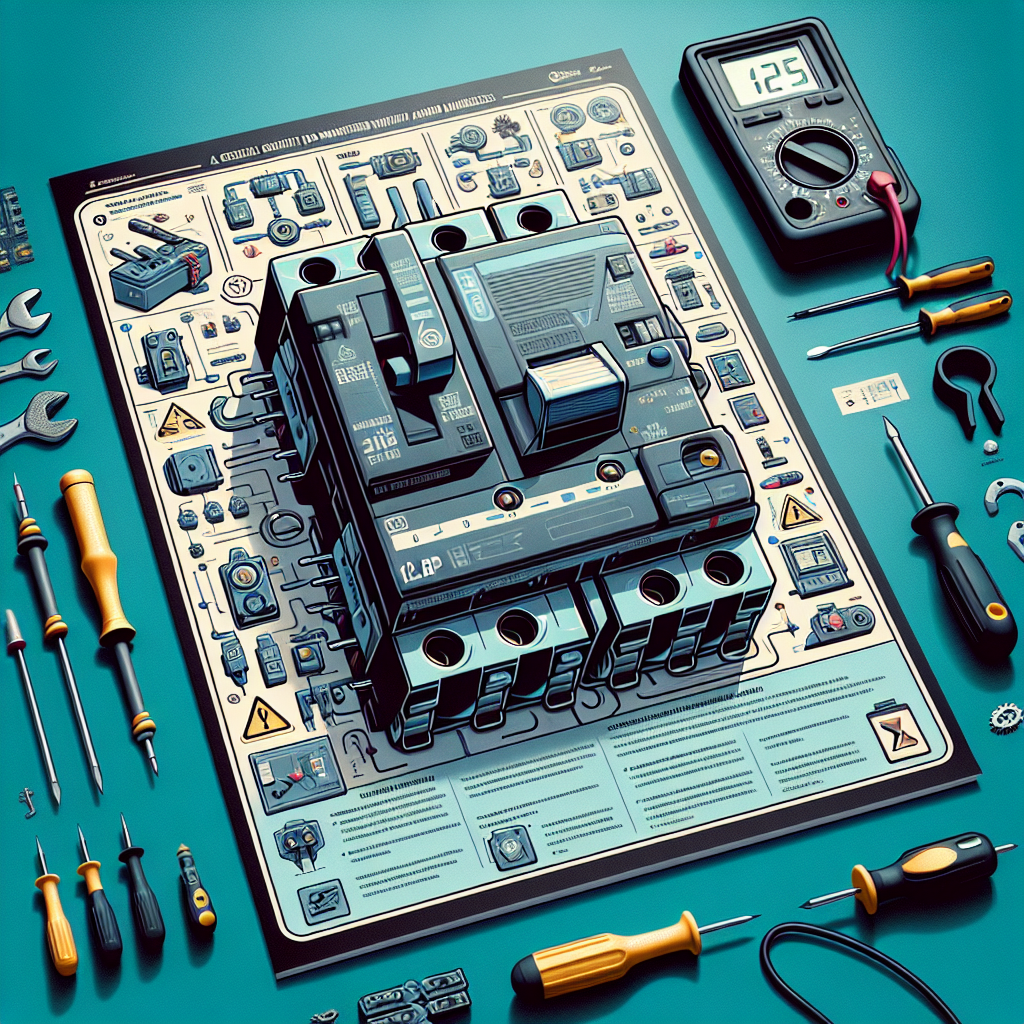
    SIEMENS is a well-known brand in the electrical industry, and their W0816ML1125CU 125 Amp Panel is a popular choice for many homeowners and businesses. This panel is designed to provide reliable and efficient power distribution, but in order to ensure it functions properly, it must be installed and maintained correctly. In this article, we will discuss how to properly install and maintain the SIEMENS W0816ML1125CU 125 Amp Panel.

    Installation:

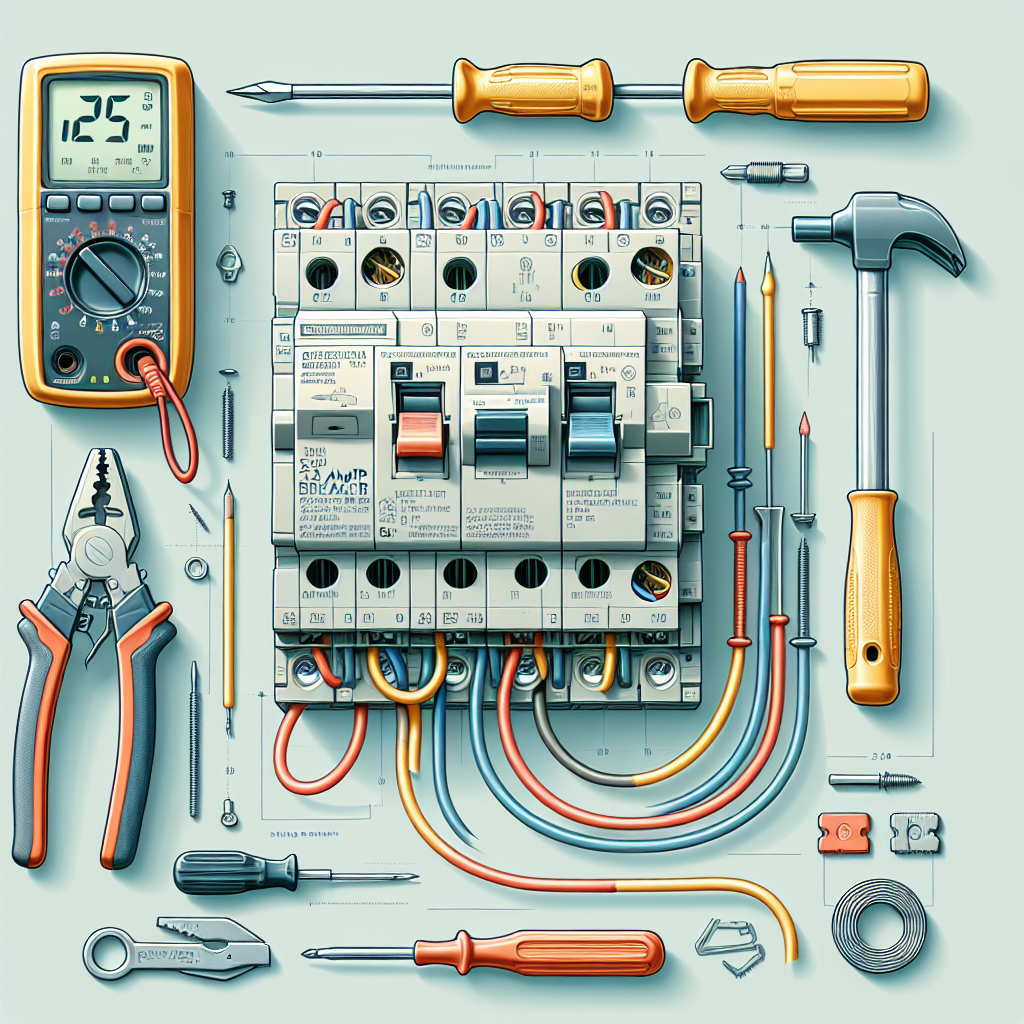
    1. Before you begin the installation process, make sure you have all the necessary tools and equipment. You will need a screwdriver, wire cutters, wire strippers, and a voltage tester.

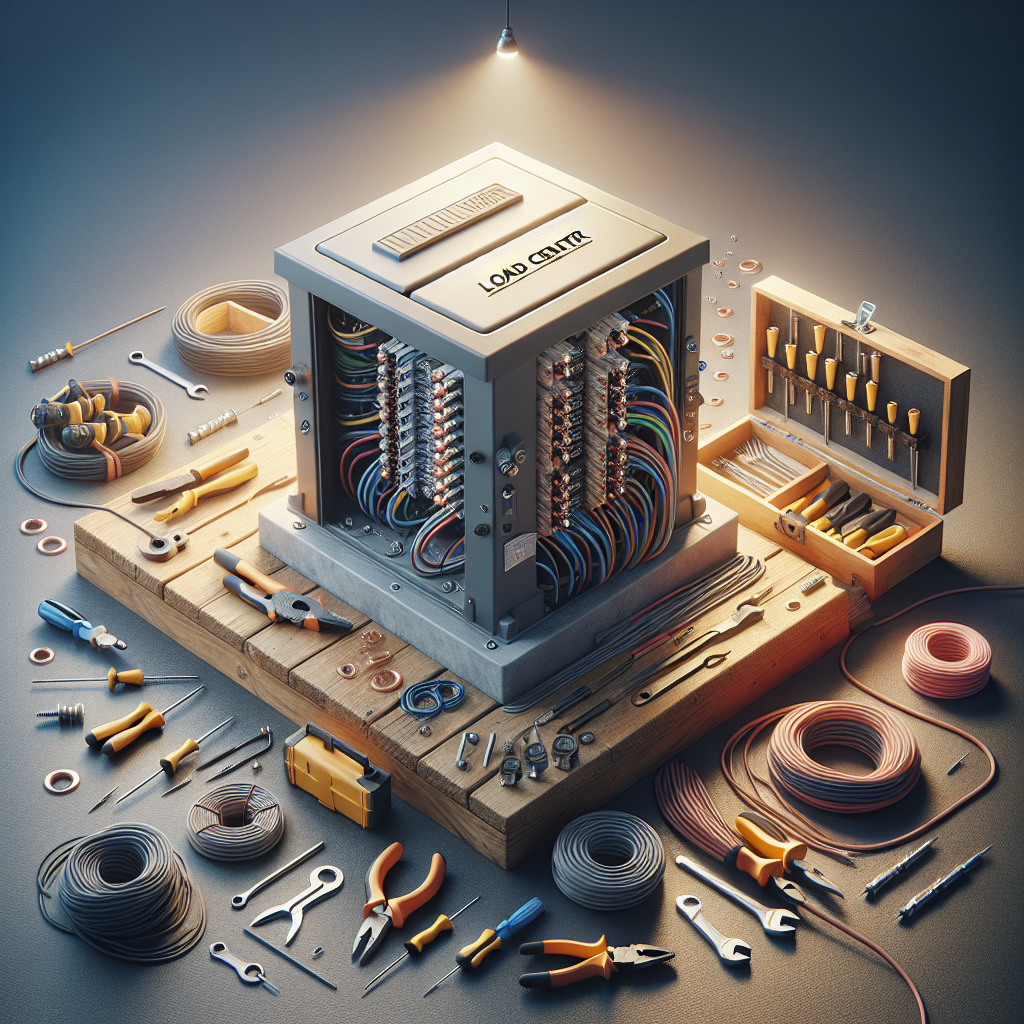
    2. Choose a suitable location for the panel. It should be mounted on a sturdy wall that is easily accessible. Make sure there is enough space around the panel for ventilation and maintenance.

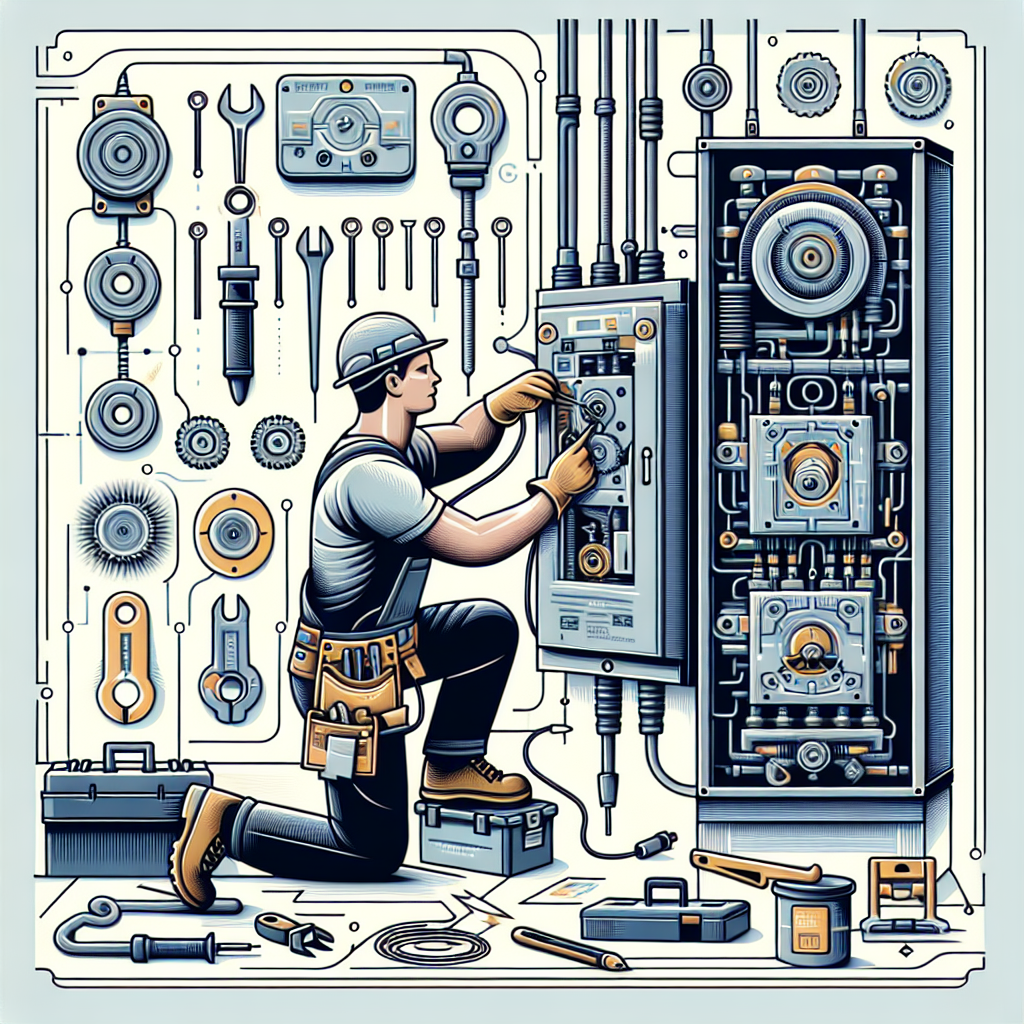
    3. Turn off the main power supply before starting the installation process. This will prevent any accidents or injuries while working on the panel.

    4. Carefully follow the installation instructions provided by SIEMENS. Make sure to connect the wires correctly and securely. Use the appropriate wire size for each connection to prevent overheating and fire hazards.

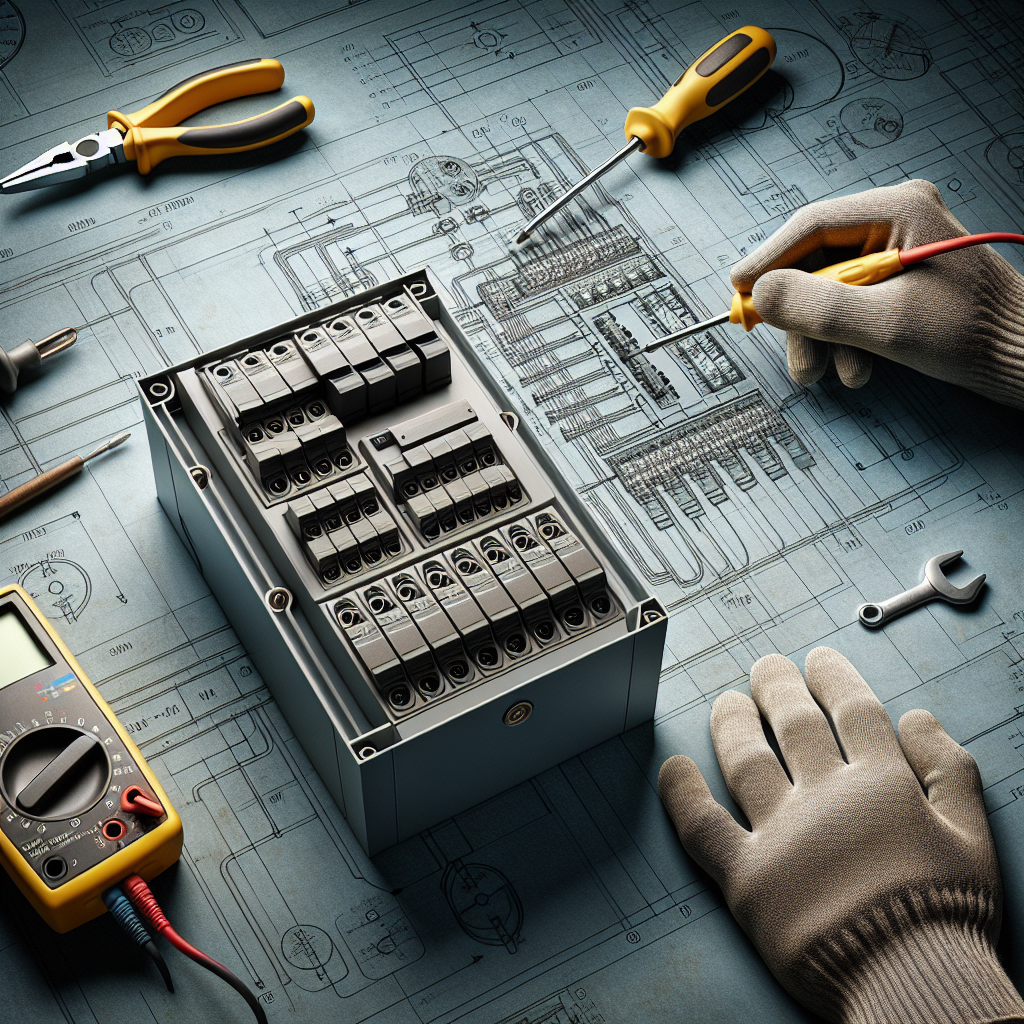
    5. Once the panel is securely mounted and all the wires are connected, turn on the power supply and test the panel using a voltage tester. Make sure all circuits are working properly before closing the panel cover.

    Maintenance:

    1. Regularly inspect the panel for any signs of damage, corrosion, or overheating. If you notice any issues, immediately shut off the power supply and repair or replace the damaged components.

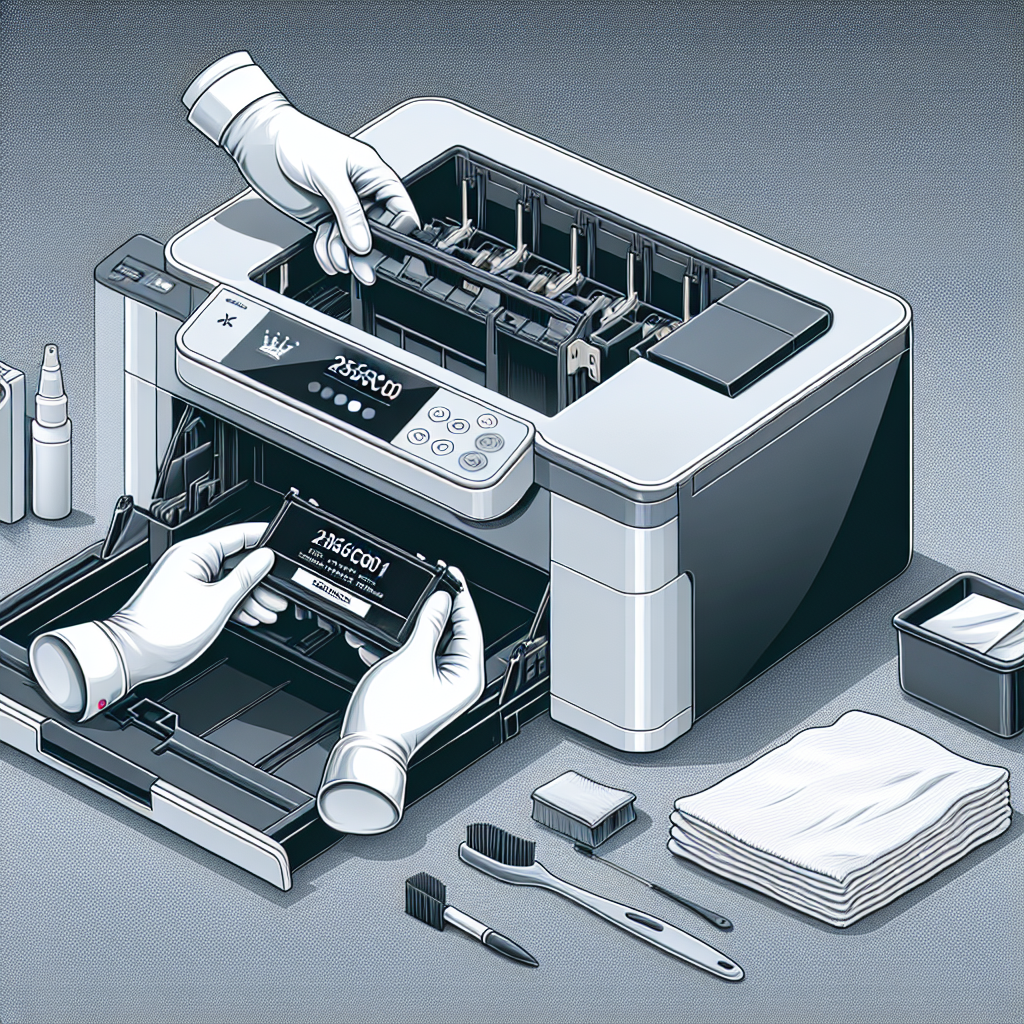
    2. Keep the panel clean and free from dust and debris. Use a soft, dry cloth to wipe down the panel regularly to prevent any buildup that could cause overheating.

    3. Check the connections and wires periodically to ensure they are secure and tight. Loose connections can cause power outages and electrical fires.

    4. Test the panel regularly using a voltage tester to ensure all circuits are working properly. If you notice any abnormalities, such as flickering lights or tripped breakers, investigate the issue and make necessary repairs.

    5. Have a licensed electrician inspect the panel annually to ensure it meets safety standards and regulations. They can identify any potential issues and provide recommendations for maintenance or upgrades.

    By following these installation and maintenance tips, you can ensure that your SIEMENS W0816ML1125CU 125 Amp Panel operates efficiently and safely. Proper installation and regular maintenance are essential for the longevity and reliability of your electrical system. If you are unsure about installing or maintaining the panel yourself, always consult a licensed electrician for professional assistance.

  • How to Properly Install and Maintain an Outdoor Center Load Center

    How to Properly Install and Maintain an Outdoor Center Load Center


    An outdoor center load center is an essential component of any electrical system that is designed to distribute electricity throughout a building or property. Proper installation and maintenance of this equipment are crucial to ensure the safety and efficiency of the electrical system. In this article, we will discuss the steps involved in properly installing and maintaining an outdoor center load center.

    Installation:

    1. Choose the right location: The outdoor center load center should be installed in a location that is easily accessible and protected from the elements. It should be mounted on a sturdy surface, such as a concrete pad or wall, and should be located near the main electrical service entrance.

    2. Follow manufacturer instructions: Before installing the outdoor center load center, carefully read and follow the manufacturer’s instructions. This will ensure that the equipment is installed correctly and safely.

    3. Connect the electrical wiring: Carefully connect the electrical wiring to the load center, following the wiring diagram provided by the manufacturer. Make sure that all connections are secure and properly insulated to prevent electrical hazards.

    4. Install circuit breakers: Install circuit breakers in the load center to protect the electrical system from overloads and short circuits. Make sure to properly size the circuit breakers for the electrical load of the building.

    Maintenance:

    1. Regular inspections: Regularly inspect the outdoor center load center for any signs of damage or wear. Check for loose connections, corrosion, or overheating, and address any issues immediately.

    2. Clean the equipment: Keep the outdoor center load center clean and free of debris, dust, and moisture. Use a soft brush or cloth to gently clean the equipment, and avoid using water or harsh chemicals that could damage the electrical components.

    3. Test the circuit breakers: Periodically test the circuit breakers in the load center to ensure that they are functioning properly. Use a circuit tester to check for continuity and proper operation of the breakers.

    4. Schedule professional maintenance: It is recommended to schedule regular maintenance visits from a qualified electrician to inspect and service the outdoor center load center. A professional electrician can identify potential issues and perform any necessary repairs or upgrades to ensure the safety and efficiency of the electrical system.

    In conclusion, proper installation and maintenance of an outdoor center load center are essential for the safety and functionality of the electrical system. By following these guidelines, you can ensure that your outdoor center load center operates efficiently and safely for years to come. If you are unsure about how to install or maintain the equipment, it is always best to consult with a qualified electrician for assistance.

  • Tips for Properly Installing and Maintaining an Outdoor Center Load Center

    Tips for Properly Installing and Maintaining an Outdoor Center Load Center


    An outdoor center load center, also known as a breaker box or electrical panel, is a crucial component of any home’s electrical system. It is responsible for distributing power throughout your home and protecting your electrical circuits from overload. Proper installation and maintenance of your outdoor center load center are essential for ensuring the safety and efficiency of your electrical system. Here are some tips for properly installing and maintaining an outdoor center load center:

    1. Hire a professional electrician: Installing an outdoor center load center is not a DIY project. It requires specialized knowledge and skills to ensure that the electrical system is set up correctly and safely. Hiring a licensed and experienced electrician is the best way to ensure that your outdoor center load center is installed properly.

    2. Choose the right location: When installing an outdoor center load center, it is important to choose a location that is easily accessible and protected from the elements. The load center should be mounted on a sturdy surface, such as a concrete pad, and should be positioned in a location where it will not be exposed to excessive moisture or temperature fluctuations.

    3. Use the right size load center: It is important to choose a load center that is the right size for your home’s electrical needs. A load center that is too small may not be able to handle the electrical load of your home, leading to frequent tripped circuits and potential safety hazards. Conversely, a load center that is too large may be unnecessary and more expensive than what is needed.

    4. Keep the load center clean and organized: Regular maintenance of your outdoor center load center is important for ensuring its proper functioning. Keep the area around the load center clean and free of debris, and check for any signs of damage or wear on a regular basis. Make sure that all circuits are labeled correctly and that there are no loose connections.

    5. Schedule regular inspections and maintenance: In addition to regular visual inspections, it is a good idea to schedule regular maintenance checks with a professional electrician. This will help to identify any potential issues before they become serious problems and ensure that your outdoor center load center is operating safely and efficiently.

    By following these tips for proper installation and maintenance of your outdoor center load center, you can help to ensure the safety and efficiency of your home’s electrical system. Remember that when it comes to electrical work, safety should always be the top priority. If you have any doubts or concerns about your outdoor center load center, don’t hesitate to contact a professional electrician for assistance.

  • The Importance of Properly Installing an Outdoor Center Load Center

    The Importance of Properly Installing an Outdoor Center Load Center


    An outdoor center load center, also known as an electrical panel or distribution board, is a crucial component of any electrical system. It is responsible for distributing power throughout a building, ensuring that electricity is delivered safely and efficiently to all the necessary circuits. Properly installing an outdoor center load center is essential for ensuring the overall functionality and safety of an electrical system.

    One of the key reasons why proper installation of an outdoor center load center is important is to ensure the safety of the building and its occupants. A poorly installed load center can lead to electrical fires, shocks, and other hazards. By following proper installation procedures and guidelines, you can minimize the risk of these dangers and create a safer environment for everyone.

    Proper installation also ensures that the load center operates efficiently and effectively. When installed correctly, the load center can distribute power evenly to all circuits, preventing overloads and power surges. This helps to protect electrical devices and appliances from damage and ensures that they operate at their optimal performance.

    In addition, proper installation of an outdoor center load center can also help to save energy and reduce electricity costs. By ensuring that the load center is properly installed and functioning correctly, you can prevent energy wastage and improve the overall efficiency of the electrical system. This can lead to lower electricity bills and a more sustainable and environmentally friendly building.

    Furthermore, proper installation of an outdoor center load center is essential for complying with electrical codes and regulations. Building codes require that electrical systems are installed and maintained in accordance with safety standards to protect the building and its occupants. By following proper installation procedures, you can ensure that your electrical system meets these requirements and avoid potential fines or legal issues.

    Overall, the importance of properly installing an outdoor center load center cannot be overstated. It is crucial for ensuring the safety, efficiency, and compliance of an electrical system. By investing in proper installation and maintenance, you can protect your building, reduce energy costs, and create a safer and more functional environment for everyone.

  • How to Properly Install and Maintain the SIEMENS W0816ML1125CU 125 Amp Panelboard

    How to Properly Install and Maintain the SIEMENS W0816ML1125CU 125 Amp Panelboard


    The SIEMENS W0816ML1125CU 125 Amp Panelboard is a crucial component in any electrical system, providing a safe and reliable way to distribute power throughout a building. Proper installation and maintenance of this panelboard are essential to ensuring its longevity and effectiveness. In this article, we will discuss the steps required to properly install and maintain the SIEMENS W0816ML1125CU 125 Amp Panelboard.

    Installation:

    1. Choose the right location: Before installing the panelboard, it is essential to choose a suitable location that is easily accessible and free from moisture or extreme temperatures. The panelboard should be mounted on a sturdy surface, such as a concrete wall or metal frame, to ensure stability.

    2. Mount the panelboard: Securely mount the panelboard to the chosen location using the appropriate hardware. Make sure that the panelboard is level and firmly attached to the surface to prevent any movement or damage.

    3. Connect the power supply: Carefully connect the incoming power supply to the main lugs of the panelboard. Ensure that the correct voltage and phase are used, and follow the manufacturer’s guidelines for proper wiring and grounding.

    4. Install circuit breakers: Insert the appropriate circuit breakers into the panelboard slots, making sure to match the amperage rating of the breaker with the corresponding circuit. Make sure to follow the manufacturer’s instructions for proper installation and wiring of the circuit breakers.

    Maintenance:

    1. Regular inspections: Inspect the panelboard regularly to check for any signs of damage, loose connections, or overheating. Pay close attention to the circuit breakers and wiring connections, as these are common areas where problems can occur.

    2. Keep the panelboard clean: Regularly clean the panelboard and surrounding area to remove dust, debris, and any other contaminants that could affect its performance. Use a soft brush or damp cloth to gently clean the panelboard, taking care not to damage any components.

    3. Test the panelboard: Periodically test the panelboard to ensure that all circuits are functioning properly. Use a multimeter to check for voltage, continuity, and resistance, and address any issues promptly to prevent further damage.

    4. Schedule professional maintenance: It is recommended to schedule regular maintenance checks by a qualified electrician to ensure the panelboard is in good working condition. A professional can inspect the panelboard for potential problems, perform any necessary repairs, and provide recommendations for improving its performance.

    By following these steps for proper installation and maintenance, you can ensure that your SIEMENS W0816ML1125CU 125 Amp Panelboard operates efficiently and safely. Taking care of your panelboard will help prevent costly repairs and downtime, ensuring that your electrical system remains reliable for years to come.

  • How to Properly Install and Maintain the SIEMENS W0816ML1125CU 125 Amp Breaker

    How to Properly Install and Maintain the SIEMENS W0816ML1125CU 125 Amp Breaker


    SIEMENS is a trusted name in the electrical industry, known for their high-quality products and innovative solutions. One of their popular offerings is the W0816ML1125CU 125 Amp Breaker, a reliable and efficient circuit breaker that is essential for protecting your electrical system from overloads and short circuits. In this article, we will discuss how to properly install and maintain the SIEMENS W0816ML1125CU 125 Amp Breaker to ensure its optimal performance and longevity.

    Installation Instructions:

    1. Before starting the installation process, make sure to turn off the power supply to the circuit where the breaker will be installed. This can be done by switching off the main breaker in your electrical panel.

    2. Carefully remove the panel cover to access the circuit breaker slots. Make sure to follow all safety precautions, such as wearing insulated gloves and using insulated tools.

    3. Attach the W0816ML1125CU 125 Amp Breaker to the mounting rail in the panel. Make sure that it is securely in place and aligned properly with the bus bar.

    4. Connect the circuit wires to the breaker terminals, following the manufacturer’s instructions for proper wire sizing and connections. Make sure that the wires are securely fastened and there are no loose connections.

    5. Once the wiring is complete, carefully push the breaker into the panel slot until it snaps into place. Make sure that it is properly seated and aligned with the bus bar.

    6. Replace the panel cover and turn on the power supply to the circuit. Test the breaker by flipping it on and off to ensure that it is functioning properly.

    Maintenance Tips:

    1. Regularly inspect the breaker for any signs of damage or wear, such as loose connections or overheating. If any issues are found, make sure to address them immediately to prevent further damage.

    2. Test the breaker periodically to ensure that it is tripping properly in case of an overload or short circuit. This can be done by using a circuit tester or multimeter to check the continuity of the breaker.

    3. Keep the panel area clean and free of debris to prevent any obstructions that could interfere with the breaker’s operation.

    4. If you experience any issues with the breaker, such as frequent tripping or malfunctioning, it is important to consult a licensed electrician for further inspection and repairs.

    In conclusion, proper installation and maintenance of the SIEMENS W0816ML1125CU 125 Amp Breaker are essential for ensuring its reliable performance and safety. By following the above guidelines, you can protect your electrical system and equipment from potential damage and ensure the longevity of your circuit breaker. Remember to always prioritize safety and consult a professional if you are unsure about any aspect of the installation or maintenance process.

  • How to Properly Install and Maintain the SIEMENS W0816ML1125CU 125 Amp Circuit Breaker

    How to Properly Install and Maintain the SIEMENS W0816ML1125CU 125 Amp Circuit Breaker


    Installing and maintaining a Siemens W0816ML1125CU 125 Amp circuit breaker is an important task that should be done correctly to ensure the safety and functionality of your electrical system. In this article, we will go over the steps to properly install and maintain this circuit breaker.

    Step 1: Turn off the power

    Before beginning any work on the circuit breaker, make sure to turn off the power to the electrical panel where the breaker will be installed. This will prevent any accidents or injuries while working on the circuit breaker.

    Step 2: Mount the circuit breaker

    Once the power is turned off, you can begin mounting the Siemens W0816ML1125CU 125 Amp circuit breaker in the electrical panel. Make sure to follow the manufacturer’s instructions for proper installation. The circuit breaker should be securely mounted in the panel to ensure proper functionality.

    Step 3: Connect the wires

    After mounting the circuit breaker, you can begin connecting the wires. Make sure to follow the color-coding of the wires and the terminal connections specified in the manufacturer’s instructions. It is important to make sure that all connections are secure and tight to prevent any electrical issues.

    Step 4: Test the circuit breaker

    After connecting the wires, you can test the circuit breaker to ensure it is working properly. Turn on the power to the electrical panel and test the circuit breaker by flipping it on and off. Make sure that the circuit breaker is tripping correctly and that it is providing the proper protection for your electrical system.

    Step 5: Maintain the circuit breaker

    To ensure the proper functioning of the Siemens W0816ML1125CU 125 Amp circuit breaker, it is important to perform regular maintenance. Check the circuit breaker periodically for any signs of wear or damage. Make sure that all connections are secure and tight. If you notice any issues, it is important to address them immediately to prevent any electrical problems.

    In conclusion, installing and maintaining a Siemens W0816ML1125CU 125 Amp circuit breaker is a crucial task that should be done correctly to ensure the safety and functionality of your electrical system. By following the steps outlined in this article and performing regular maintenance, you can ensure that your circuit breaker is providing the proper protection for your electrical system.

  • How to Properly Install and Maintain the 2956c001 Cartridge in Your Printer

    How to Properly Install and Maintain the 2956c001 Cartridge in Your Printer


    If you own a printer, chances are you rely on it for important documents, photos, and other materials. To ensure that your printer continues to work effectively, it’s essential to properly install and maintain the ink cartridges. One popular cartridge model is the 2956c001, which is used in a variety of printers.

    Here are some tips on how to properly install and maintain the 2956c001 cartridge in your printer:

    1. Read the Printer Manual: Before attempting to install the 2956c001 cartridge, it’s important to read the printer manual. This will provide you with specific instructions on how to properly install the cartridge in your particular printer model.

    2. Turn off the Printer: Before installing or removing the ink cartridge, always make sure to turn off the printer and unplug it from the power source. This will prevent any potential damage to the printer or cartridge.

    3. Remove the Old Cartridge: If you are replacing an old cartridge with a new 2956c001 cartridge, carefully remove the old cartridge from the printer. Follow the instructions in the manual to ensure you remove it correctly.

    4. Install the New Cartridge: Take the new 2956c001 cartridge out of its packaging and carefully insert it into the designated slot in the printer. Make sure it is securely in place before closing the cartridge door.

    5. Align the Cartridge: After installing the new cartridge, you may need to align it for optimal printing quality. This can usually be done through the printer settings on your computer or directly on the printer’s control panel.

    6. Maintain the Cartridge: To ensure the longevity and quality of your 2956c001 cartridge, it’s important to properly maintain it. This includes regularly checking the ink levels and replacing the cartridge when it runs out of ink.

    7. Store the Cartridges Properly: If you have extra 2956c001 cartridges, make sure to store them properly. Keep them in a cool, dry place and away from direct sunlight to prevent the ink from drying out.

    By following these simple steps, you can ensure that your printer continues to produce high-quality prints with the 2956c001 cartridge. Proper installation and maintenance are key to extending the life of your printer and cartridges. If you have any questions or need further assistance, don’t hesitate to consult the printer manual or contact the manufacturer for support.

  • The Importance of Properly Balancing the Load in Your Outdoor Center Load Center

    The Importance of Properly Balancing the Load in Your Outdoor Center Load Center


    Properly balancing the load in your outdoor center load center is crucial for ensuring the safety and efficiency of your electrical system. Whether you are running a campground, RV park, or outdoor event venue, having a well-balanced load is essential to prevent electrical issues and potential hazards.

    One of the main reasons why balancing the load in your outdoor center load center is important is to prevent overloading. Overloading occurs when there is too much electrical demand on a circuit, causing it to trip or potentially damage the equipment connected to it. This can lead to power outages, equipment failure, and even fires. By properly distributing the load across all circuits in your load center, you can avoid overloading and ensure that each circuit is operating within its capacity.

    Balancing the load also helps to optimize the efficiency of your electrical system. When the load is evenly distributed, each circuit can operate at its full capacity without being overloaded. This results in more reliable and consistent power supply to your outdoor center, allowing you to run your operations smoothly without any disruptions.

    In addition, balancing the load can help to extend the lifespan of your electrical equipment. When circuits are overloaded, the excess heat generated can cause damage to the wiring, breakers, and other components in your load center. By maintaining a balanced load, you can prevent excessive heat buildup and prolong the life of your equipment.

    Furthermore, proper load balancing can also help to reduce energy costs. When circuits are overloaded, the electrical system has to work harder to meet the demand, resulting in higher energy consumption. By evenly distributing the load, you can reduce the strain on your system and lower your electricity bills.

    To ensure that the load in your outdoor center load center is properly balanced, it is important to regularly monitor and adjust the distribution of the load across all circuits. This may involve reconfiguring the wiring, adding more circuits, or redistributing the electrical loads as needed. It is also recommended to consult with a qualified electrician to assess your load center and make any necessary adjustments to ensure that it is operating safely and efficiently.

    In conclusion, balancing the load in your outdoor center load center is essential for maintaining the safety, efficiency, and reliability of your electrical system. By properly distributing the load across all circuits, you can prevent overloading, optimize the performance of your equipment, extend its lifespan, reduce energy costs, and ensure uninterrupted power supply to your outdoor center. Prioritizing load balancing will not only benefit your operations but also ensure the safety and satisfaction of your customers.

  • Maximizing Efficiency: How to Properly Load and Organize Your Outdoor Center Load Center

    Maximizing Efficiency: How to Properly Load and Organize Your Outdoor Center Load Center


    Maximizing Efficiency: How to Properly Load and Organize Your Outdoor Center Load Center

    When it comes to managing an outdoor center, proper organization and loading of your load center can make a big difference in the efficiency of your operations. A well-organized load center can help streamline your workflow, reduce downtime, and improve overall productivity. Here are some tips on how to properly load and organize your outdoor center load center to maximize efficiency.

    1. Plan Ahead: Before you start loading your load center, take some time to plan out how you want to organize it. Consider what items you will need most frequently and arrange them in a way that makes them easily accessible. Group similar items together and label everything clearly to help you find what you need quickly.

    2. Use Proper Storage Containers: Invest in high-quality storage containers that are durable and stackable. This will help you maximize your space and keep your load center neat and organized. Use clear containers or label each container with its contents to make it easy to locate items when you need them.

    3. Utilize Vertical Space: Don’t just focus on organizing items on the floor of your load center. Make use of vertical space by installing shelves or racks to store items off the ground. This will help you maximize your storage capacity and keep your load center clutter-free.

    4. Keep High-Traffic Items Easily Accessible: Identify the items that you use most frequently and keep them within easy reach. Place these items at the front of your load center or on lower shelves for quick and convenient access. This will help you save time and reduce the risk of accidents from reaching for items that are out of reach.

    5. Regularly Inventory and Reorganize: To maintain an efficient load center, it’s important to regularly inventory your supplies and reorganize as needed. Take the time to go through your load center periodically to discard any expired or unnecessary items and rearrange items to optimize space and accessibility.

    By following these tips and properly loading and organizing your outdoor center load center, you can maximize efficiency and streamline your operations. A well-organized load center can help you work more efficiently, reduce downtime, and improve overall productivity. So take the time to plan ahead, use proper storage containers, utilize vertical space, keep high-traffic items easily accessible, and regularly inventory and reorganize to make the most of your load center and boost your outdoor center’s efficiency.