Tag: Properly

  • How to Properly Utilize XLR and 48V Phantom Power in Your Home Studio Setup

    How to Properly Utilize XLR and 48V Phantom Power in Your Home Studio Setup


    Setting up a home studio can be an exciting and rewarding experience for musicians and audio enthusiasts. However, it’s important to understand how to properly utilize XLR and 48V phantom power in your setup to ensure the best possible audio quality.

    XLR cables are commonly used in professional audio settings due to their balanced design, which helps reduce interference and noise in the signal. When setting up your home studio, it’s important to use high-quality XLR cables to ensure a clean and clear audio signal. Make sure to properly connect your XLR cables from your microphones, instruments, and audio interfaces to your mixer or recording interface.

    One important thing to note when using XLR cables is the importance of matching the input and output connections. XLR cables are typically male on one end and female on the other, so make sure to connect them accordingly to avoid any signal loss or distortion.

    Another essential component of a home studio setup is 48V phantom power. Many condenser microphones require phantom power to operate, as it provides the necessary voltage to power the microphone’s internal circuitry. When using condenser microphones in your home studio, make sure to activate the 48V phantom power on your audio interface or mixer to ensure proper operation.

    It’s important to note that not all microphones require phantom power, so be sure to check the specifications of your microphone before activating it. Using phantom power with a microphone that doesn’t require it can potentially damage the microphone or cause unwanted noise in the signal.

    In addition to proper cable connections and phantom power utilization, it’s also important to consider proper gain staging in your home studio setup. Gain staging refers to the process of setting the levels of each component in your signal chain to achieve the optimal signal-to-noise ratio. Proper gain staging can help prevent distortion and ensure a clean and clear audio signal.

    When setting up your home studio, take the time to properly route your signal chain, set appropriate levels on your audio interface or mixer, and monitor your levels to avoid clipping or distortion. By paying attention to these details and properly utilizing XLR cables and 48V phantom power, you can ensure the best possible audio quality in your home studio setup.


  • ASC0 Load Banks: The Key to Properly Testing and Maintaining Generator Systems

    ASC0 Load Banks: The Key to Properly Testing and Maintaining Generator Systems


    ASC0 Load Banks: The Key to Properly Testing and Maintaining Generator Systems

    Generator systems are an essential component of many industries, providing backup power in case of emergencies or outages. To ensure these systems are functioning properly when needed, regular testing and maintenance are crucial. One of the most important tools for testing and maintaining generator systems is a load bank.

    Load banks are devices that simulate the electrical load that a generator would experience during operation. By connecting a load bank to a generator system, technicians can test its performance under various conditions, ensuring it can handle the necessary power requirements in a real-world scenario. This testing is especially important for diesel generators, which can suffer from issues such as wet stacking if not run at full capacity regularly.

    ASC0 load banks are some of the most reliable and effective load banks on the market. These load banks are designed to provide a precise and consistent electrical load, allowing technicians to accurately measure the performance of a generator system. ASC0 load banks come in a variety of sizes and configurations to suit different types of generators and testing requirements.

    Proper testing and maintenance of generator systems with load banks can help prevent costly downtime and ensure the system is ready to provide backup power when needed. By regularly testing a generator system with a load bank, technicians can identify and address any issues before they escalate into larger problems. This proactive approach can ultimately save time and money in the long run by avoiding unexpected failures.

    In addition to testing, load banks can also be used for routine maintenance of generator systems. Running a generator at full capacity with a load bank can help burn off any carbon deposits that may have built up over time, improving overall performance and efficiency. Regular maintenance with a load bank can also extend the lifespan of a generator system, ensuring it remains reliable for years to come.

    Overall, ASC0 load banks are a key tool for properly testing and maintaining generator systems. By using a load bank to simulate real-world electrical loads, technicians can ensure a generator system is in optimal condition and ready to provide backup power when needed. Investing in regular testing and maintenance with a load bank can help prevent costly downtime and ensure the reliability of a generator system for years to come.

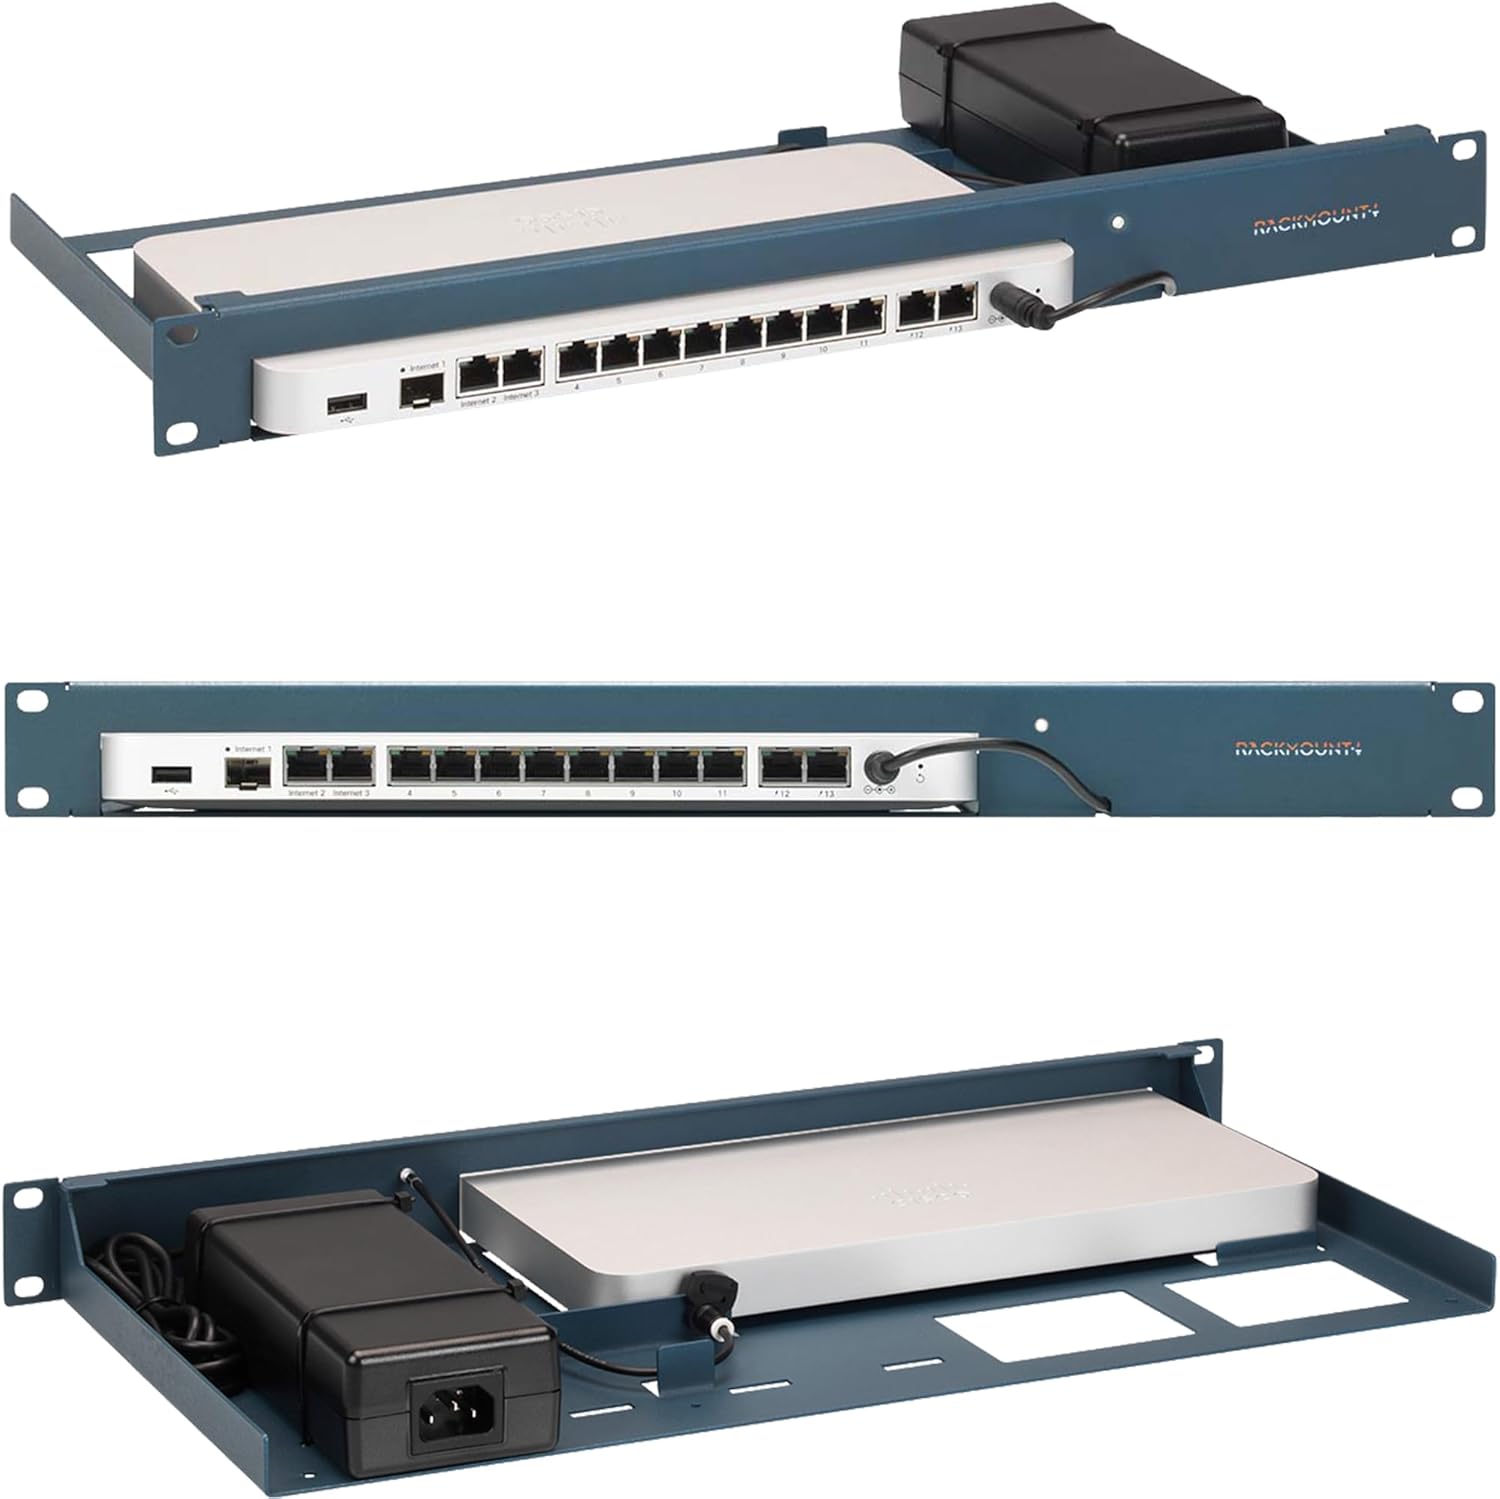
  • Cisco Meraki Firewall Appliance Rack Mount – 1U Server Rack Shelf with Easy Access Front Network Connections, Properly Vented, Customized 19 Inch Rack – RM-CI-T9 by Rackmount.IT

    Cisco Meraki Firewall Appliance Rack Mount – 1U Server Rack Shelf with Easy Access Front Network Connections, Properly Vented, Customized 19 Inch Rack – RM-CI-T9 by Rackmount.IT


    Price: $121.05
    (as of Dec 01,2024 17:59:22 UTC – Details)


    This 1U shelf vented rack has custom cut-outs & dedicated slots to fit your Cisco Meraki MX65
    More Secured Server Mounting Setup: RM-CI-T9 by Rackmount.IT IU rack mount kits have dedicated slots to safely install compatible Cisco Meraki models, including Cisco ISR 111X.
    Improves Cable Management: All console ports of the Cisco Meraki appliance are brought to the front for easy access and user convenience — all while preventing overheating with custom-made cut-outs.
    Straightforward Installation Process: Mounting your appliance to a 19 inch shelf only takes 2-5 mins. as our network tray kits have everything a user needs — bolts, hex keys, zip ties, port labels, cables, and an assembly guide.
    Suitable for Any Type of Business: Our 1U rack shelf kits are designed to fit your appliance in 19-inch network rack shelves, making them ideal for small business owners, large corporations, and government agencies looking to improve their cloud management and network connectivity.
    Passionate for Smart Design and Customization: Rackmount.IT offers innovative solutions to common user needs by producing high-quality custom rack mounted shelf with excellent features that support major desktop appliance manufacturers.


    Looking for a convenient and efficient way to mount your Cisco Meraki firewall appliance in your server rack? Look no further than the RM-CI-T9 rack mount shelf by Rackmount.IT!

    This 1U server rack shelf is specifically designed for the Cisco Meraki firewall appliance, providing easy access to the front network connections for quick and hassle-free maintenance. The shelf is properly vented to ensure optimal airflow and cooling for your firewall appliance, helping to prevent overheating and ensure maximum performance.

    The RM-CI-T9 rack mount shelf is customized to fit a standard 19-inch rack, making it easy to integrate into your existing server setup. With its durable construction and sleek design, this rack mount shelf is the perfect solution for securely mounting your Cisco Meraki firewall appliance in your server rack.

    Don’t settle for a messy and inefficient server setup – upgrade to the RM-CI-T9 rack mount shelf by Rackmount.IT and experience the convenience and reliability of a properly mounted Cisco Meraki firewall appliance. Order yours today and streamline your server rack setup!
    #Cisco #Meraki #Firewall #Appliance #Rack #Mount #Server #Rack #Shelf #Easy #Access #Front #Network #Connections #Properly #Vented #Customized #Inch #Rack #RMCIT9 #Rackmount.IT

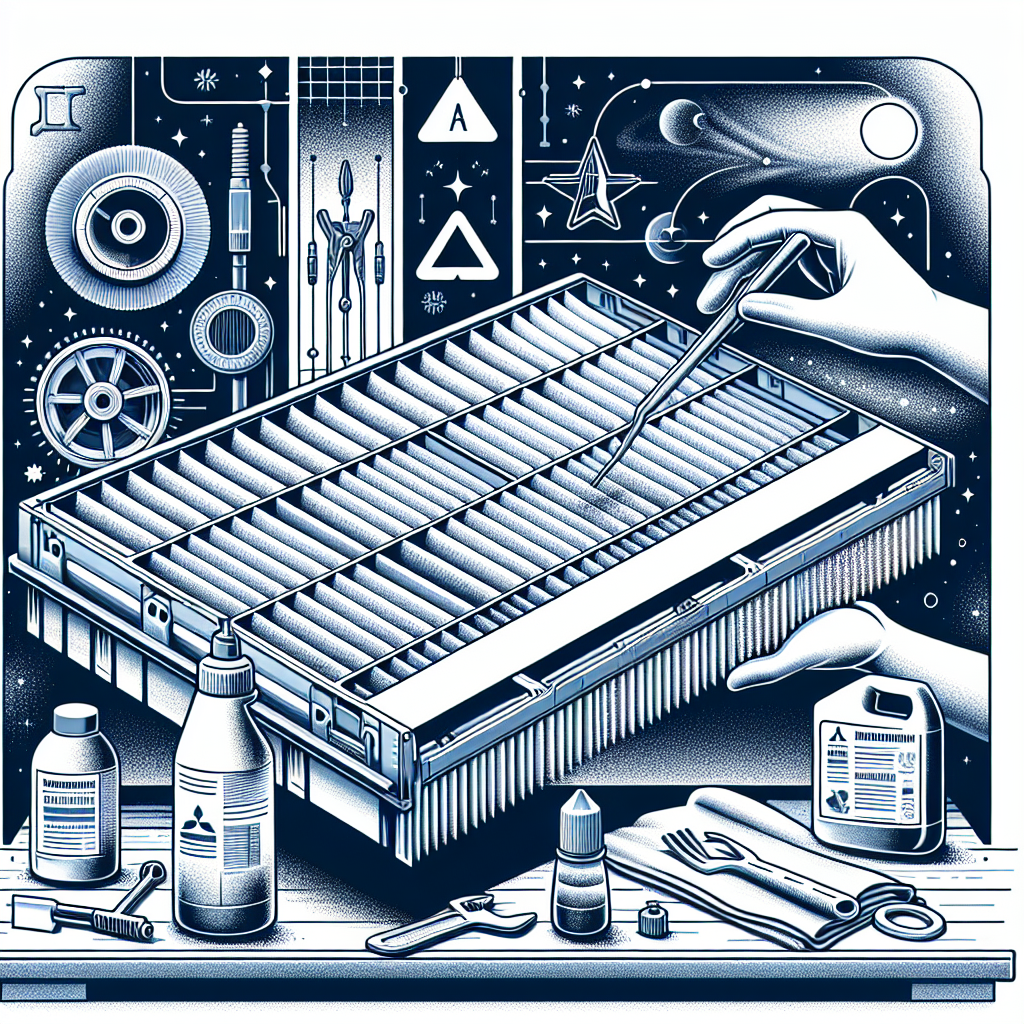
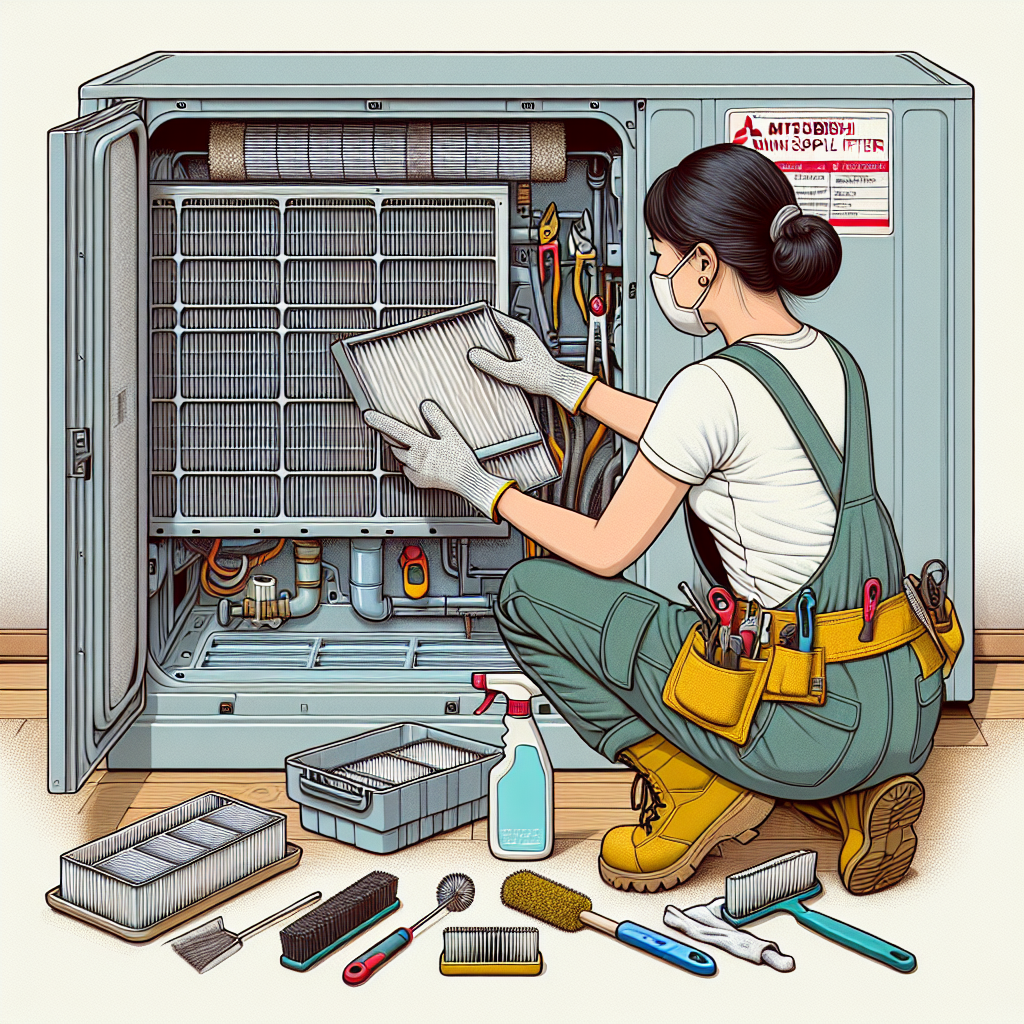
  • How to Properly Clean and Maintain Your Mitsubishi Mini Split Filters

    How to Properly Clean and Maintain Your Mitsubishi Mini Split Filters


    Mitsubishi mini split filters play a crucial role in keeping your system running smoothly and efficiently. These filters help to trap dust, dirt, and other particles that can affect the air quality in your home. It is important to clean and maintain your filters regularly to ensure that your mini split system is working at its best. Here are some tips on how to properly clean and maintain your Mitsubishi mini split filters.

    1. Check the filters regularly: It is important to check your filters at least once a month to see if they are dirty or clogged. If you notice a buildup of dust or debris, it is time to clean your filters.

    2. Turn off the system: Before cleaning your filters, make sure to turn off your Mitsubishi mini split system to prevent any accidents or damage.

    3. Remove the filters: Carefully remove the filters from your mini split system. Most Mitsubishi mini split systems have washable filters that can be easily removed for cleaning.

    4. Clean the filters: To clean your filters, gently rinse them with warm water. You can also use a mild detergent to help remove stubborn dirt and grime. Make sure to thoroughly rinse the filters and allow them to dry completely before reinstalling them.

    5. Vacuum the filters: If your filters are extremely dirty, you can use a vacuum cleaner with a brush attachment to remove any excess dust and debris.

    6. Reinstall the filters: Once your filters are clean and dry, carefully reinstall them back into your Mitsubishi mini split system. Make sure that the filters are properly seated and secure.

    7. Schedule regular maintenance: In addition to cleaning your filters, it is also important to schedule regular maintenance for your Mitsubishi mini split system. This can help prevent any issues and ensure that your system is running efficiently.

    By following these simple tips, you can properly clean and maintain your Mitsubishi mini split filters, ensuring that your system is working at its best. Regular filter maintenance can also help improve the air quality in your home and extend the life of your mini split system. So, don’t forget to check your filters regularly and keep them clean for optimal performance.

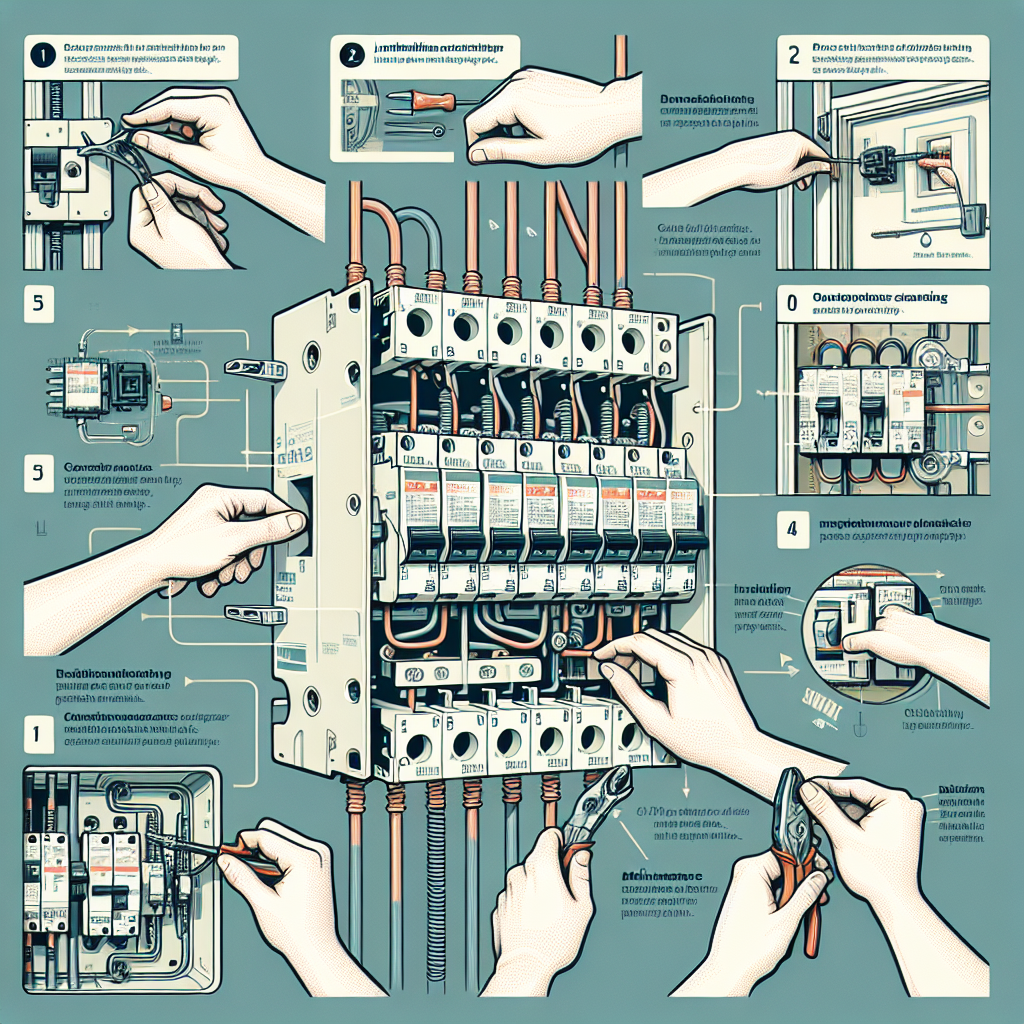
  • How to Properly Install and Maintain the Siemens W0816ML1125CU 125 Amp Breaker

    How to Properly Install and Maintain the Siemens W0816ML1125CU 125 Amp Breaker


    The Siemens W0816ML1125CU 125 Amp Breaker is an essential component of any electrical system, providing protection against overcurrent and short circuits. Proper installation and maintenance of this breaker are crucial to ensuring the safety and efficiency of your electrical system. In this article, we will discuss how to properly install and maintain the Siemens W0816ML1125CU 125 Amp Breaker.

    Installation:

    1. Turn off the power: Before installing the breaker, make sure to turn off the power to the electrical panel. This will prevent any accidents or injuries during the installation process.

    2. Remove the cover: Remove the cover of the electrical panel to access the breaker slots. Carefully remove any screws or fasteners holding the cover in place.

    3. Install the breaker: Carefully insert the Siemens W0816ML1125CU 125 Amp Breaker into the appropriate slot in the electrical panel. Make sure that the breaker is securely seated in the slot and that the connections are tight.

    4. Connect the wires: Connect the wires to the terminals on the breaker. Make sure to follow the manufacturer’s instructions for proper wire connections. Use a wire stripper to remove any excess insulation from the wires before connecting them to the terminals.

    5. Replace the cover: Once the breaker is installed and the wires are connected, replace the cover of the electrical panel. Make sure that the cover is securely fastened in place.

    Maintenance:

    1. Regular inspections: It is important to regularly inspect the Siemens W0816ML1125CU 125 Amp Breaker for any signs of damage or wear. Look for any loose connections, overheating, or corrosion on the terminals.

    2. Test the breaker: Periodically test the breaker to ensure that it is functioning properly. This can be done using a multimeter or a breaker testing device. If the breaker does not trip when tested, it may need to be replaced.

    3. Keep the area clean: Make sure to keep the area around the breaker clean and free of debris. This will help prevent any overheating or fires that may be caused by a buildup of dust or dirt.

    4. Professional maintenance: If you are unsure about how to properly maintain the Siemens W0816ML1125CU 125 Amp Breaker, it is recommended to hire a professional electrician to inspect and service the breaker on a regular basis.

    In conclusion, proper installation and maintenance of the Siemens W0816ML1125CU 125 Amp Breaker are essential for the safety and efficiency of your electrical system. By following the steps outlined in this article, you can ensure that your breaker functions properly and provides reliable protection against overcurrent and short circuits.

  • The Importance of Properly Maintaining Your Prius MFD

    The Importance of Properly Maintaining Your Prius MFD


    The Multi-Function Display (MFD) in your Prius is a crucial component of the vehicle that provides important information about your car’s performance, efficiency, and overall health. Properly maintaining your Prius MFD is essential to ensure that it continues to function properly and provide you with accurate information.

    One of the key reasons why maintaining your Prius MFD is important is because it helps you monitor your car’s fuel efficiency. The MFD displays real-time data about your fuel consumption, allowing you to adjust your driving habits to maximize fuel efficiency. By keeping your MFD in good working condition, you can trust that the information it provides is accurate, helping you save money on gas and reduce your carbon footprint.

    Another reason to properly maintain your Prius MFD is to ensure that you are alerted to any potential issues with your vehicle. The MFD can display warning lights and messages that indicate problems with your car’s engine, brakes, or other systems. By addressing these issues promptly, you can prevent more serious and costly repairs down the line.

    Additionally, maintaining your Prius MFD can help you track the overall health of your vehicle. The MFD provides information about your car’s battery charge level, tire pressure, and other important metrics that can help you identify potential maintenance needs. By staying on top of these maintenance tasks, you can prolong the lifespan of your Prius and prevent unexpected breakdowns.

    In conclusion, properly maintaining your Prius MFD is essential for ensuring the efficient operation of your vehicle and staying informed about its performance. By monitoring your fuel efficiency, addressing warning messages, and tracking your car’s overall health, you can keep your Prius running smoothly for years to come. Remember to follow the manufacturer’s maintenance guidelines and schedule regular check-ups to keep your Prius MFD in top condition.

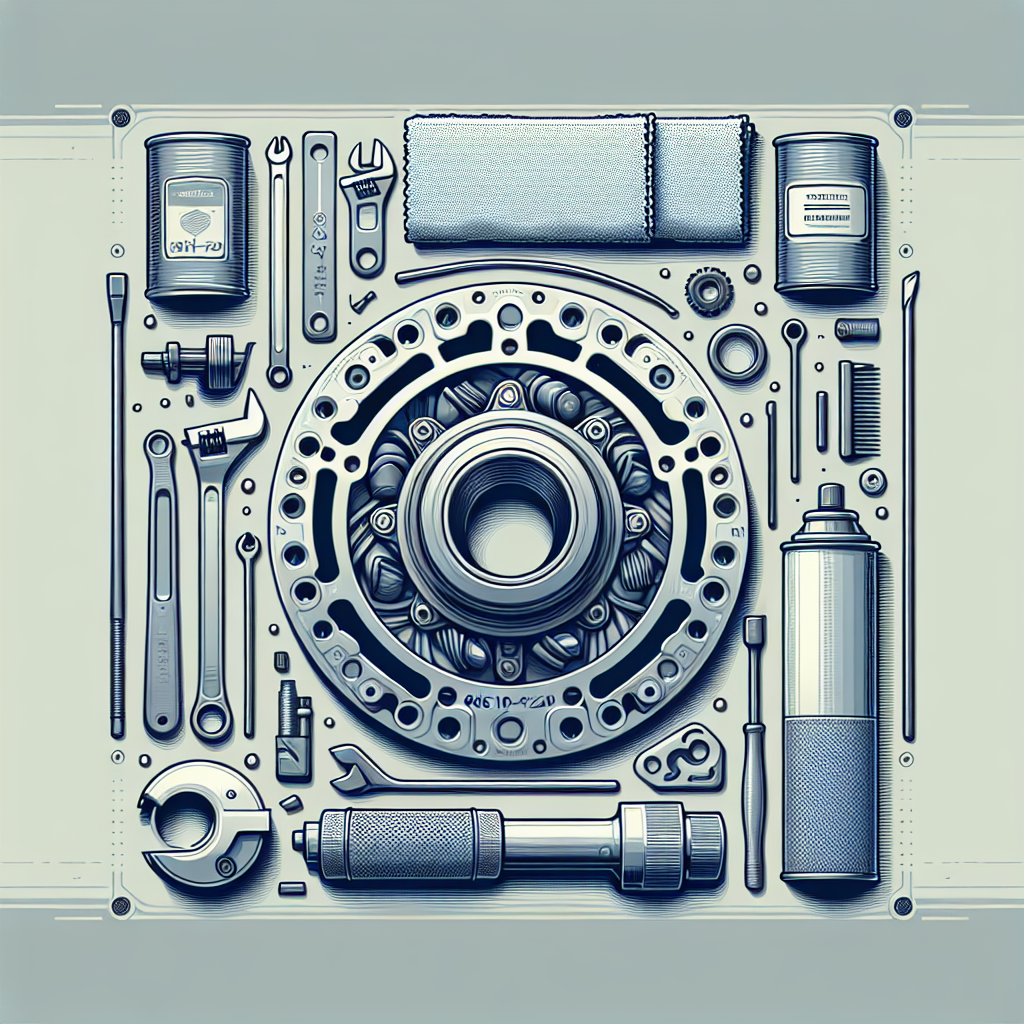
  • How to Properly Maintain and Care for Your 86110-47230 Part

    How to Properly Maintain and Care for Your 86110-47230 Part


    Your 86110-47230 part is an essential component of your vehicle, so it’s important to properly maintain and care for it to ensure it functions correctly and lasts for a long time. Here are some tips on how to properly maintain and care for your 86110-47230 part:

    1. Regularly inspect the part: Make it a habit to regularly inspect your 86110-47230 part for any signs of wear and tear, such as cracks, leaks, or corrosion. If you notice any issues, it’s important to address them promptly to prevent further damage.

    2. Keep the part clean: Dirt, grime, and debris can accumulate on your 86110-47230 part over time, which can affect its performance. To keep it clean, use a gentle cleaning solution and a soft cloth to wipe down the part regularly.

    3. Check for leaks: Leaks can indicate a problem with your 86110-47230 part, so it’s important to check for any signs of leakage regularly. If you notice any leaks, it’s crucial to have them repaired by a professional as soon as possible.

    4. Follow manufacturer’s guidelines: To ensure proper maintenance and care for your 86110-47230 part, it’s important to follow the manufacturer’s guidelines for servicing and maintenance. This includes following recommended maintenance schedules and using the correct type of fluids and replacement parts.

    5. Avoid overloading: Overloading your vehicle can put extra strain on your 86110-47230 part, leading to premature wear and tear. To prevent this, make sure to follow weight limits and load guidelines for your vehicle.

    6. Have regular inspections: In addition to regular inspections by yourself, it’s important to have your 86110-47230 part inspected by a professional on a regular basis. This can help identify any potential issues early on and prevent costly repairs down the line.

    By following these tips, you can ensure that your 86110-47230 part remains in good condition and functions properly. Proper maintenance and care are essential to prolonging the life of your part and keeping your vehicle running smoothly.

  • How to Properly Maintain Your Mitsubishi Mini Split Filters

    How to Properly Maintain Your Mitsubishi Mini Split Filters


    If you own a Mitsubishi mini split system, you know how important it is to properly maintain it in order to ensure its optimal performance and longevity. One of the key components of your mini split system that needs regular maintenance is the filters. The filters in your Mitsubishi mini split system help to trap dust, dirt, and other particles from entering the system, which can affect its efficiency and air quality. Here are some tips on how to properly maintain your Mitsubishi mini split filters:

    1. Check the filters regularly: It is important to check the filters in your Mitsubishi mini split system regularly, at least once a month, to see if they are becoming dirty or clogged. Dirty filters can restrict airflow, reduce the system’s efficiency, and lead to poor air quality.

    2. Clean or replace the filters: Depending on the type of filters in your Mitsubishi mini split system, you may need to clean or replace them. Some filters are reusable and can be cleaned with water or a vacuum, while others are disposable and need to be replaced. Follow the manufacturer’s instructions on how to properly clean or replace the filters.

    3. Keep the area around the filters clean: To prevent the filters from becoming dirty quickly, it is important to keep the area around them clean. Dust and debris can accumulate around the filters and get sucked into the system, so make sure to vacuum or dust the area regularly.

    4. Schedule regular maintenance: In addition to checking and cleaning the filters yourself, it is also a good idea to schedule regular maintenance with a professional HVAC technician. They can inspect the entire system, including the filters, and make any necessary repairs or adjustments to ensure your Mitsubishi mini split system is running efficiently.

    5. Consider using a filter alarm: Some Mitsubishi mini split systems come equipped with a filter alarm that notifies you when the filters need to be cleaned or replaced. This can help you stay on top of filter maintenance and ensure your system is always running smoothly.

    Properly maintaining the filters in your Mitsubishi mini split system is essential for its optimal performance and longevity. By following these tips and staying on top of filter maintenance, you can ensure that your mini split system continues to provide you with clean, efficient, and comfortable air throughout the year.

  • The Environmental Impact of Hard Disk Drives: How to Recycle and Dispose of Them Properly

    The Environmental Impact of Hard Disk Drives: How to Recycle and Dispose of Them Properly


    Hard disk drives (HDDs) are essential components of modern computers, storing all of our important data and files. However, the environmental impact of HDDs can be significant if not disposed of properly. From the materials used to make them to the energy required to manufacture and operate them, HDDs can have a negative impact on the environment if not recycled and disposed of correctly.

    One of the main environmental concerns with HDDs is the materials used to make them. HDDs contain various metals, such as aluminum, copper, and precious metals like gold and silver. These materials are mined from the earth and can have a significant impact on the environment through deforestation, water pollution, and habitat destruction. Additionally, HDDs contain hazardous materials like lead and mercury, which can be harmful to human health and the environment if not disposed of properly.

    Another environmental impact of HDDs is the energy required to manufacture and operate them. The production of HDDs requires a significant amount of energy, contributing to greenhouse gas emissions and climate change. Additionally, HDDs consume electricity while in use, adding to our overall energy consumption and carbon footprint.

    To mitigate the environmental impact of HDDs, it is crucial to recycle and dispose of them properly. Recycling HDDs allows for the recovery of valuable materials like metals and reduces the need for new mining and manufacturing. Additionally, recycling prevents hazardous materials from entering the environment and harming ecosystems and human health.

    There are several ways to recycle and dispose of HDDs properly. Many electronics retailers and manufacturers offer recycling programs for old HDDs and other electronic waste. These programs ensure that HDDs are recycled in an environmentally responsible manner, with materials recovered and hazardous substances safely disposed of.

    Another option is to donate old HDDs to organizations that refurbish and reuse them. By extending the lifespan of HDDs through reuse, we can reduce the demand for new devices and lessen the environmental impact of manufacturing.

    Ultimately, it is essential for individuals and organizations to take responsibility for the environmental impact of their HDDs. By recycling and disposing of HDDs properly, we can reduce the strain on natural resources, prevent pollution, and contribute to a more sustainable future.

  • Cisco Meraki Firewall Appliance Rack Mount – 1U Server Rack Shelf with Easy Access Front Network Connections, Properly Vented, Customized 19 Inch Rack – RM-CI-T14 by Rackmount.IT

    Cisco Meraki Firewall Appliance Rack Mount – 1U Server Rack Shelf with Easy Access Front Network Connections, Properly Vented, Customized 19 Inch Rack – RM-CI-T14 by Rackmount.IT


    Price: $116.14
    (as of Nov 26,2024 21:43:08 UTC – Details)


    This 1U shelf vented rack has custom cut-outs & dedicated slots to fit your Cisco Meraki MX65
    More Secured Server Mounting Setup: RM-CI-T14 by Rackmount.IT IU rack mount kits have dedicated slots to safely install compatible Cisco Meraki models, including Cisco Meraki MX68, MX68W, MX68CW, and MX75.
    Improves Cable Management: All console ports of the Cisco Meraki appliance are brought to the front for easy access and user convenience — all while preventing overheating with custom-made cut-outs.
    Straightforward Installation Process: Mounting your appliance to a 19 inch shelf only takes 2-5 mins. as our network tray kits have everything a user needs — bolts, hex keys, zip ties, port labels, cables, and an assembly guide.
    Suitable for Any Type of Business: Our 1U rack shelf kits are designed to fit your appliance in 19-inch network rack shelves, making them ideal for small business owners, large corporations, and government agencies looking to improve their cloud management and network connectivity.
    Passionate for Smart Design and Customization: Rackmount.IT offers innovative solutions to common user needs by producing high-quality custom rack mounted shelf with excellent features that support major desktop appliance manufacturers.


    Are you looking for a convenient way to mount your Cisco Meraki firewall appliance in your server rack? Look no further than the RM-CI-T14 rack mount shelf by Rackmount.IT!

    This 1U server rack shelf is designed specifically for the Cisco Meraki firewall appliance, providing easy access to the front network connections for hassle-free maintenance and troubleshooting. The shelf is properly vented to ensure optimal airflow and prevent overheating, keeping your network equipment running smoothly.

    The RM-CI-T14 is customized to fit a 19 inch rack, allowing you to securely mount your Cisco Meraki firewall appliance in your server rack without any hassle. Say goodbye to messy cables and cluttered workspaces with this convenient rack mount shelf.

    Don’t wait any longer – streamline your network setup with the RM-CI-T14 by Rackmount.IT today!
    #Cisco #Meraki #Firewall #Appliance #Rack #Mount #Server #Rack #Shelf #Easy #Access #Front #Network #Connections #Properly #Vented #Customized #Inch #Rack #RMCIT14 #Rackmount.IT

Chat Icon