Your cart is currently empty!
The Ultimate Guide to Installing and Optimizing the Gigabyte 2GB RAM DDR3 SDRAM Video Graphics Card GV-N710D3-2GL Rev2.0
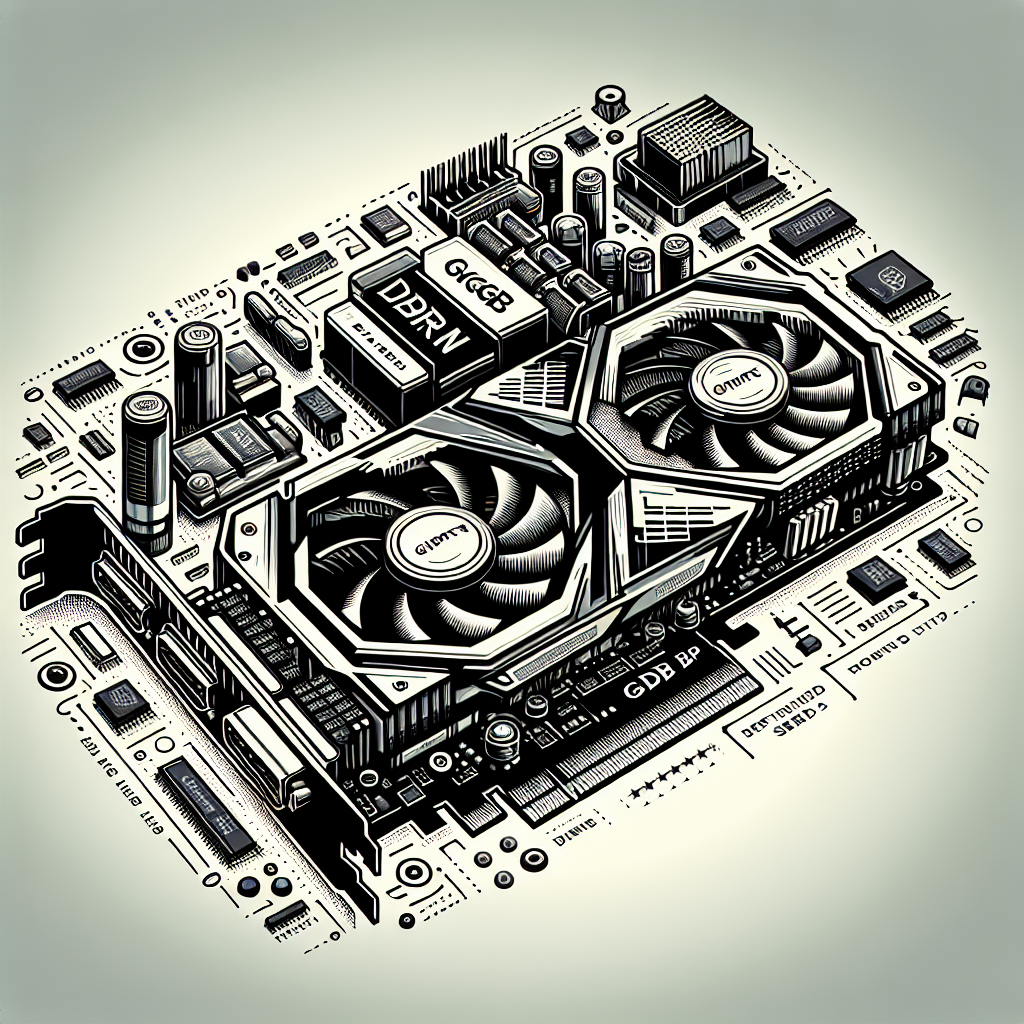
If you’re looking to upgrade your computer’s graphics card for better performance and visuals, the Gigabyte 2GB RAM DDR3 SDRAM Video Graphics Card GV-N710D3-2GL Rev2.0 is a great option. This powerful graphics card offers excellent performance and is perfect for gaming, video editing, and other demanding tasks.
Installing a new graphics card can seem like a daunting task, but with the right tools and knowledge, it can be a simple and straightforward process. In this guide, we’ll walk you through the steps to install and optimize the Gigabyte 2GB RAM DDR3 SDRAM Video Graphics Card GV-N710D3-2GL Rev2.0 for maximum performance.
Step 1: Gather your tools and materials
Before you begin the installation process, make sure you have all the necessary tools and materials on hand. You’ll need a Phillips head screwdriver, an anti-static wrist strap, and the Gigabyte 2GB RAM DDR3 SDRAM Video Graphics Card GV-N710D3-2GL Rev2.0.
Step 2: Prepare your computer
Before you can install the new graphics card, you’ll need to prepare your computer. Start by shutting down your computer and unplugging it from the power source. Open up the case by removing the screws on the back panel and sliding off the side panel.
Step 3: Remove the old graphics card (if applicable)
If you’re replacing an old graphics card, you’ll need to remove it before installing the new one. Start by disconnecting the power cables and any other connectors from the old graphics card. Unscrew the card from the motherboard and gently remove it from the slot.
Step 4: Install the Gigabyte 2GB RAM DDR3 SDRAM Video Graphics Card GV-N710D3-2GL Rev2.0
Carefully align the new graphics card with the PCI Express slot on the motherboard. Gently insert the card into the slot, making sure it’s securely in place. Use the screws provided with the graphics card to secure it to the case.
Step 5: Connect the power cables
Once the graphics card is installed, connect the power cables to the card. Some graphics cards require additional power from the power supply, so make sure you have the necessary cables connected.
Step 6: Update the drivers
After installing the new graphics card, you’ll need to update the drivers to ensure optimal performance. Visit the Gigabyte website to download the latest drivers for the GV-N710D3-2GL Rev2.0. Follow the on-screen instructions to install the drivers.
Step 7: Optimize the graphics settings
Once the drivers are installed, you can optimize the graphics settings for your specific needs. Open the graphics card control panel and adjust the settings to your desired preferences. You can adjust the resolution, refresh rate, and other settings to optimize performance.
With the Gigabyte 2GB RAM DDR3 SDRAM Video Graphics Card GV-N710D3-2GL Rev2.0 installed and optimized, you’ll experience improved performance and visuals in your computer. Follow this guide to ensure a smooth installation process and enjoy the benefits of a powerful graphics card.

Leave a Reply