Dasaita G13 is a popular aftermarket navigation and multimedia system that can greatly enhance your driving experience. Whether you are looking to upgrade your car’s entertainment system or simply want to improve the functionality of your vehicle, the Dasaita G13 is a great option to consider. In this article, we will provide you with the ultimate guide to installing and using the Dasaita G13 in your vehicle.
Installation Process:
Before you begin the installation process, it is important to gather all the necessary tools and materials. The installation of the Dasaita G13 is relatively straightforward and can be done by following these steps:
1. Remove the old stereo unit from your vehicle. This may require the use of special tools, such as a trim removal tool, to pry off the paneling and access the stereo unit.
2. Disconnect the wiring harnesses and antenna cable from the old stereo unit.
3. Connect the wiring harnesses and antenna cable to the Dasaita G13 unit. Make sure that all connections are secure and properly insulated.
4. Slide the Dasaita G13 unit into the dash opening and secure it in place using the mounting brackets provided.
5. Reattach the paneling and trim pieces that were removed during the installation process.
6. Power on the Dasaita G13 unit and follow the on-screen instructions to complete the setup process.
Using the Dasaita G13:
Once the Dasaita G13 is installed in your vehicle, you will have access to a wide range of features and functions that will enhance your driving experience. Some of the key features of the Dasaita G13 include:
1. GPS Navigation: The Dasaita G13 comes equipped with a built-in GPS navigation system that provides real-time traffic updates, turn-by-turn directions, and points of interest.
2. Multimedia Playback: The Dasaita G13 supports a variety of media formats, including MP3, MP4, and FLAC, allowing you to listen to your favorite music or watch videos on the go.
3. Bluetooth Connectivity: The Dasaita G13 features built-in Bluetooth connectivity, allowing you to make hands-free calls, stream music from your smartphone, and access other Bluetooth-enabled devices.
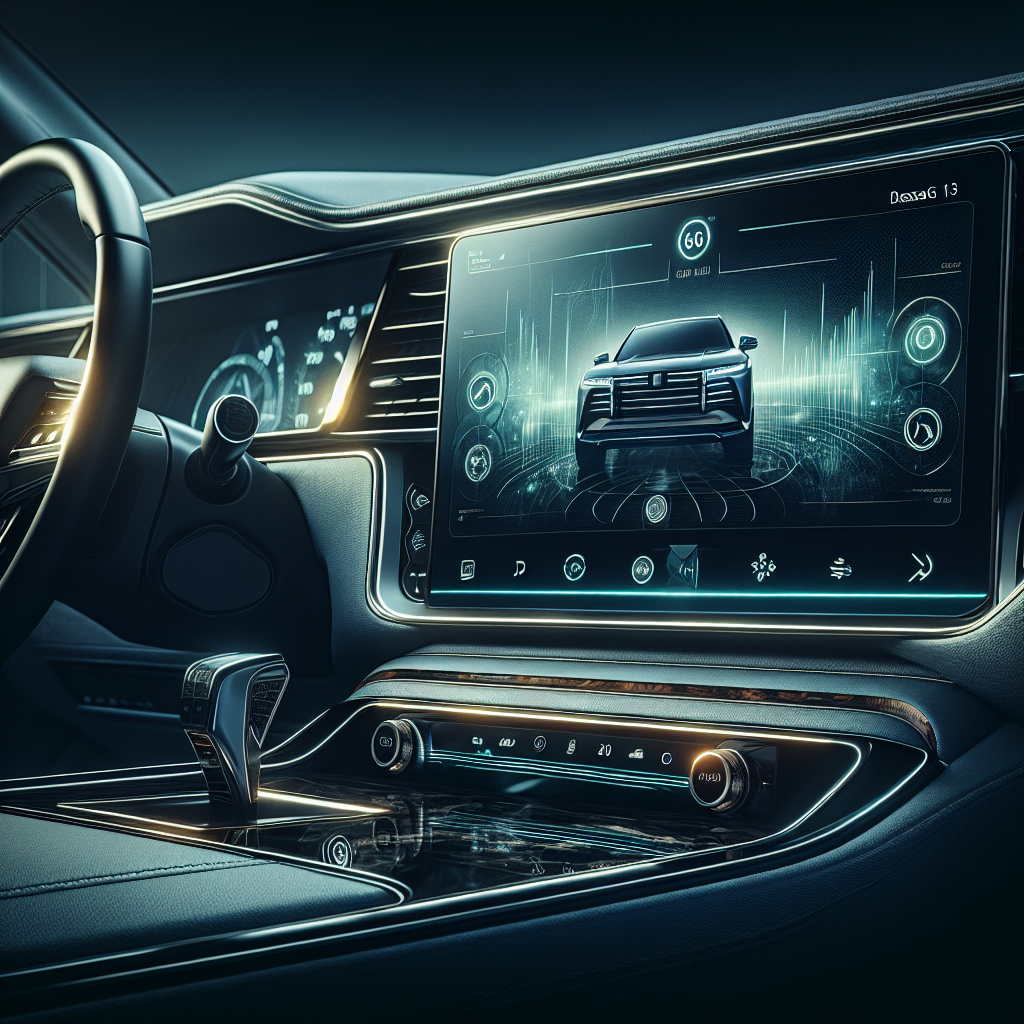
4. Touchscreen Display: The Dasaita G13 comes equipped with a large touchscreen display that is easy to navigate and provides a clear and crisp image.
5. Customizable Interface: The Dasaita G13 allows you to customize the interface to suit your preferences, including changing the wallpaper, adjusting the color scheme, and rearranging the layout of the home screen.
Overall, the Dasaita G13 is a versatile and feature-rich aftermarket navigation and multimedia system that can greatly enhance your driving experience. By following the installation guide provided in this article and familiarizing yourself with the various features of the Dasaita G13, you can enjoy a more enjoyable and convenient driving experience.
#Ultimate #Guide #Installing #Dasaita #G13 #Vehicle,dasaita g13
Leave a Reply
You must be logged in to post a comment.