If you’re a designer or architect looking to take your skills to the next level, Autodesk Backpack is a must-have tool for your Windows 11 device. This powerful software suite includes a range of design and drafting tools that will help you create stunning 2D and 3D designs with ease. In this ultimate guide, we’ll walk you through the process of setting up Autodesk Backpack on your Windows 11 device so you can start designing like a pro.
Step 1: Download Autodesk Backpack
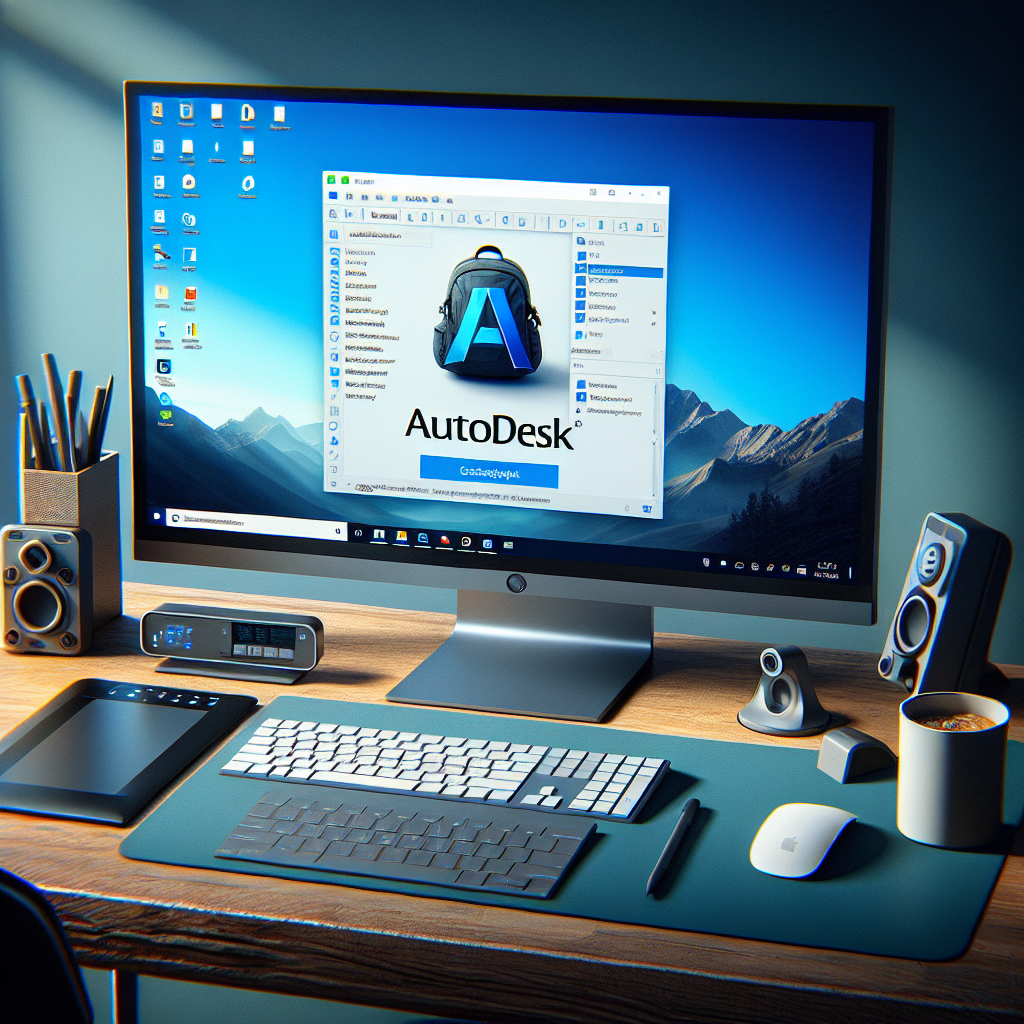
The first step in setting up Autodesk Backpack on your Windows 11 device is to download the software from the Autodesk website. Simply visit the Autodesk website, navigate to the Backpack page, and click on the download button. Follow the on-screen instructions to complete the download and installation process.
Step 2: Create an Autodesk Account
Once you’ve downloaded and installed Autodesk Backpack, you’ll need to create an Autodesk account in order to access all of the software’s features. Simply click on the “Create Account” button and fill in your details to create an account. Make sure to keep your login details safe, as you’ll need them to access Autodesk Backpack in the future.
Step 3: Activate Your License
After creating your Autodesk account, you’ll need to activate your license in order to start using the software. Simply click on the “Activate License” button and follow the on-screen instructions to activate your license. Once your license is activated, you’ll be able to access all of the features of Autodesk Backpack.
Step 4: Customize Your Workspace
Now that you’ve set up Autodesk Backpack on your Windows 11 device, it’s time to customize your workspace to suit your needs. You can customize the layout of the software, adjust the toolbars, and set up keyboard shortcuts to make your workflow more efficient. Take some time to explore the various customization options available in Autodesk Backpack and tailor the software to your liking.
Step 5: Start Designing
With Autodesk Backpack set up on your Windows 11 device, you’re now ready to start designing like a pro. Explore the range of design and drafting tools available in the software, experiment with different techniques, and let your creativity flow. Whether you’re designing a building, creating a 3D model, or drafting a floor plan, Autodesk Backpack has everything you need to bring your ideas to life.
In conclusion, setting up Autodesk Backpack on your Windows 11 device is a straightforward process that can be completed in just a few simple steps. By following the steps outlined in this ultimate guide, you’ll be able to start designing like a pro in no time. So why wait? Download Autodesk Backpack today and unleash your creativity with this powerful design software suite.

Leave a Reply