Your cart is currently empty!
Unboxing and Setup of the RWDBU6Y0050BBK-WESN with Windows 11
The WD_BLACK P50 Game Drive SSD is a high-performance external storage solution designed specifically for gamers who want to take their gaming experience to the next level. In this article, we will go through the unboxing and setup process of the RWDBU6Y0050BBK-WESN with Windows 11.
Unboxing:
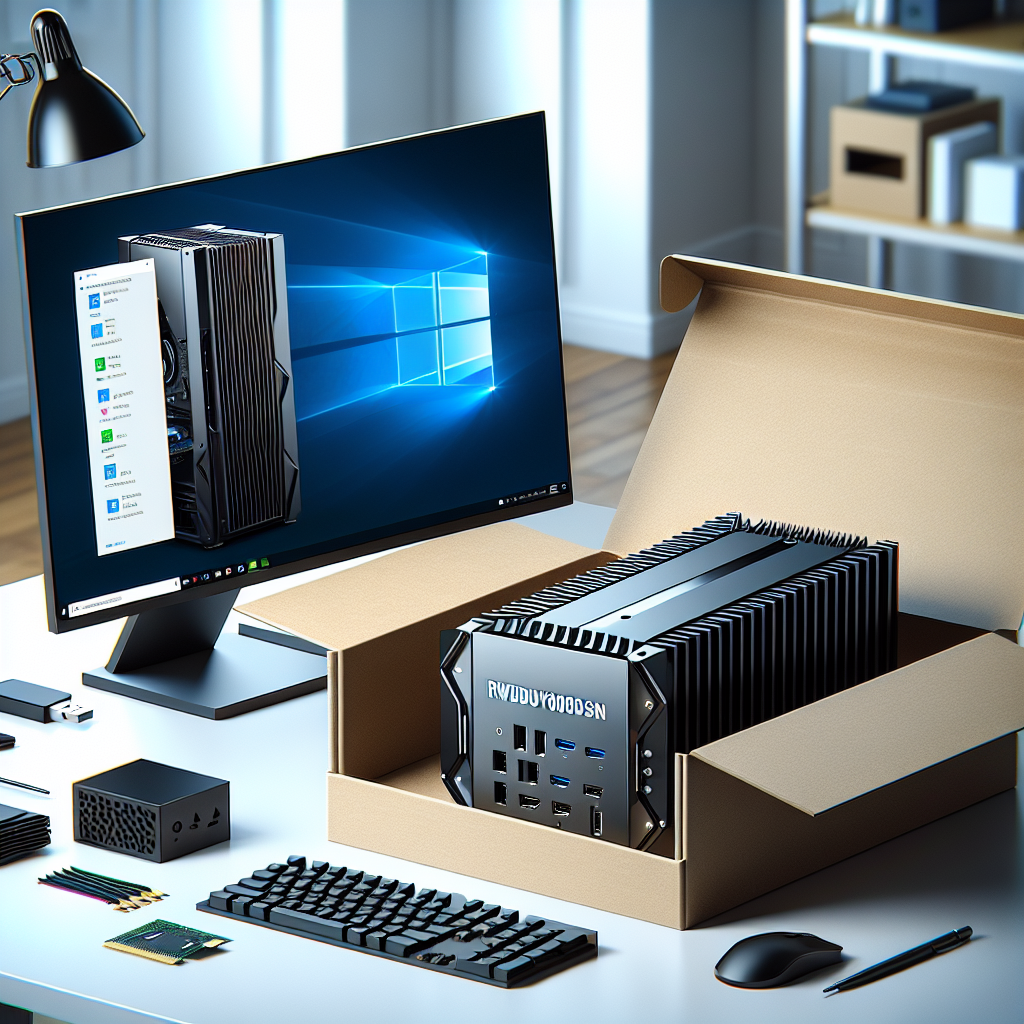
When you first receive your WD_BLACK P50 Game Drive SSD, you will notice that it comes in a sleek and stylish packaging. The box is black with the WD_BLACK logo prominently displayed on the front, along with the model number RWDBU6Y0050BBK-WESN.
Upon opening the box, you will find the WD_BLACK P50 Game Drive SSD nestled securely in a foam insert. Along with the drive, you will also find a USB Type-C to Type-C cable, a USB Type-C to Type-A cable, and a quick start guide.
Setup:
To set up the WD_BLACK P50 Game Drive SSD with Windows 11, follow these simple steps:
1. Connect the drive to your computer using the USB Type-C to Type-C cable or the USB Type-C to Type-A cable, depending on the available ports on your computer.
2. The drive will be automatically detected by your computer, and you will see a notification pop up on your screen.
3. Open File Explorer on your computer and navigate to the WD_BLACK P50 Game Drive SSD. You will see that the drive is empty and ready to be used.
4. To transfer games or other files to the drive, simply drag and drop them into the appropriate folders on the WD_BLACK P50 Game Drive SSD.
5. Once you have transferred all the files you want to store on the drive, safely eject it from your computer to prevent data loss.
Overall, the unboxing and setup process of the WD_BLACK P50 Game Drive SSD with Windows 11 is quick and easy. With its high-speed performance and ample storage capacity, this external SSD is the perfect solution for gamers who need to store and access their games quickly and efficiently.

Leave a Reply