Your cart is currently empty!
Unlocking the Full Potential of Windows 11 Home: How to Set Up a Wifi-Ready Device
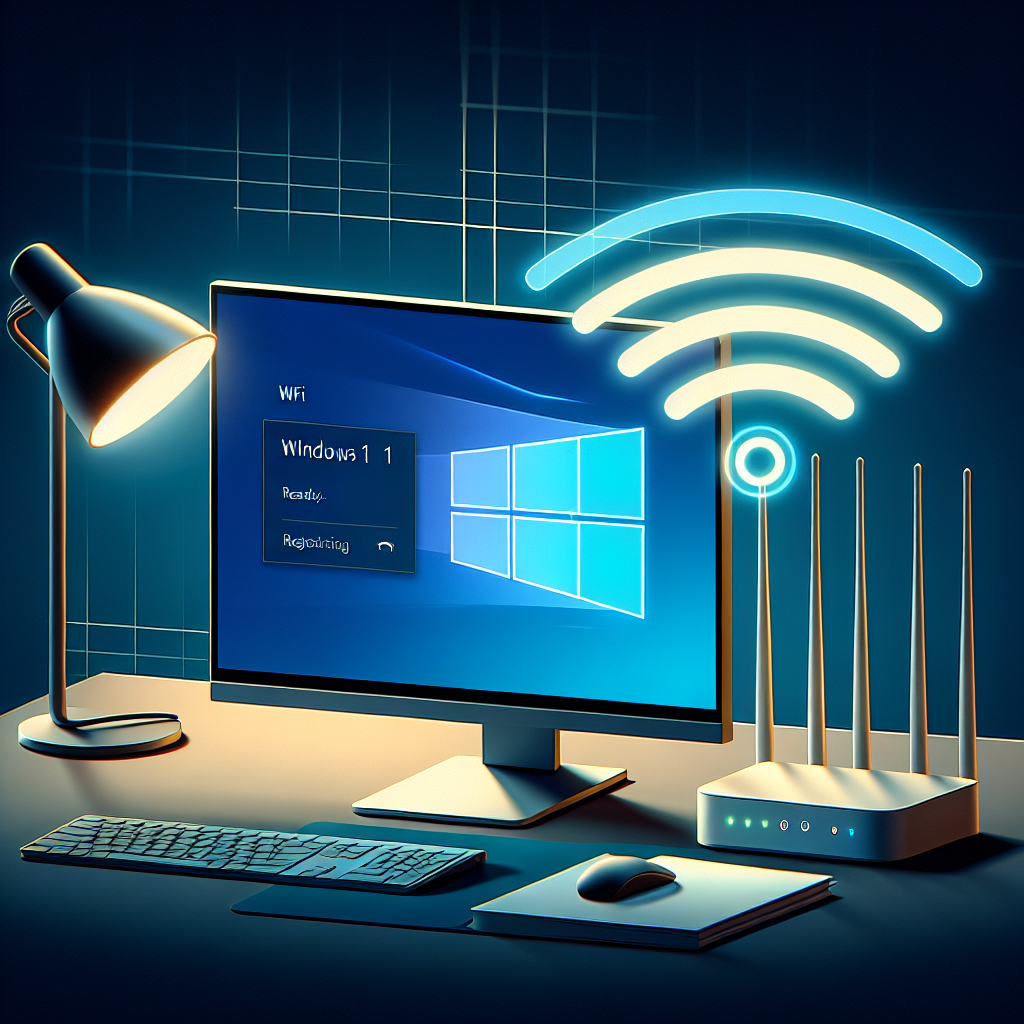
Windows 11 Home is the latest operating system from Microsoft that offers a sleek and user-friendly interface, as well as a host of new features to enhance your computing experience. One of the key features of Windows 11 Home is its ability to easily connect to wifi networks, allowing you to stay connected and productive wherever you go. In this article, we will guide you through the process of setting up a wifi-ready device on Windows 11 Home, so you can unlock its full potential.
Step 1: Check for Wifi Compatibility
Before you begin setting up your wifi-ready device, it’s important to ensure that your device is compatible with wifi networks. Most modern laptops, tablets, and smartphones come with built-in wifi capabilities, but if you’re using a desktop computer or an older device, you may need to purchase a separate wifi adapter. To check if your device is wifi-ready, simply look for the wifi symbol in the system tray or network settings.
Step 2: Turn on Wifi
Once you’ve confirmed that your device is wifi-ready, the next step is to turn on the wifi feature. To do this, simply click on the wifi symbol in the system tray or go to the network settings in the Control Panel. From there, you can toggle the wifi switch to turn on the wifi feature and start scanning for available networks.
Step 3: Connect to a Wifi Network
After turning on the wifi feature, your device will start scanning for available wifi networks in your area. Once the list of available networks appears, select the network you want to connect to and enter the password if required. Make sure to choose a secure network with a strong signal to ensure a stable and reliable connection.
Step 4: Customize Wifi Settings
Windows 11 Home offers a range of customizable wifi settings to enhance your connectivity experience. You can access these settings by going to the network settings in the Control Panel and selecting the wifi network you’re connected to. From there, you can customize your network preferences, such as automatically connecting to known networks, setting up a proxy server, or prioritizing certain networks over others.
Step 5: Troubleshoot Wifi Connectivity Issues
If you encounter any connectivity issues while setting up your wifi-ready device, Windows 11 Home offers a range of troubleshooting tools to help you diagnose and resolve the problem. You can access the Network Troubleshooter in the Control Panel to identify and fix common wifi connectivity issues, such as network adapter problems or incorrect network settings.
By following these simple steps, you can easily set up a wifi-ready device on Windows 11 Home and unlock its full potential. With a stable and reliable wifi connection, you can stay connected, productive, and entertained wherever you go. So don’t wait any longer – set up your wifi-ready device today and experience the power of Windows 11 Home.

Leave a Reply