Your cart is currently empty!
Upgrade Your System with 16GB RAM: A Step-by-Step Installation Guide
If your computer is running slow and struggling to keep up with your workload, it may be time to upgrade your system with more RAM. Upgrading to 16GB of RAM can significantly improve the performance of your computer, allowing you to run multiple programs at once without experiencing any lag or slowdown.
Before you begin the installation process, it’s important to make sure that your computer is compatible with 16GB of RAM. Check your computer’s specifications to see if it supports this amount of memory. If it does, you can proceed with the installation process.
Here is a step-by-step guide to help you upgrade your system with 16GB of RAM:
1. Purchase the right RAM: Before you begin the installation process, make sure you have the correct type of RAM for your computer. You can check your computer’s specifications to see what type of RAM is compatible with your system. Once you have purchased the right RAM, you can proceed with the installation process.
2. Turn off your computer: Before you begin the installation process, make sure to shut down your computer and unplug it from the power source. This will prevent any damage to your computer during the installation process.
3. Open your computer’s case: Depending on the type of computer you have, you may need to remove the case to access the RAM slots. Consult your computer’s manual for instructions on how to open the case safely.
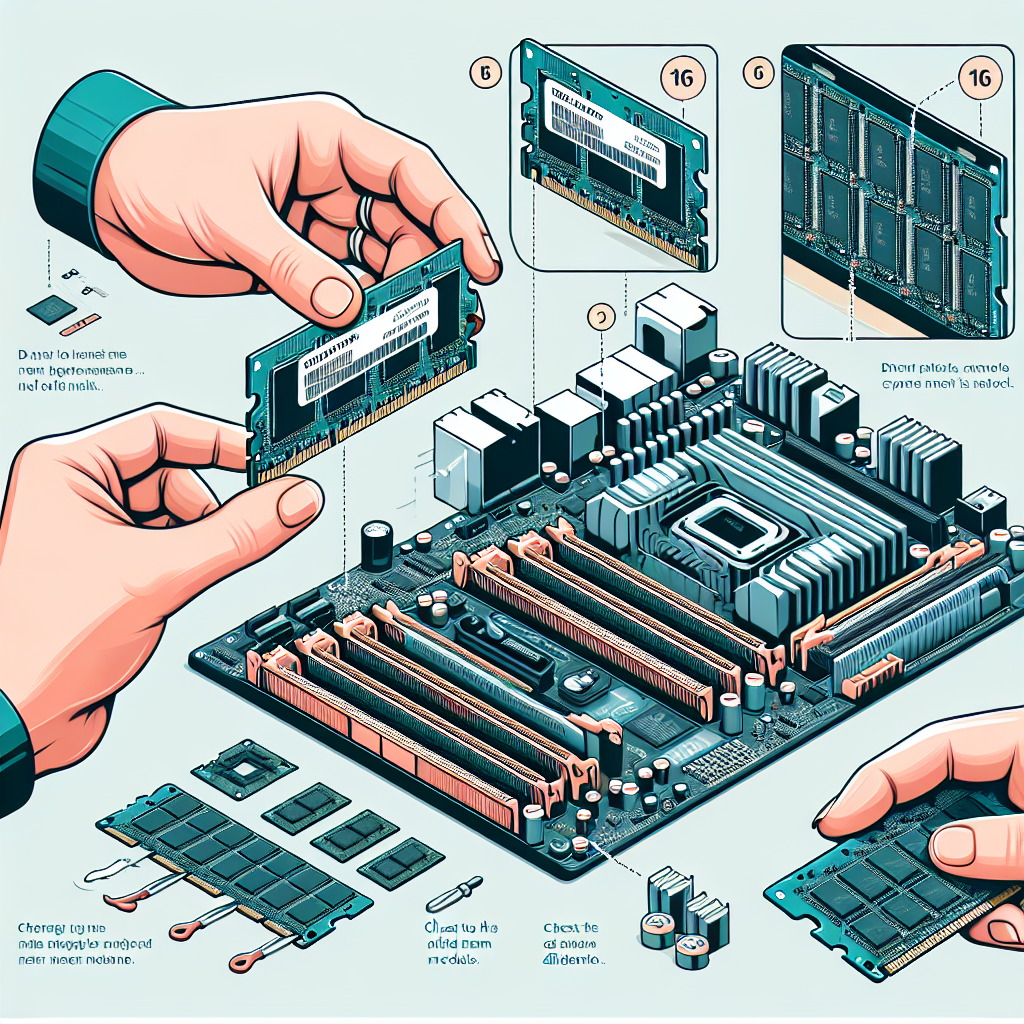
4. Locate the RAM slots: Once you have opened your computer’s case, locate the RAM slots on the motherboard. They are usually located near the CPU and are easily identifiable by their color and shape.
5. Remove the old RAM: If your computer already has RAM installed, you will need to remove it before installing the new RAM. Gently press down on the clips on either side of the RAM slot to release the old RAM, then carefully remove it from the slot.
6. Install the new RAM: Take the new RAM stick and align it with the slot on the motherboard. Gently press down on the RAM stick until you hear a click, indicating that it is securely in place. Make sure that the clips on either side of the slot are securely holding the RAM in place.
7. Close your computer’s case: Once you have installed the new RAM, replace the case on your computer and secure it in place. Plug your computer back in and turn it on to test the new RAM.
By following these simple steps, you can upgrade your system with 16GB of RAM and enjoy improved performance and speed on your computer. Upgrade your system today and experience the difference that more RAM can make!
#Upgrade #System #16GB #RAM #StepbyStep #Installation #Guide,16gb ram

Leave a Reply