Price: $40.19
(as of Dec 26,2024 19:06:24 UTC – Details)

Description
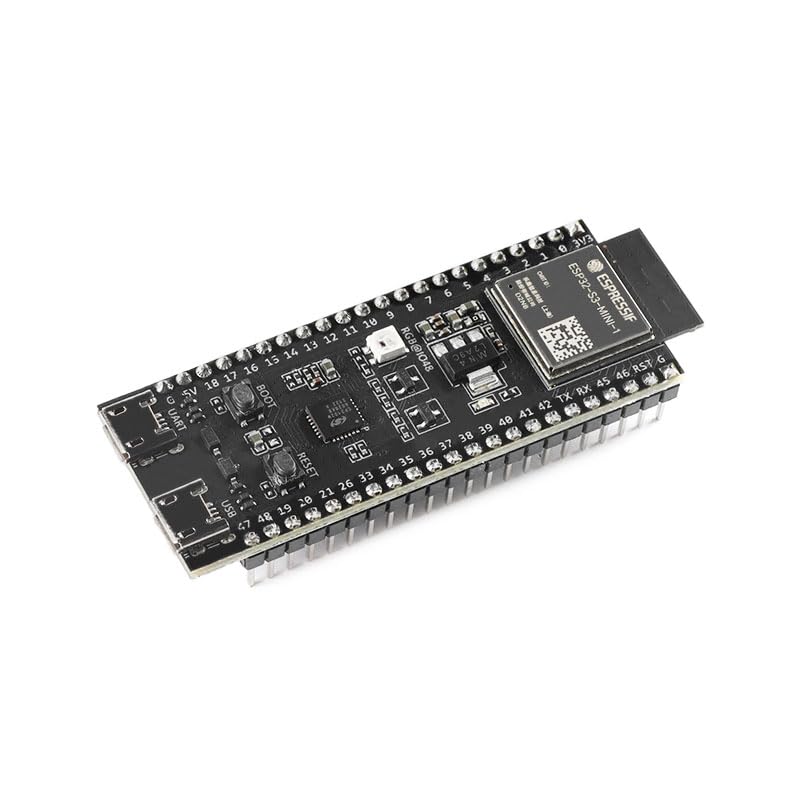
Following is the preview of ESP32-S3-DevKitM-1.
To know more about it, go to ESP32-S3-DevKitM-1 for the more information.
Not knowing which product is right for you? Try product selector and compare the models you re interested in!
If you request for more support, please visit our Business and Technical support center and submit required information. Our team will get to you ASAP.
You can also subscribe the Newsletter and stay up-to-date on Espressif s latest product announcements.
Thanks for all your attention on our company and products!
Date First Available : November 10, 2024
Manufacturer : CHIKIMIKI
ASIN : B0DMF9Z3SD
Are you looking to wire connecting terminals on your ESP32-S3-DevKitM-1/1U Series Development Board from Espressif Systems for your AIoT project? Look no further! In this post, we will guide you through the process of wiring connecting terminals on this powerful development board.
The ESP32-S3-DevKitM-1/1U Series Development Board is a feature-rich platform that is perfect for AIoT applications. With its powerful ESP32-S3 processor, integrated Wi-Fi and Bluetooth capabilities, and a wide range of GPIO pins, this development board is ideal for a wide range of projects.
To wire connecting terminals on the ESP32-S3-DevKitM-1/1U Series Development Board, follow these steps:
1. Identify the GPIO pins on the development board that you want to connect to your external components. The GPIO pins are labeled on the board and are typically used for input/output operations.
2. Use jumper wires to connect the GPIO pins on the development board to the terminals of your external components. Make sure to securely connect the wires to avoid any loose connections.
3. If you are using sensors or other peripherals, refer to their datasheets to determine the correct wiring configuration. Make sure to connect the power, ground, and signal pins as specified in the datasheet.
4. Once you have wired the connecting terminals, you can start programming your ESP32-S3-DevKitM-1/1U Series Development Board using the Espressif Systems AIoT development tools. You can use the Espressif IDF or Arduino IDE to write and upload your code to the board.
By following these steps, you can easily wire connecting terminals on your ESP32-S3-DevKitM-1/1U Series Development Board for your AIoT project. Get ready to unleash the full potential of this powerful development board and create innovative AIoT applications!
#Wiring #Connecting #Terminals #ESP32S3DevKitM11U #Series #Development #Board #Espressif #Systems #AIoT
Leave a Reply
You must be logged in to post a comment.