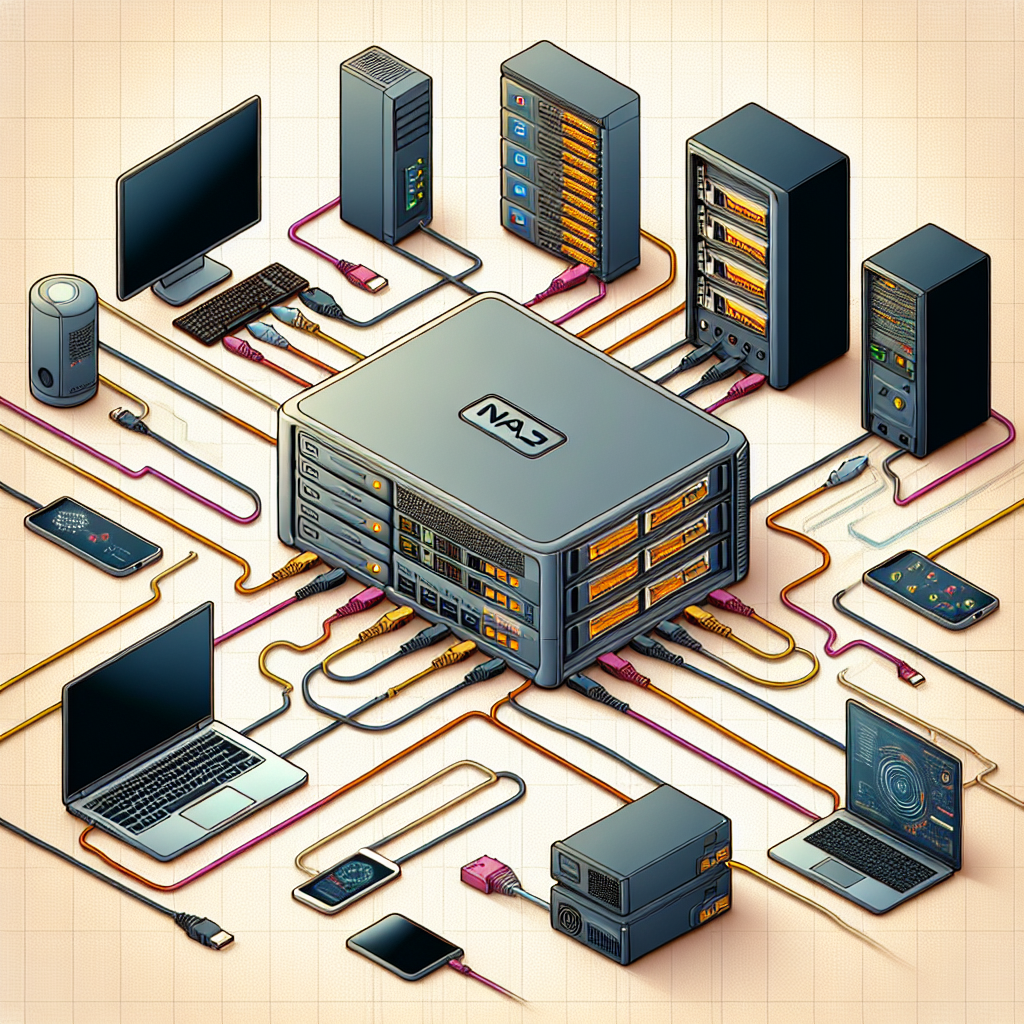
Network Attached Storage (NAS) devices are becoming increasingly popular for home and small business users who need a reliable and efficient way to store and access their files. Setting up and configuring a NAS may seem daunting at first, but with the right guidance, it can be a straightforward process. In this article, we will walk you through the steps to set up and configure a NAS device.
Step 1: Choose the Right NAS Device
Before you can set up your NAS, you need to choose the right device for your needs. Consider factors such as storage capacity, number of drive bays, processor speed, and connectivity options. Some popular NAS brands include Synology, QNAP, and Western Digital.
Step 2: Physical Setup
Once you have chosen your NAS device, it’s time to physically set it up. Start by connecting the NAS to your router using an Ethernet cable. Then, plug in the power adapter and turn on the NAS. Make sure to follow the manufacturer’s instructions for any additional setup steps.
Step 3: Accessing the NAS
To access your NAS, you will need to find its IP address on your network. You can usually find this information in the NAS’ user manual or by logging into your router’s interface. Once you have the IP address, you can enter it into a web browser to access the NAS’ web-based interface.
Step 4: Creating Storage Spaces
Next, you will need to create storage spaces on your NAS. This involves setting up RAID configurations, creating volumes, and assigning permissions for different users or groups. Most NAS devices come with user-friendly interfaces that guide you through this process.
Step 5: Setting Up File Sharing
Once you have created your storage spaces, you can set up file sharing on your NAS. This allows you to access your files from any device on your network. You can also set up remote access so that you can access your files from anywhere in the world.
Step 6: Installing Apps and Services
Many NAS devices come with app stores that allow you to install additional apps and services. These can include media servers, backup utilities, and cloud synchronization services. Take some time to explore the available apps and install the ones that best suit your needs.
Step 7: Security and Backup
Finally, make sure to set up security measures such as user authentication, firewall settings, and encryption. It’s also important to regularly back up your data to ensure that you don’t lose any important files in case of a hardware failure or other issue.
In conclusion, setting up and configuring a NAS device may take some time and effort, but the benefits of having a centralized and secure storage solution are well worth it. By following the steps outlined in this article, you can set up your NAS with ease and start enjoying the convenience of having all your files accessible in one place.

Leave a Reply
You must be logged in to post a comment.